A chronological history of my:
Jade Green / Grey 1992 Trans Am Convertible
Page 8
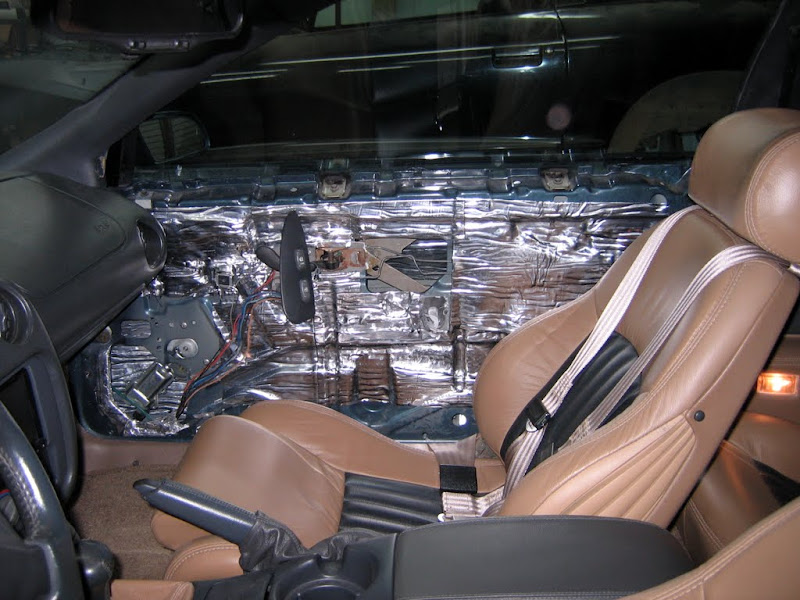
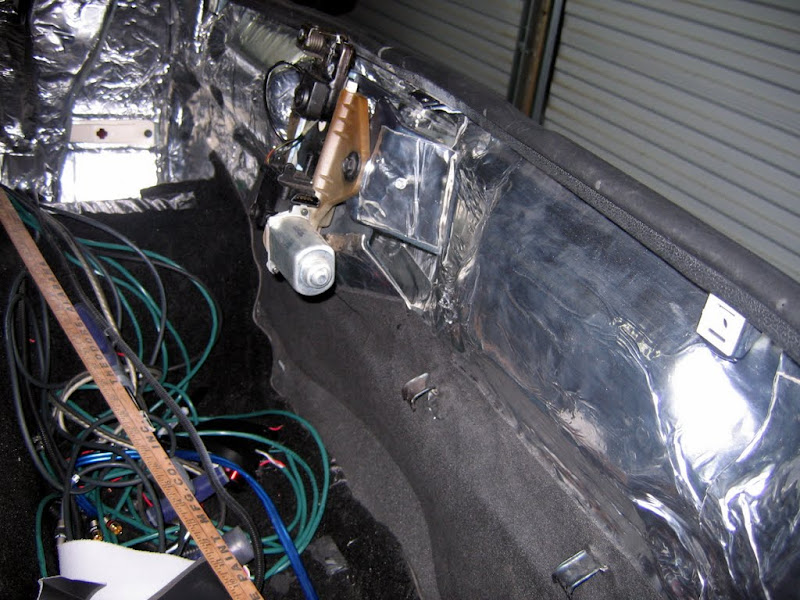
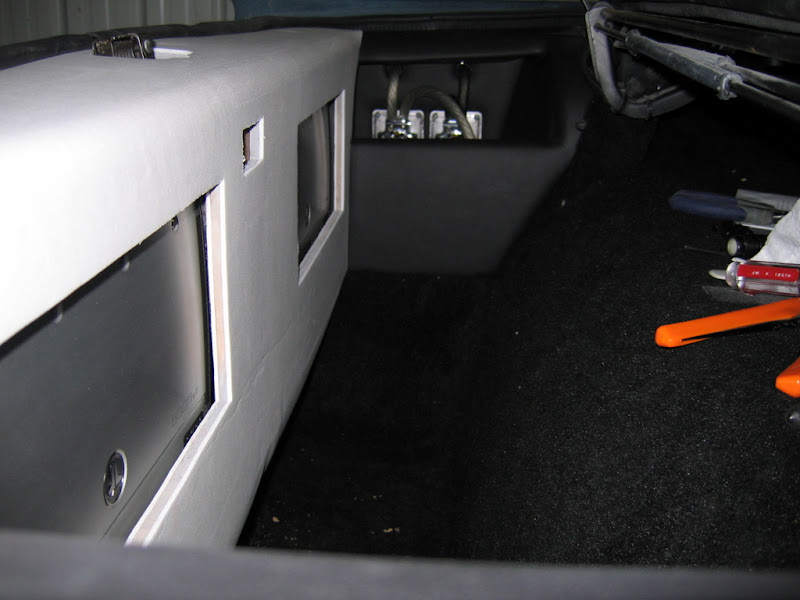
Back to the stereo.
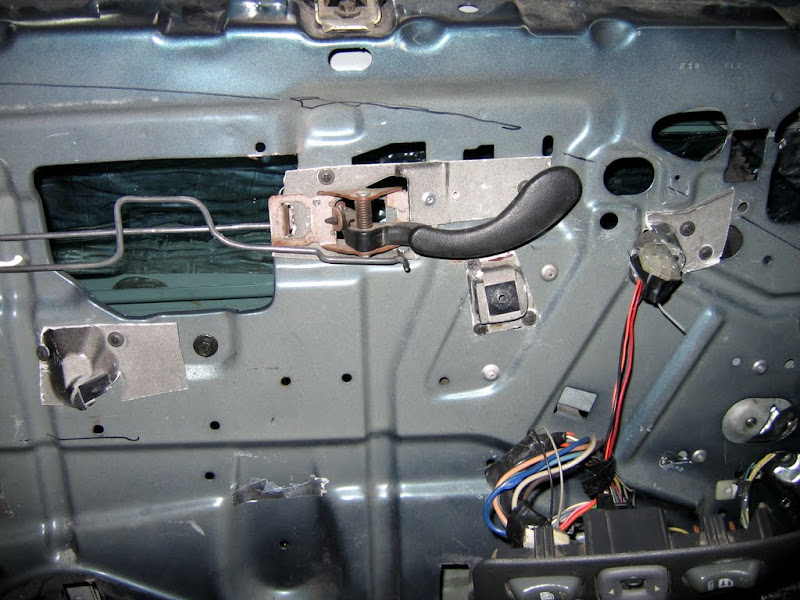
To position the new door handle correctly and
have more mounting points for the panel, I cut out the area of a 4th gen door:

Cut it into pieces, bolted them to the new panel and then attached them to the
door in the correct places:
Cut some metal and covered up the larger holes in the door:
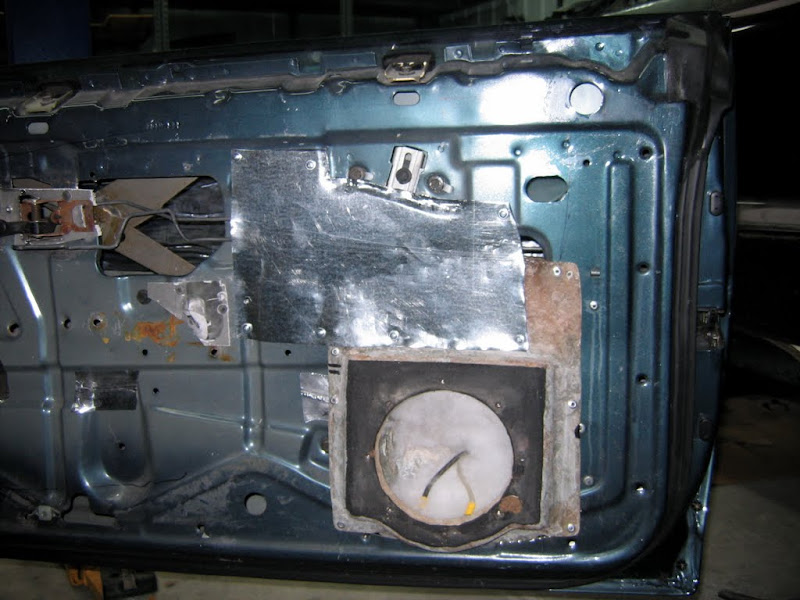
First layer of Raammat on the outer skins:
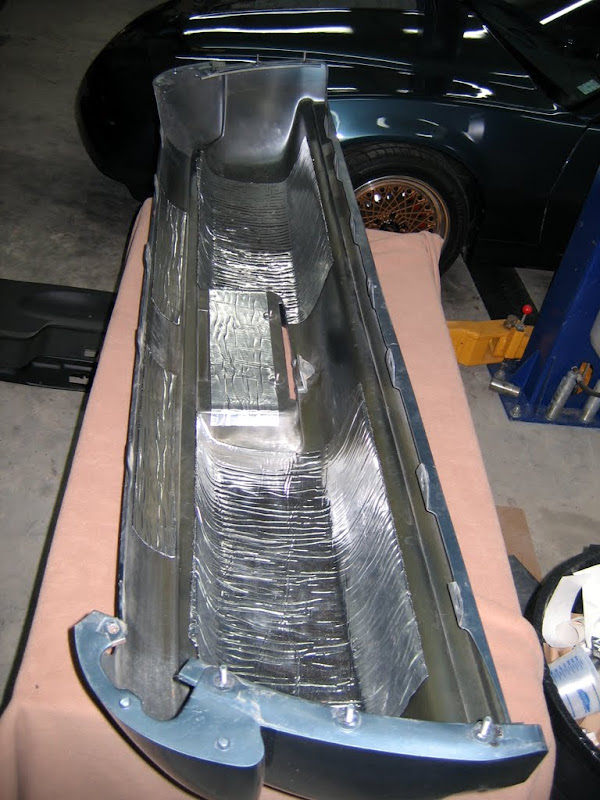
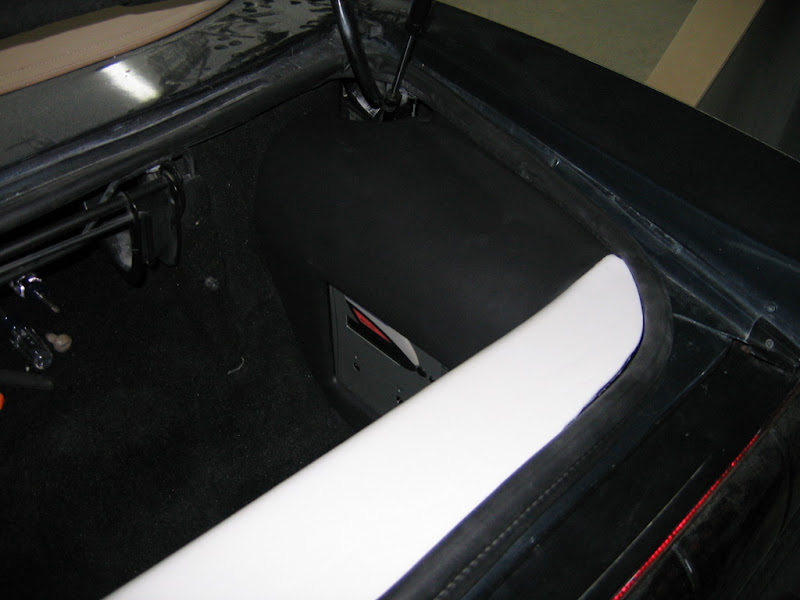
Removed rear bumper and tail lights to start work on the trunk area:
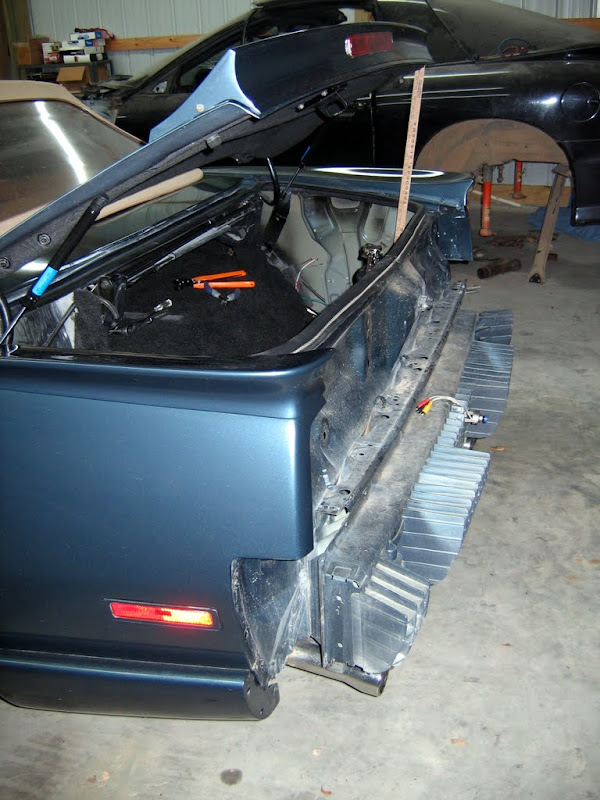
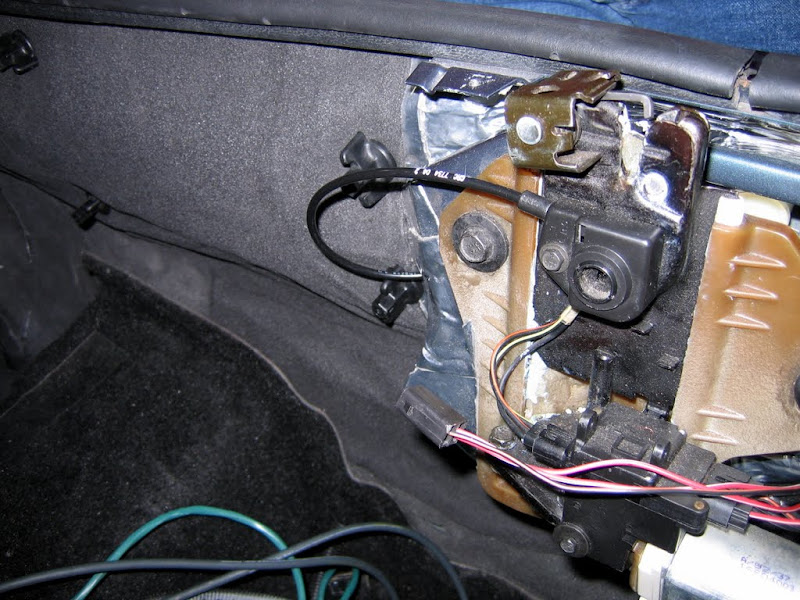
Made a mount and installed rear-view camera:
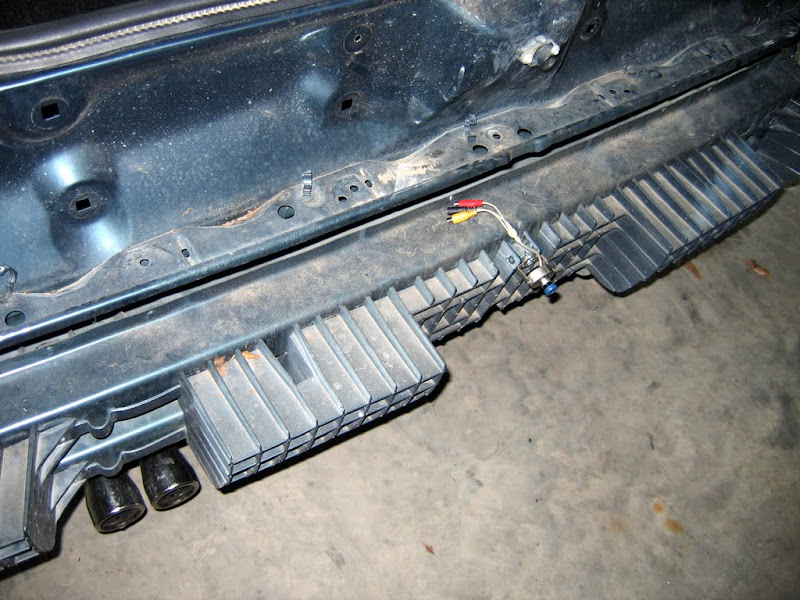
Raammat installed on trouble areas under the bumper and tail lights. Also put
Ensolite where the tail light bolts go through:
Rear bumper had a lot of flex to it. Problem solved. Also added some mat to the
backside of the tail lights:
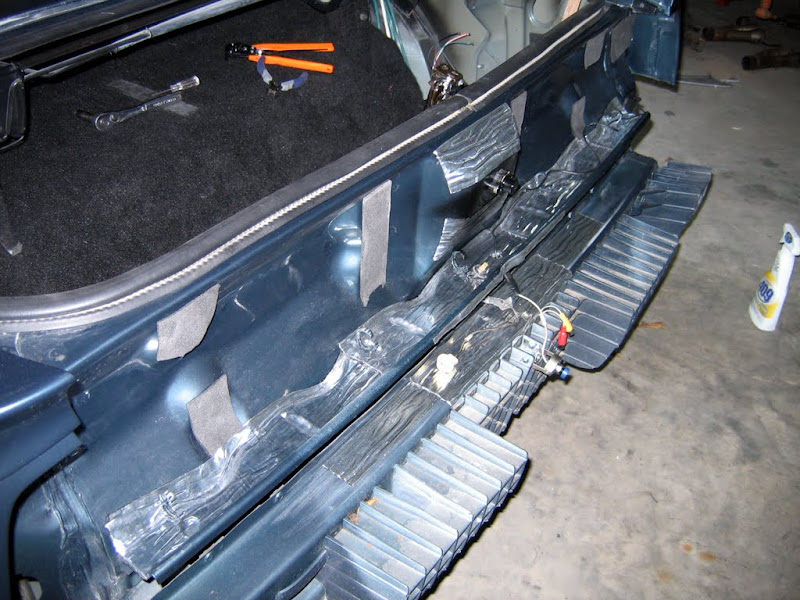
Ran out of the regular RaamMat I was using and had to order some more. Rest of
the trunk was done with the BTX II.
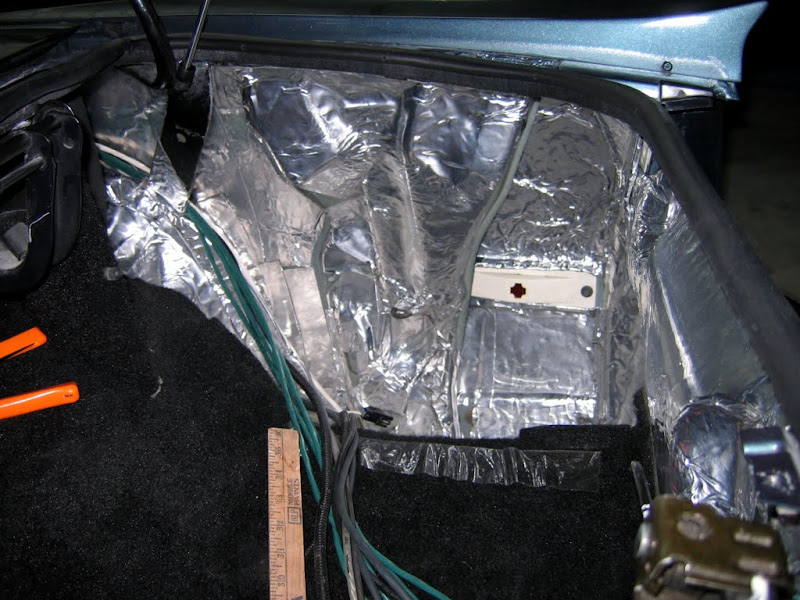
Followed up with ensolite. The trunk got a lot smaller then I remembered, plus
ASC didn't think about someone trying to get mat and ensolite into every hollow
cavity when they designed the top's mechanics.
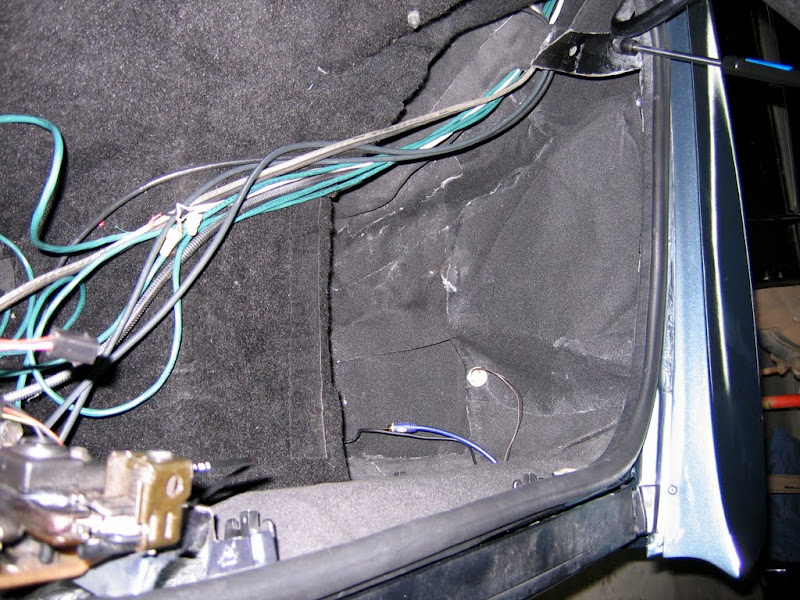
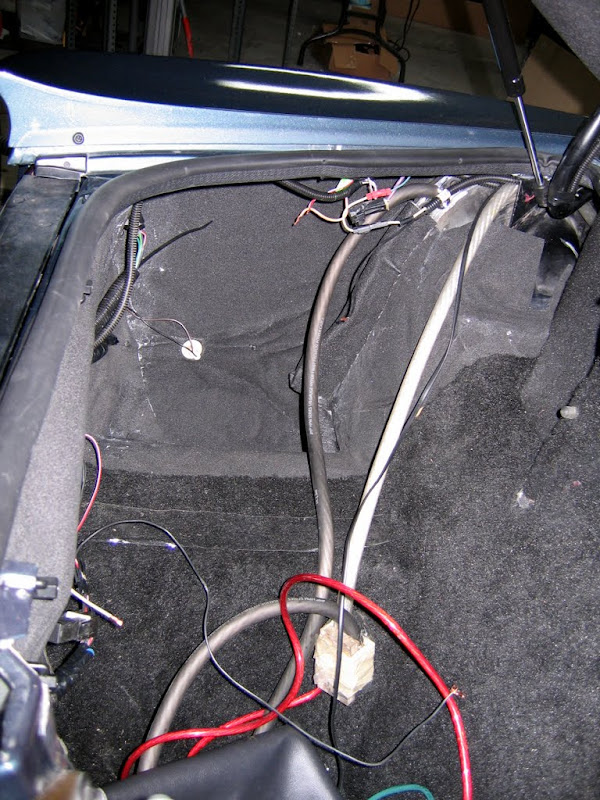
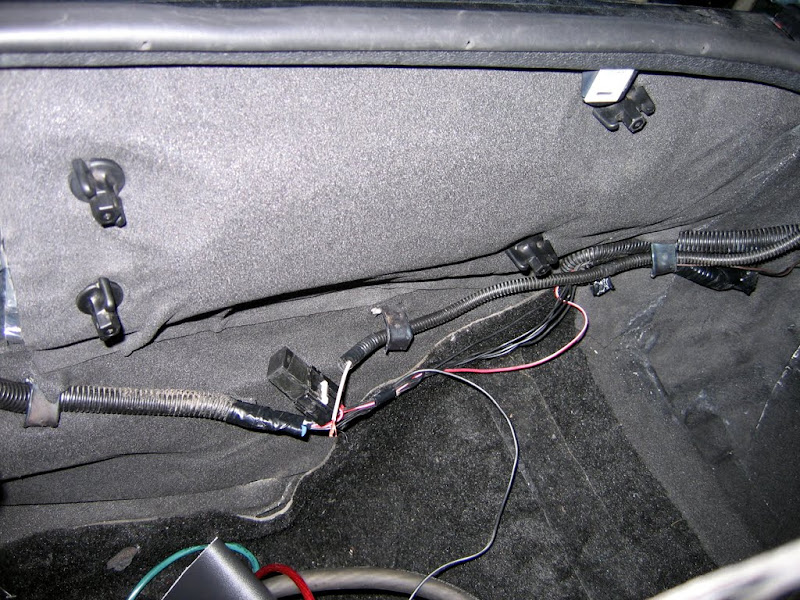
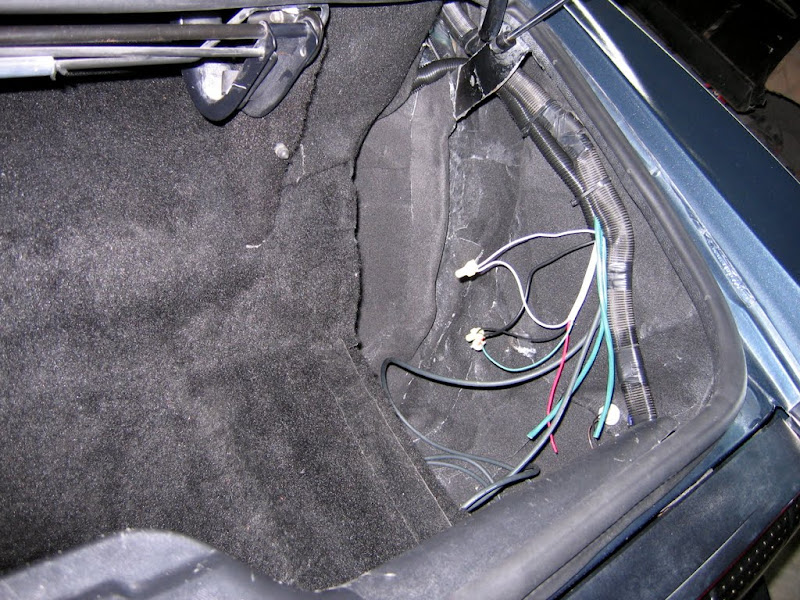
Cleaned up and loomed a lot of the loose wires. Got everything going to the
tails and turnk release is secured and out of the way:

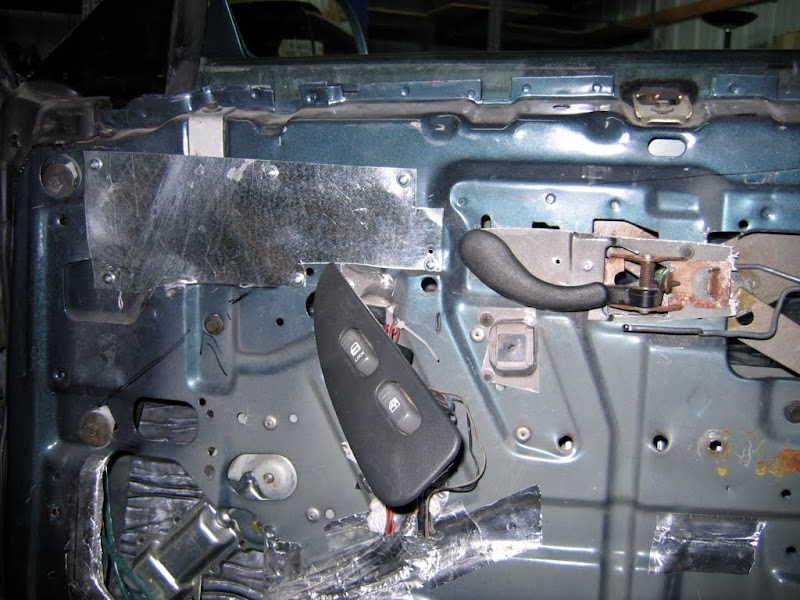
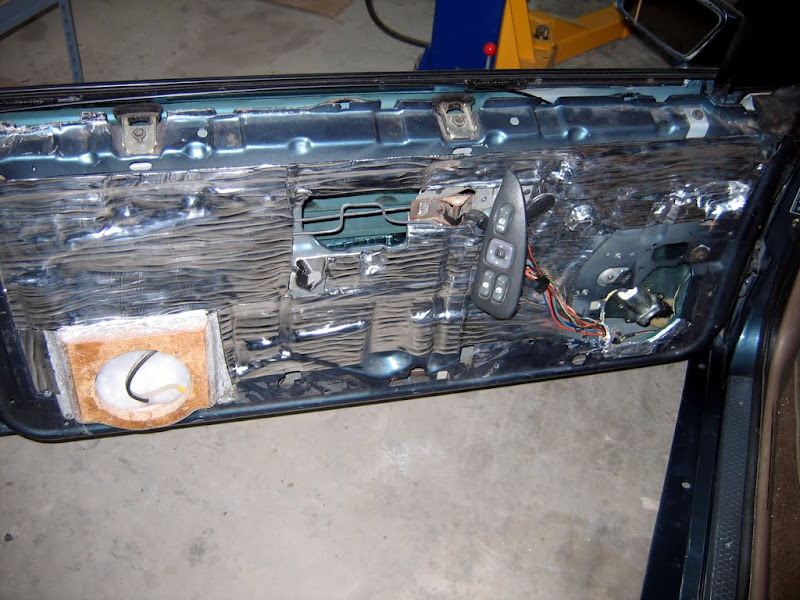
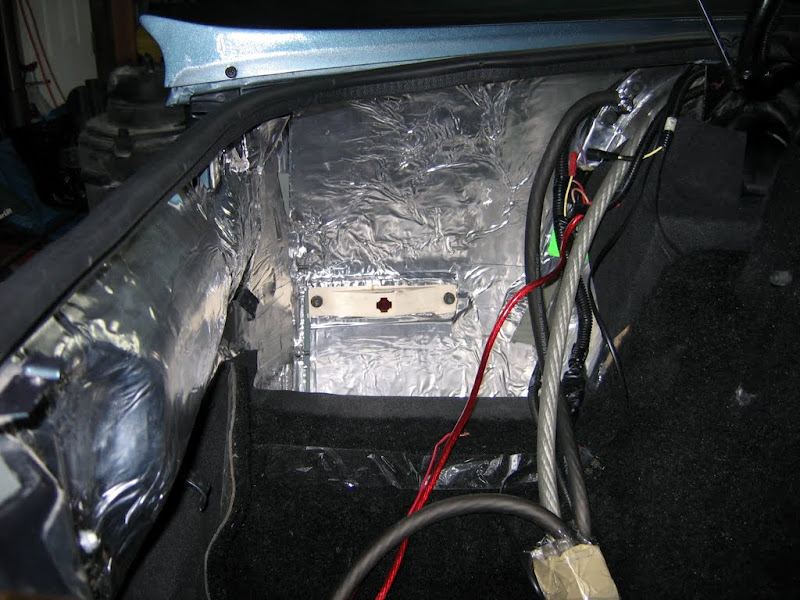
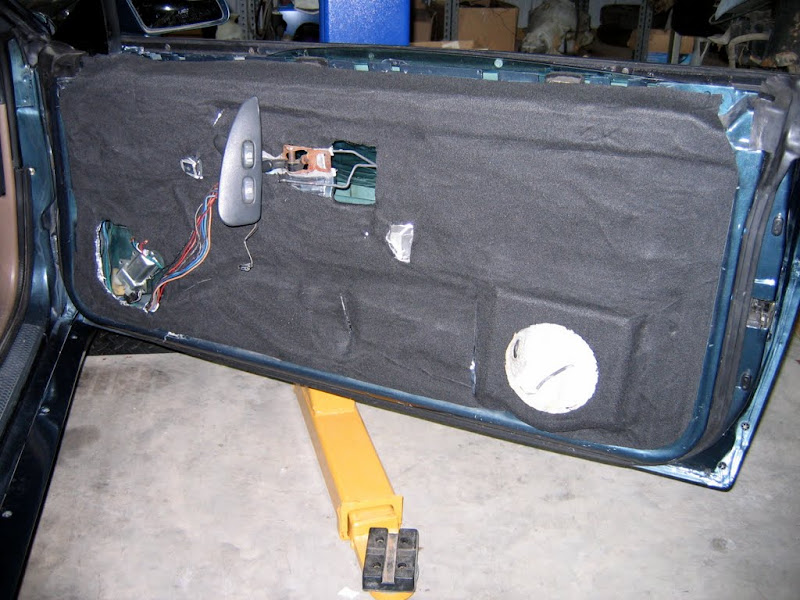
Put the final pieces of mat on the door and covered them in ensolite:

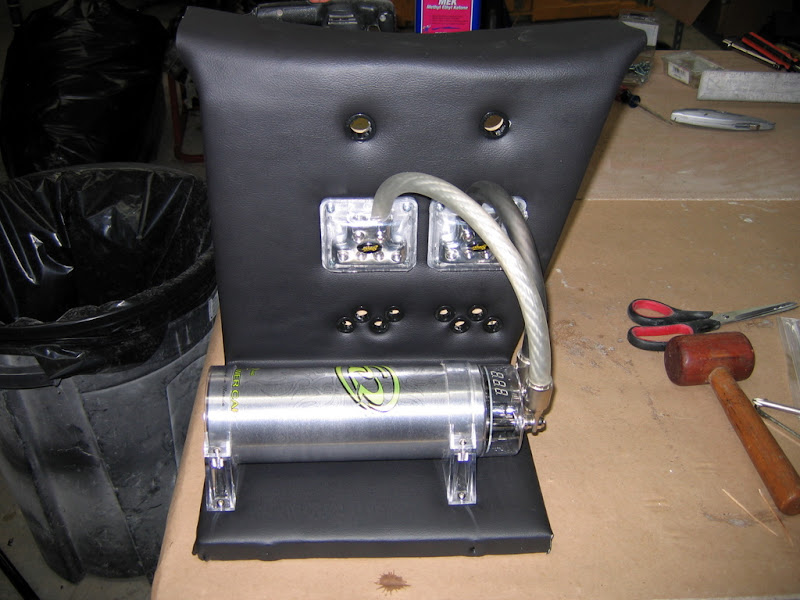
Laid out the power distribution on the left side of the trunk. I know capacitors
don't really do anything, but
1: It was cheap from one of our distributors
2: It looks cool, and most common folk think it's needed.
3: It fills up the space I didn't know what to do with, and is less work on the
cover panel.
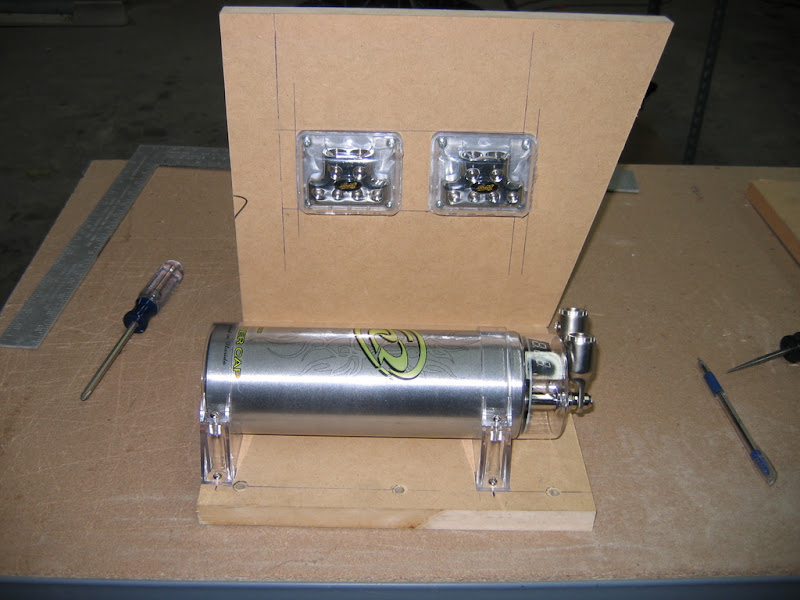
It's not that big of a piece, but gets a lot bigger in the car:

With the stock cover in place:
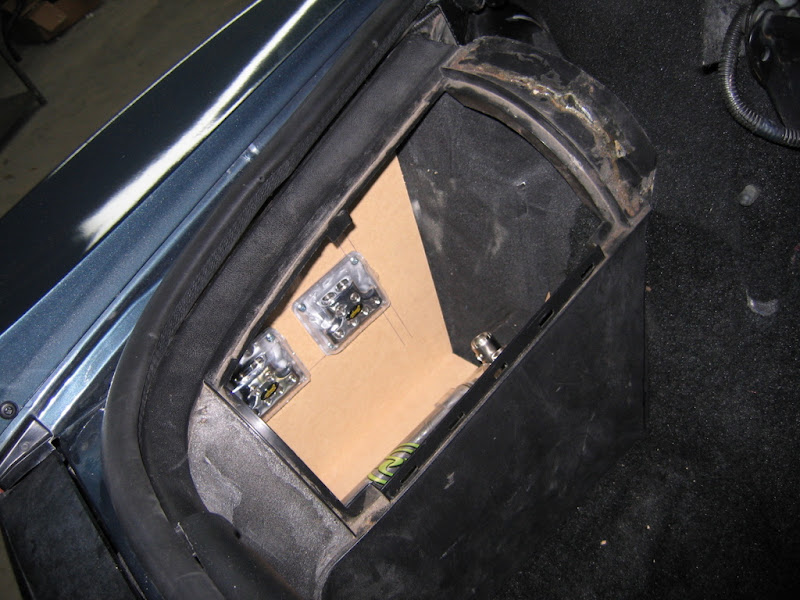
Piece is screwed to the frame rail with three screws and lays flush against the
large frame/body seam. Picture with the power cables ran from distribution to
cap.

Right side panel for the Audio Control DQX. Not as much metal on this side as
the spare tire normally goes here and no gas tank filler. Piece is bolted to the
spare tire brace. Front side is contoured to stock panel. I used some speaker
grill snaps to hold it in place.

Stock right panel drilled and glassed:

The stock panels are rough cut to fit the convertibles. (In fact the 91-92 verts
came with molded carpet). I robbed these from a parts car. Turns out the way the
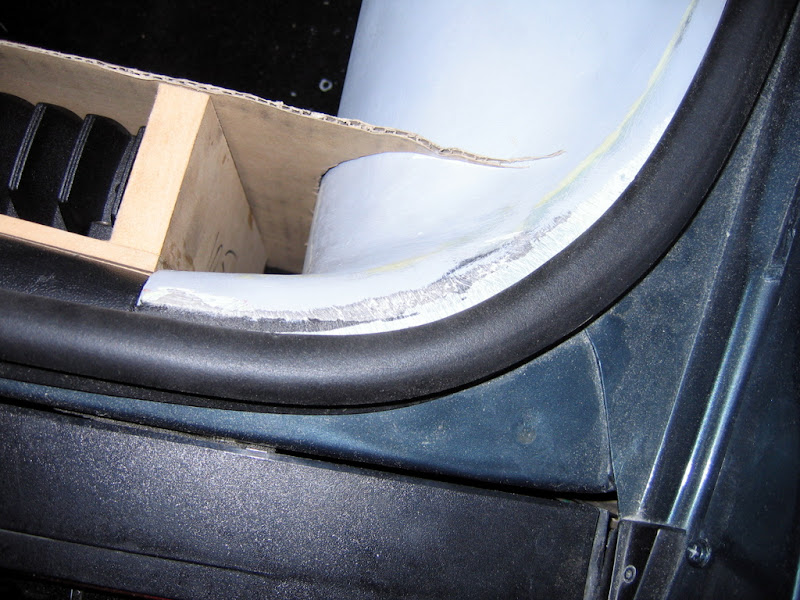
stock panel lays isn't quite as vertical as the piece I made, so you can see
where I had to extend the upper edge to meet the trunk seal:

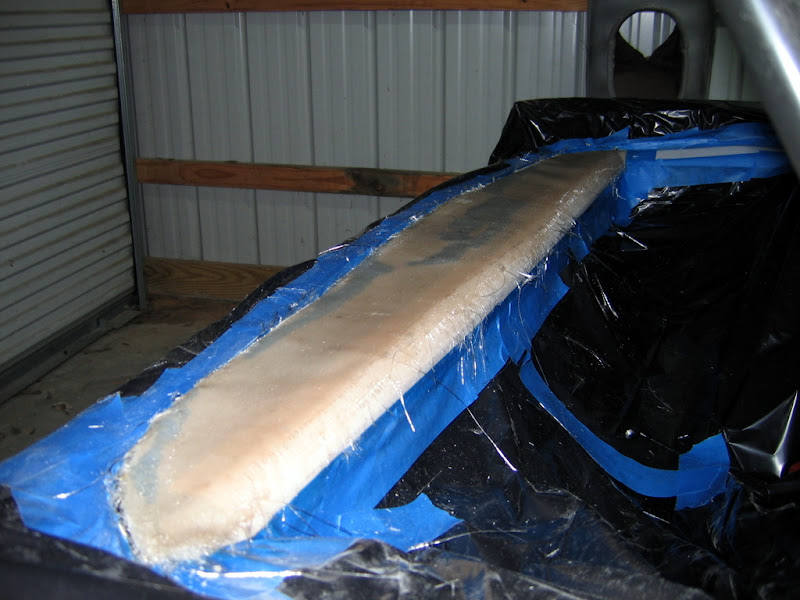
Two layers and some smoothing. Hole cut out for EQ, I had to extend the front
edge a little bit. Also shaped the edge around the trunk hinge:

Back side rough filled, just to keep the front from peeling off:

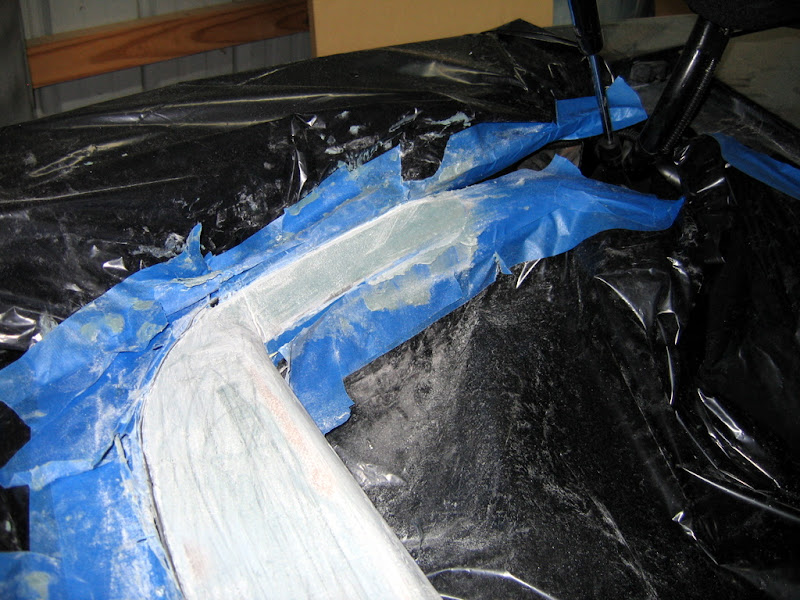
Close to finished test fit in the car with EQ:


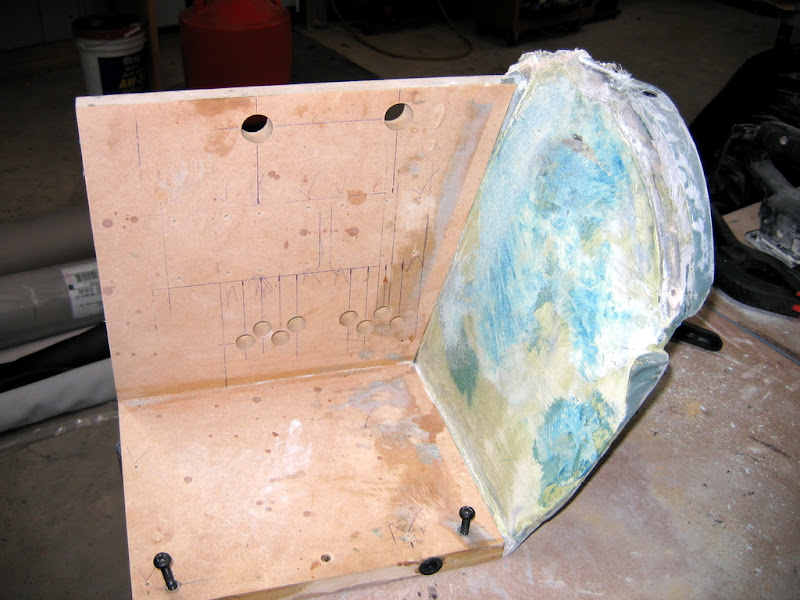
The tight confines of the left panel made me get creative. It's going to be open
to the power stuff, and the front edge is a complex curve that can't be made of
wood. Here's a shot of the cover supported in the place it needs to be with what
ever I could find. Getting this out as one piece was real fun.

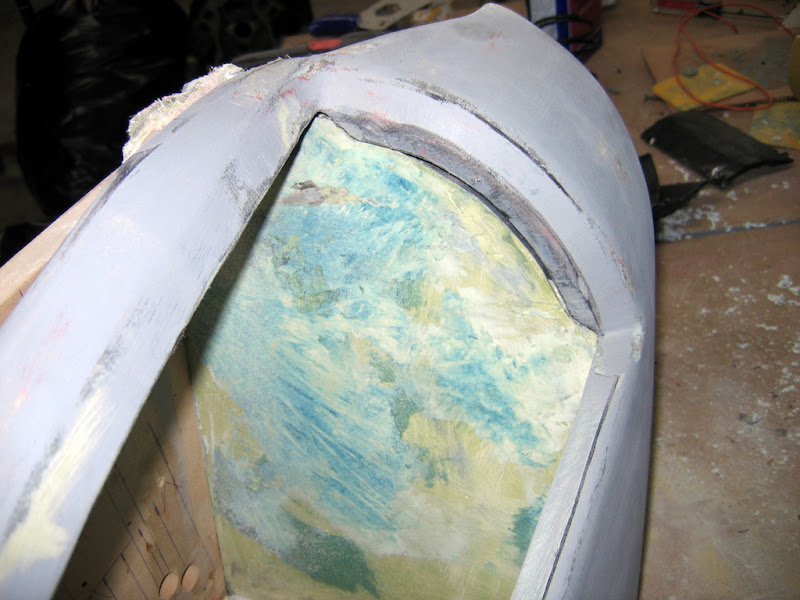
Ponte stretched over the above mentioned curve area:

Resined with a couple of layers of mat:

Got a little lazy and neglected to take pictures. Essentially I glassed the
stock panel like the right side. Also filled in the areas where the stock panel
normally had a door. Here's a shot of the curved area filled and contoured to
make the panel align perfectly.
Molded panel in place:

You can see where the panel 'tabs' into the fiberglass piece:
Right side rough painted and wired up. Right angle RCA connect to the EQ.
Crossovers on a top plate. Going to put a connecting block on top as well to
handle the currently wire-nutted remote trigger, reverse camera trigger, and
camera power. You can also see the old school Phoenix Gold distribution block
I'm using to power the EQ. I needed to fill up the 4 out exposed distribution
and power the EQ, but 4g doesn't quite fit in the EQ. I'll have plenty of power
options for anything on the right side...

Power dist wrapped in vinyl with grommets and equipment installed:
Front and rear panels wrapped and in place. Rear is just cardboard. Real tight
clearances and only needed to block the back off. Please disregard the extra
glue on the front section. Still need to clean that.


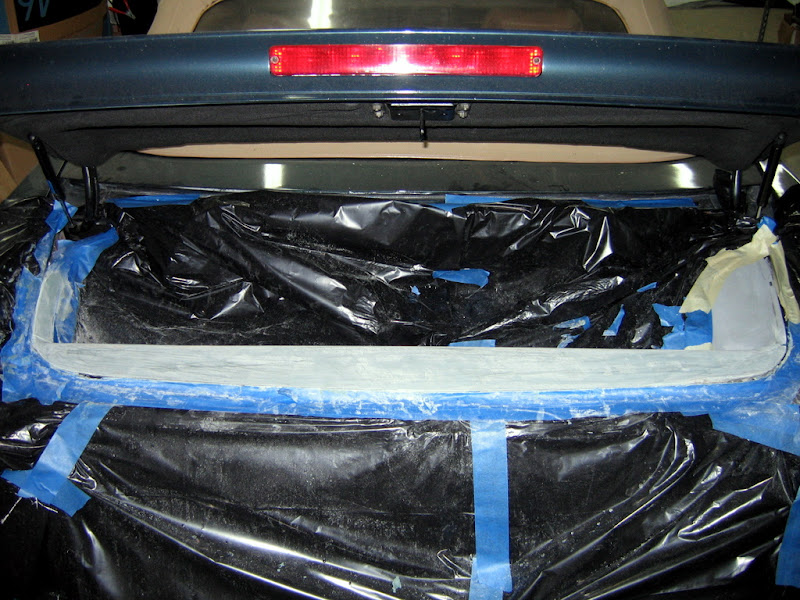
Testing the panel fit.

Installed back into the car and all the power wires hooked up.

And the panel still fits...

Plan for the exposed area you can see in the next picture is a lot of extra
vinyl on the cover tucked up under the trunk seal and then flowing down into the
hinge area. It's unfortunate that it has to be sloped that much, but the struts
are completely different on a coupe and it has to be this way to clear them on a
vert.

Amps are going to be mounted to a heavily modified stock rear panel. There's a
recessed area I'll try to get some pictures off the next time it's out.
Basically it's 1/4" MDF in the recessed area screwed through the plastic into a
matching piece of 1/4" MDF behind the plastic. Sandwiching the two pieces
together.
The actual amp mount is another piece of 1/4" MDF with 3/4" inch pieces along
the sides for mounting the cover. This piece screws to the other 1/4" MDF is is
removable to get the side cover in. The angled sections of the plastic panel
that were going to be in the way were cut out.

Since the amp is larger then the sandwich, 3/4" strips are on the bottom
attached to the plastic and amp panel.


Amps mounted to check everything.


With everything mounted in the car with the side panels lined up. Everything is
very secure and will have no visible screws.


Mocking up the trim cover with cardboard:


Panel cut out of 1/4" with cutouts for the amps:


I'm using a piece of bull-nose molding for sheetrock to make a curved transition
to the top piece.


Taped some ponte to the flat portion around the
amps and then stretched it back over the edge where the seal goes. Shoved
whatever I could find between the edge and plastic piece to get a nice tight
fit.
Here's some shots after the resin and a few pieces of .75oz mat in a few key
areas.


With an even layer of .75oz matt and three layers of thick cloth:

With a layer of duraglass smoothed out right up to the seal edge.

Rather then have a lip on the left side, I built the left panel up to be flush
with the rear panel:

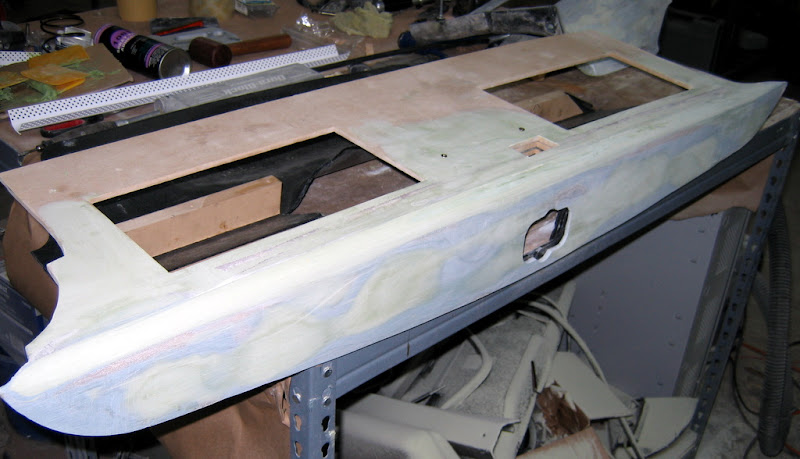
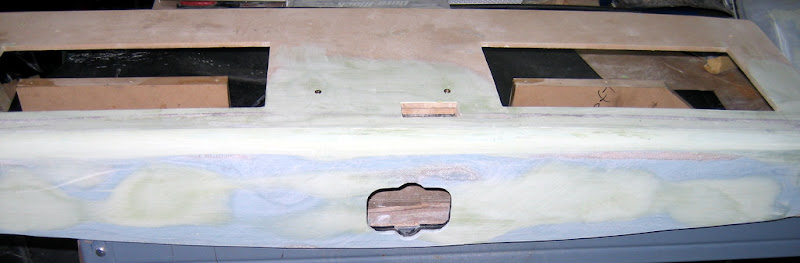
Panel outside of the car. Final smoothing with Rage. Holes cut out for light and
latch pull down.

Also added a little bit to the right panel to get rid of the rear panel edge.
Hard to see in the pic, but will be easy to spot when back in the car.

Got the side panels wrapped in foam and vinyl. Trying out some high density
foam. Kind of like it.
Final test fitting on the rear panel as well. The magnets are not holding the
center section in place as well as I thought. I need to figure out something on
that to keep the distance from the amps even.


Got the rear cover all wrapped up.


Had to make some trim pieces to go around the amp holes. Couldn't stretch the
vinyl enough.


With no time to find a Juki or Consew, and only having two yards of discontinued
matching grey vinyl, I dropped the speaker pods off at an upholstery shop. Hoping
to have the doors finished soon.
Click to go to Page 9 --->