A chronological history of my:
Jade Green / Grey 1992 Trans Am Convertible
Page 9
Well to start off page 9, I would like to apologize for the sporadic nature of these pages. What started out as a history quickly turned into current events. Hence the shifting of tense due to remembrance, culmination from online forum posts, and procrastination. I'm not sure if I would call it procrastination or more of life getting in the way. I learned from my first car that on this one I would do my best to do everything myself, try to do it right the first time, and wait until I could afford to do it right.
There's also an issue of boredom. Not boredom from the car, but boredom from doing the same thing multiple times. Since I'm trying to do everything myself, there a learning curve to a lot of things. So my first attempts at some things tend to lead to second and third attempts. I'll usually just back off and come back to it a few months later. These 'few months' seem to actually be about a year, during which time I do some other things completely different.
So with that being said, I present page 9, the supercharger install!
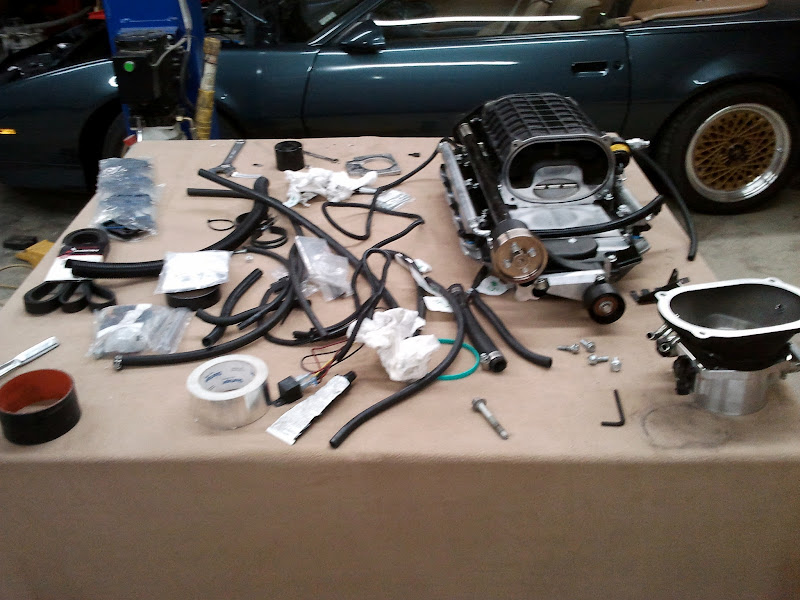
Ever since I went to a car meet with my first Firebird in 1996 and saw a convertible like my current car sporting a Vortech centrifugal unit, I've wanted a supercharger. When Magnacharger came out with there units for the LSx, I liked the look. Despite the jack shaft's downsides, I thought it just had this industrial look to it that was impressive. When they released the updated TVS units in a black powder-coat finish, I fell in love.
So when the opportunity to purchase a 500 mile
LS1 GTO kit for a reasonable discount came along, I had to jump at the chance.
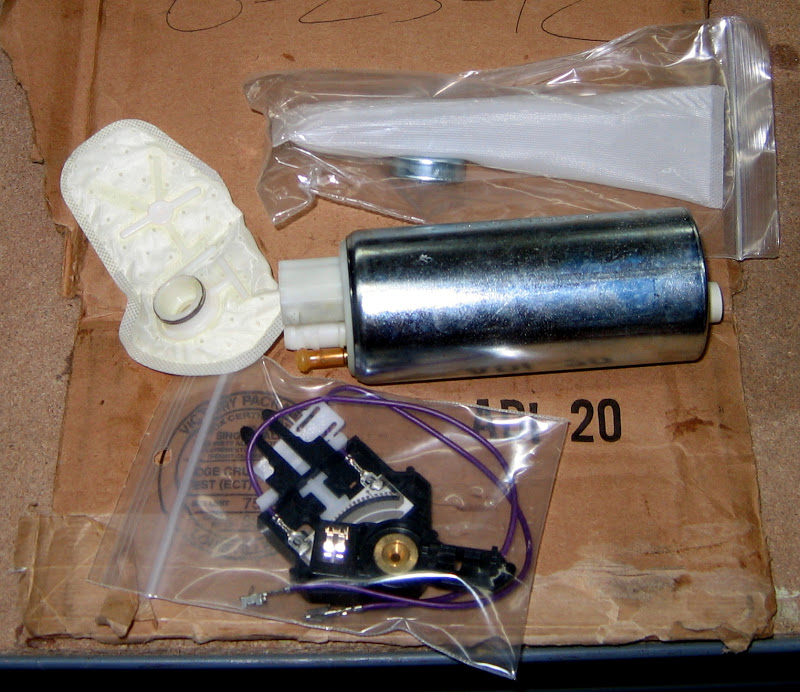
Step one was upgrading the fuel pump. My fuel gauge hadn't worked since the LS1 swap and I had pretty much narrowed it down to the sending unit. I purchased a Racetronix fuel pump, hotwire kit, and a new sending unit. So I dropped the fuel tank. And yes I did wind up painting the underside in the back now that it was easy to do.
With the tank on the ground I went to remove the fuel pump and found a surprise:
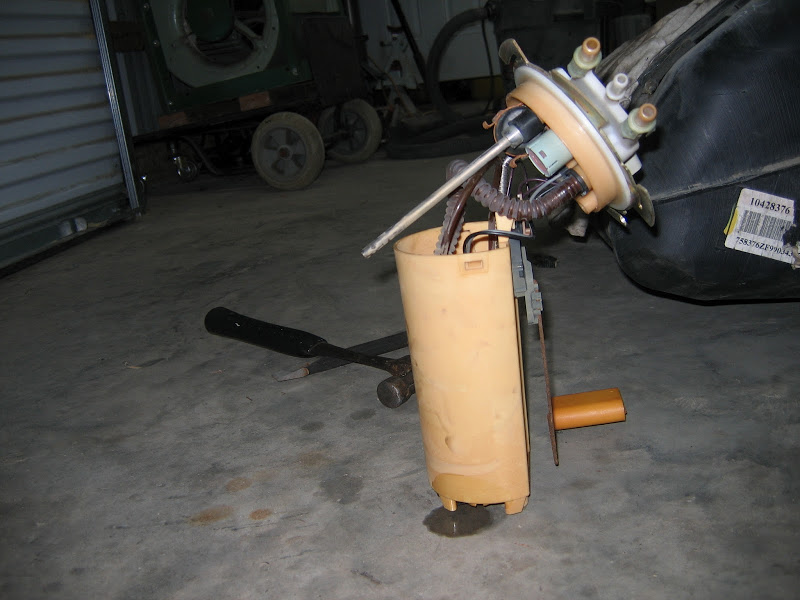
If you recall, the donor car spun into a large tree right on the rear axle. I guess he had a full tank of gas that had enough inertia to bend the basket like that. I'm still not quite sure how this setup even worked for 6 years. This is how it should look:
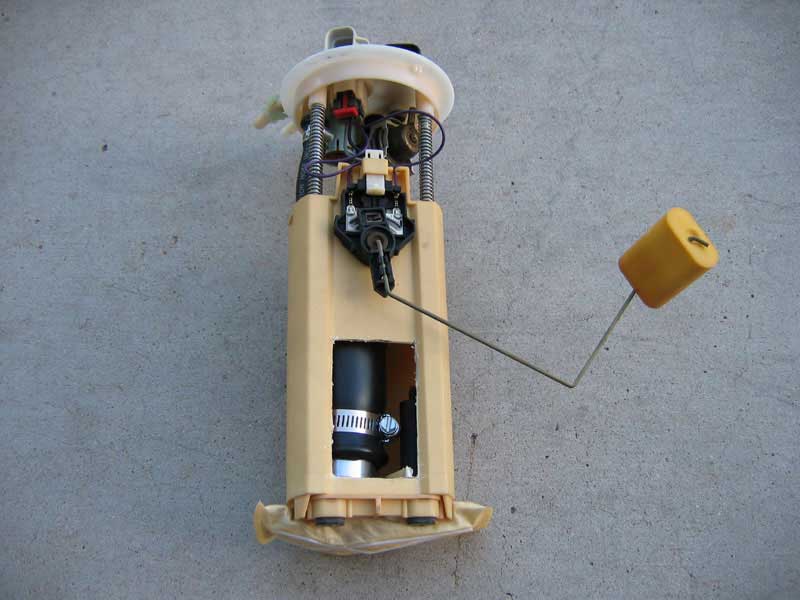
Since I was trying to get this finished and tested before I started the SC install, I had to order a new GM unit. Unfortunately that came with a new OEM fuel pump and sending unit. That actually left me with several unneeded brand new parts.
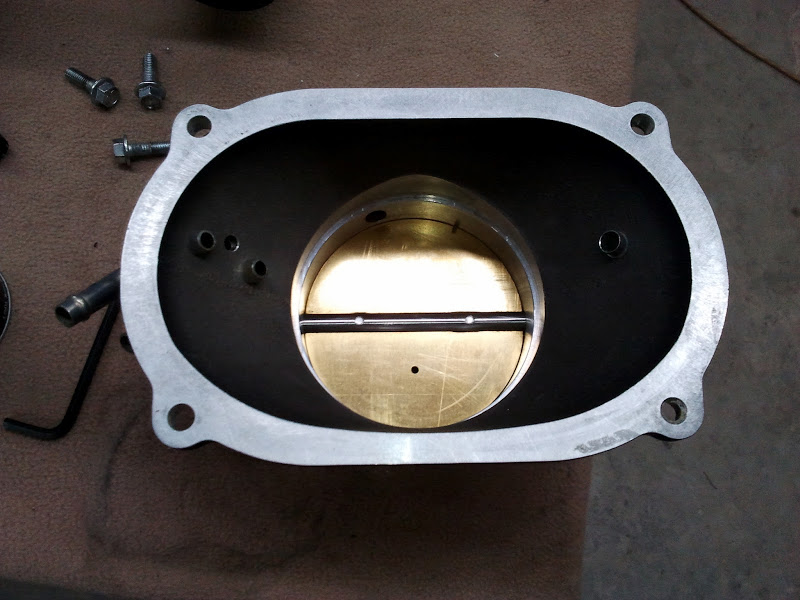
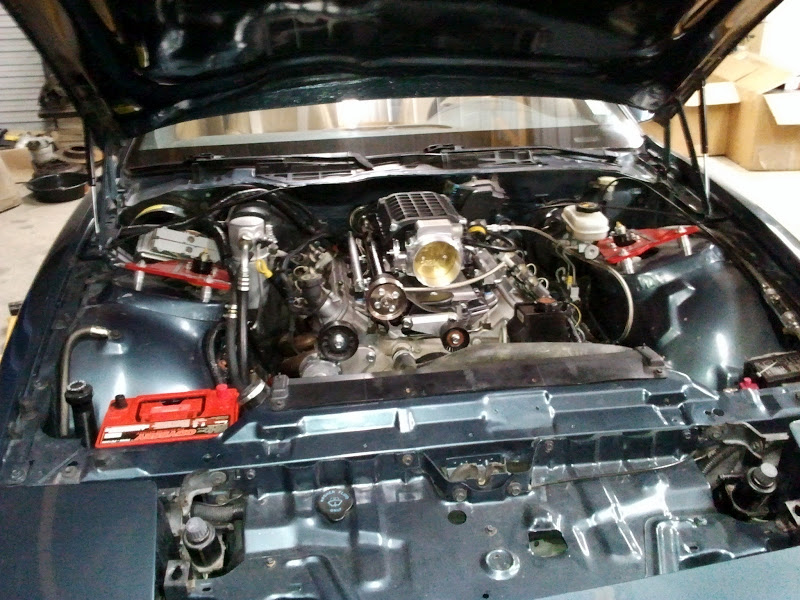
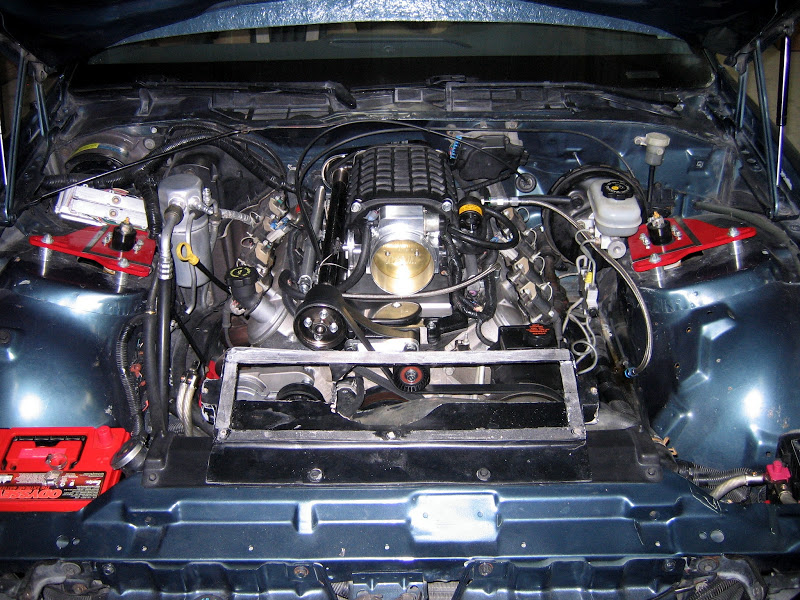
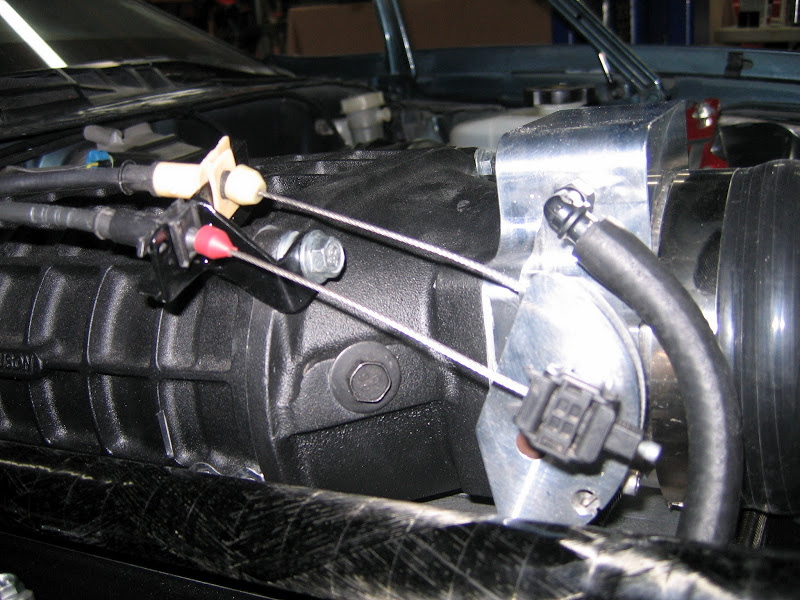
The LS1 TVS kit is essentially a modified LS2 kit since only 2004 model GTO's came with the LS1. They don't make a kit for the 4th gen F-bodies since it doesn't naturally fit and the GTO is the only kit that shares the same accessory offset. The LS1 kit comes with a 4 bolt (LS2) to 3 bolt (LS1) TB adapter and the snout has a 90mm bore.
Since the best benefit to a SC is getting air in and out as quickly as possible, I picked up a PTM 102MM throttle body from a friend. The GTO has a few issues trying to run a 102mm TB, but luckily I have plenty of room. Here's a shot compared to the stock 78mm TB.
.JPG)
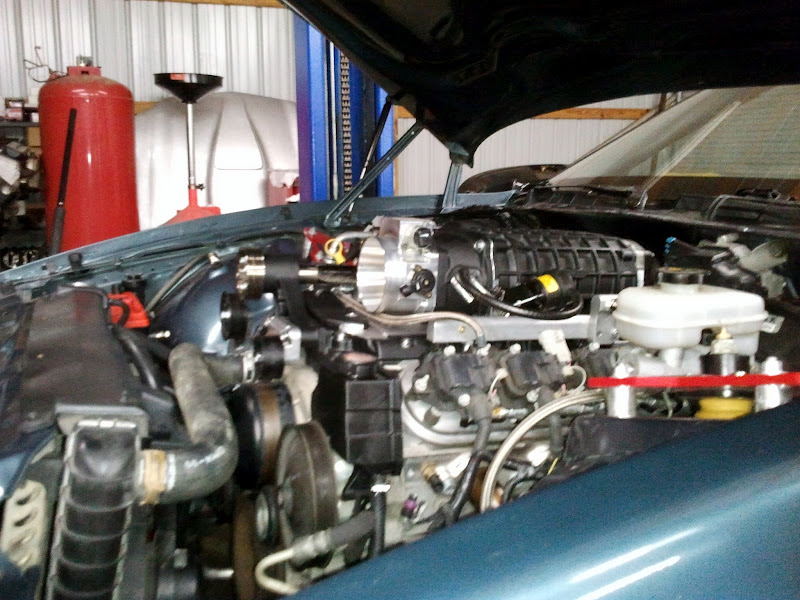
I took the snout down to the machine shop and had them bore the opening out to 102mm to match the new TB. Actually came out to about 104mm, so I should be pretty good should I ever need to go even bigger.
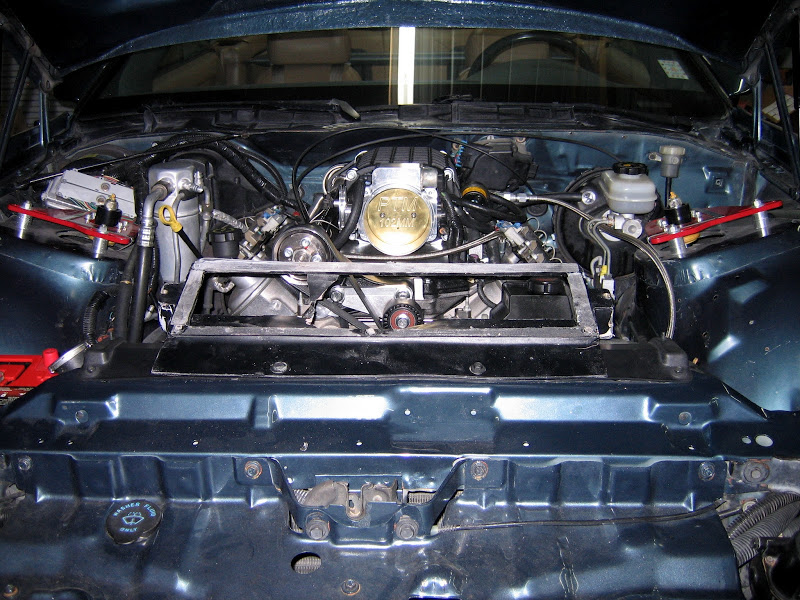
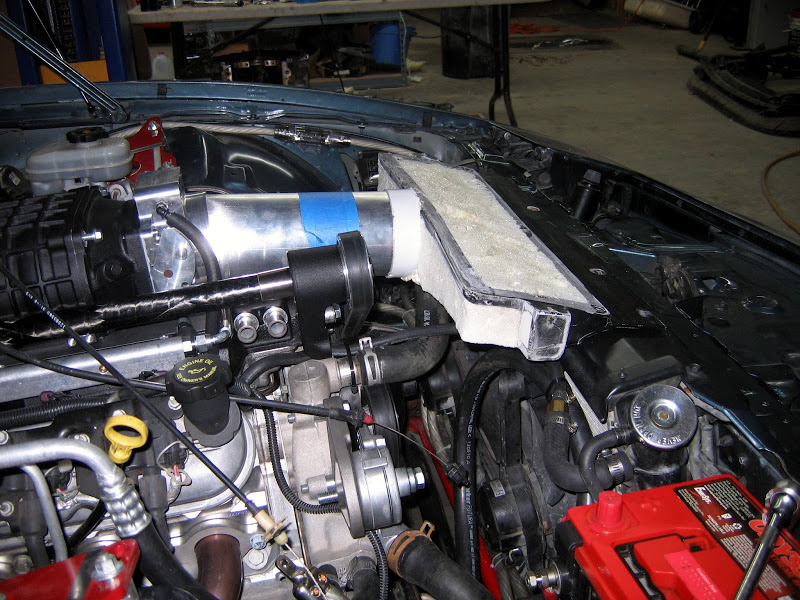
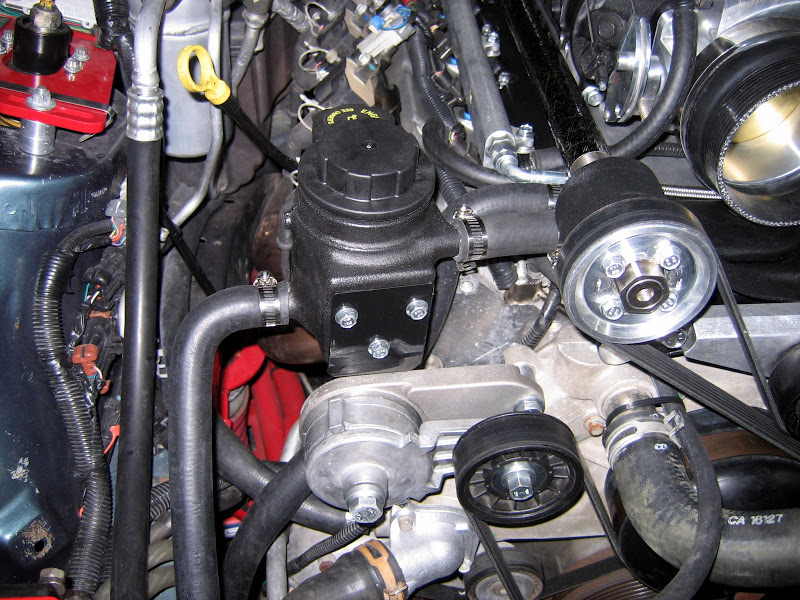
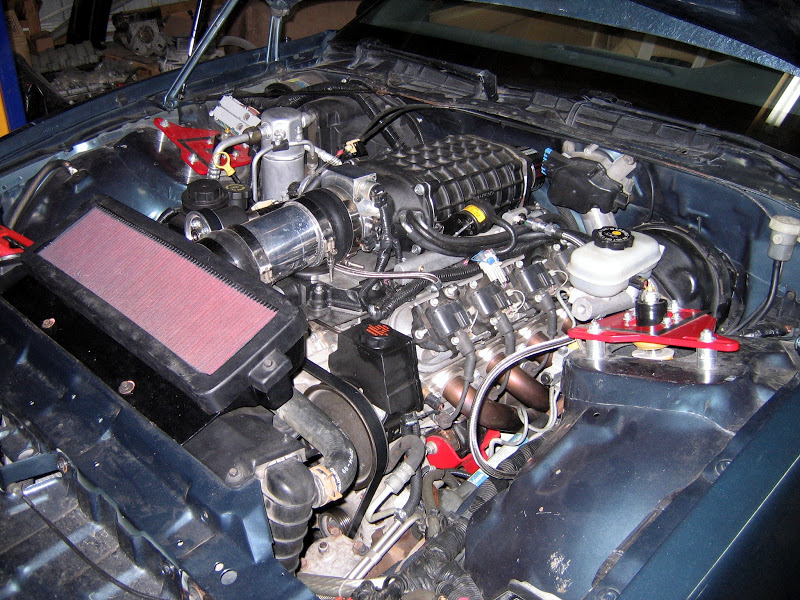
The nice thing about Magnacharger's roots style blower is it pretty much just replaces the intake and you're done. Here's some shots of the LS6 intake removed and ready for the SC install. With the heat exchanger built into the head unit, it needs as much room as possible. Keen eye's should also notice the new valley cover plate installed. This has the bolts completely flush and even the knock sensor wires are recessed into the cover. The head unit actually sits on the valley cover via o-rings. You can also see the GTO kit heat exchange reservoir hanging out as I attempt to figure out where to put it.
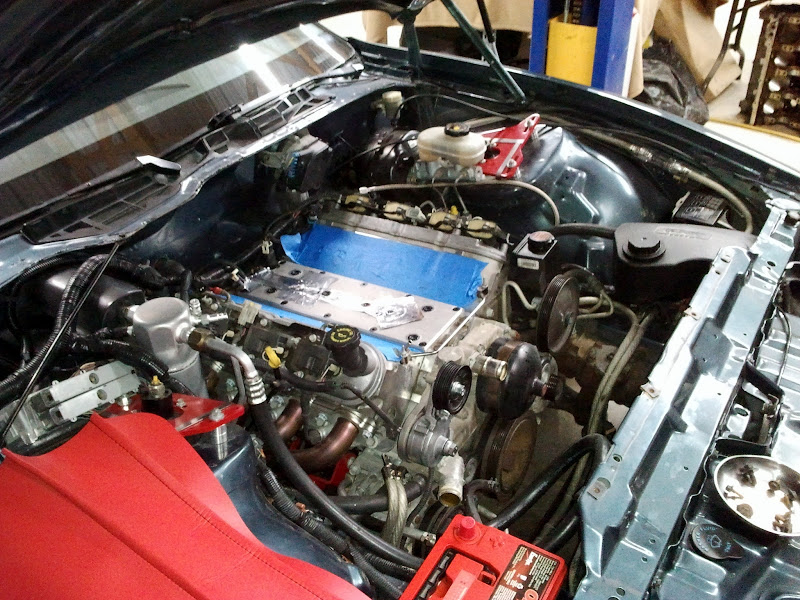
And after some help, here is the SC placed and bolted down.
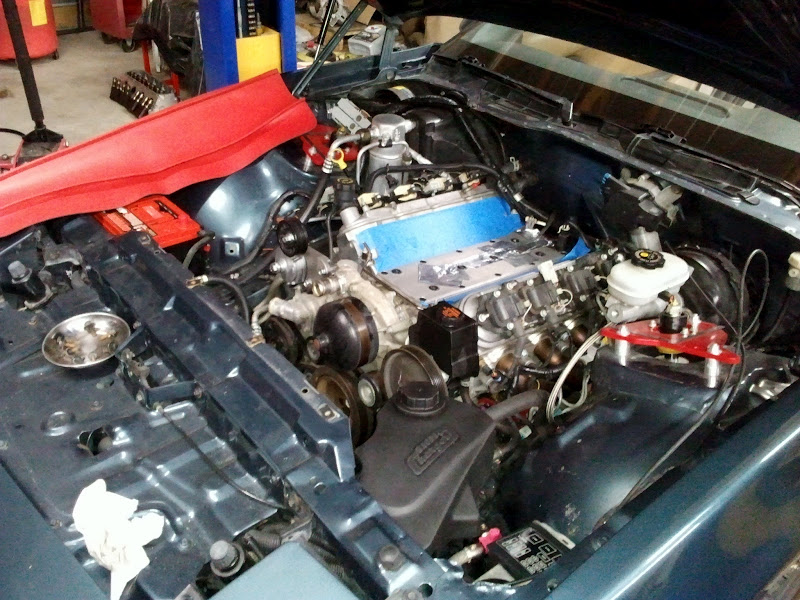
I started to get a little scared after this picture. Maybe I had over-estimated how much room I had when I bought the 102mm TB. Luckily the RA hood has enough lift to clear no problem.
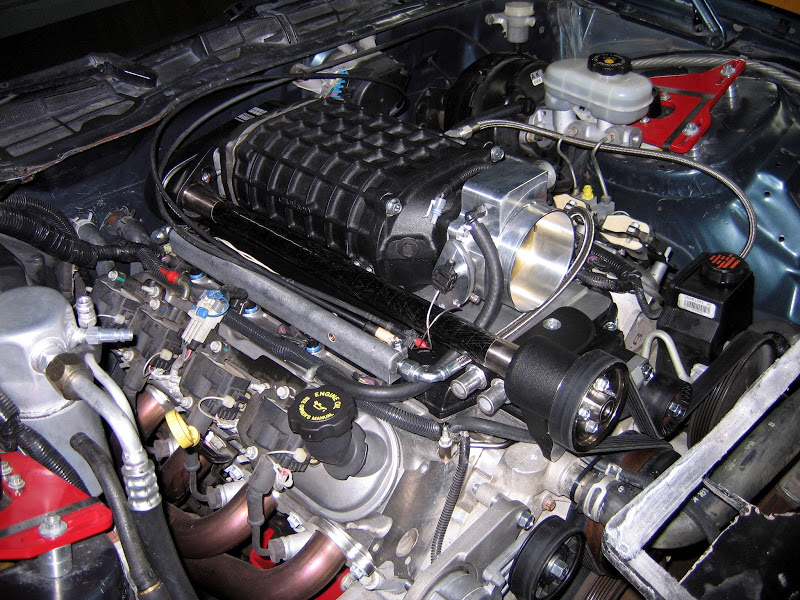
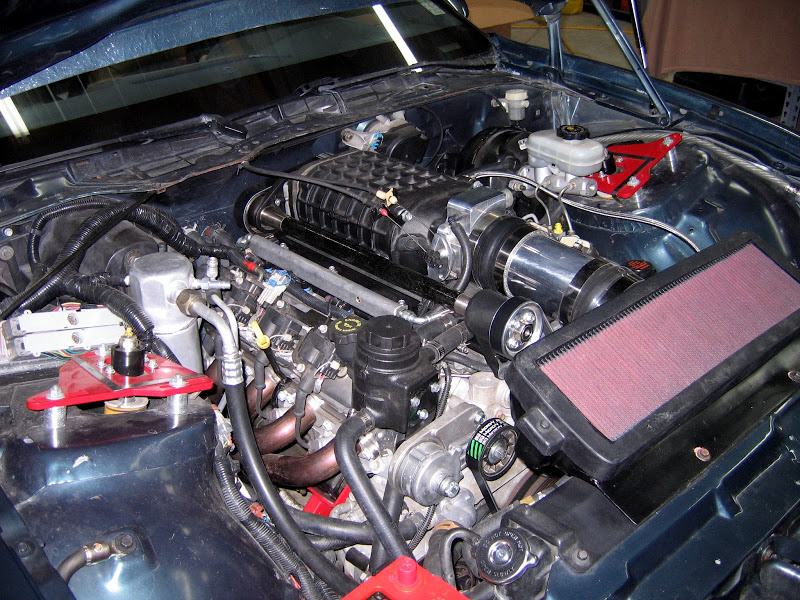
Next few pictures show the belt on, all the wiring figured out, and all the vacuum lines figured out. I had to change the passenger side valve cover to a later style in order to get the correct vacuum port, but other then that no issues.

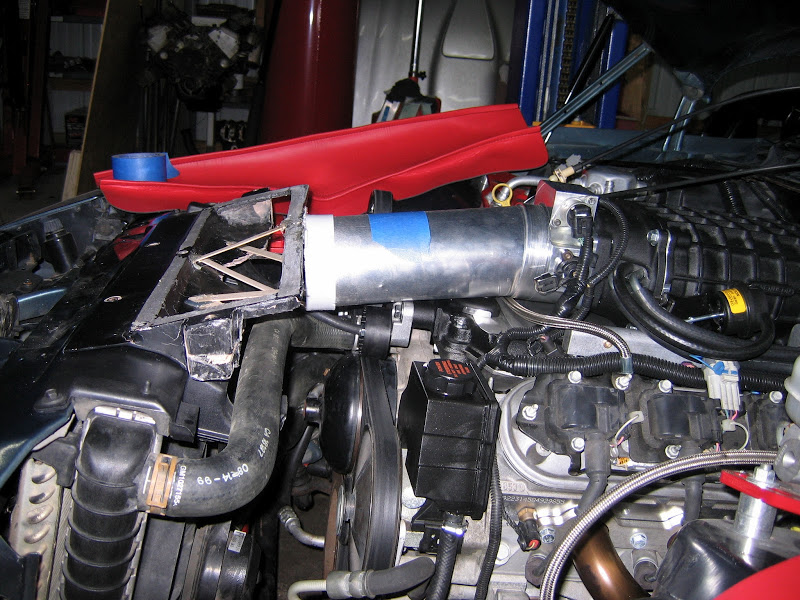
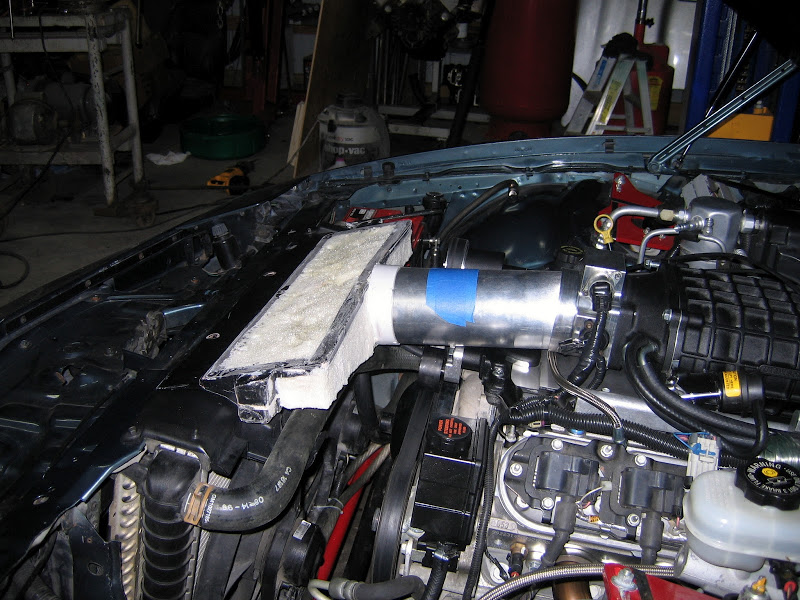
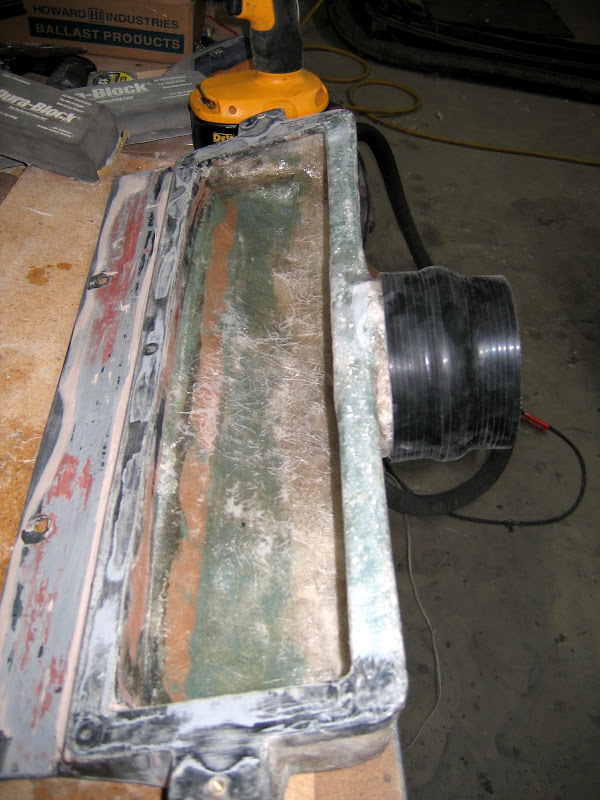
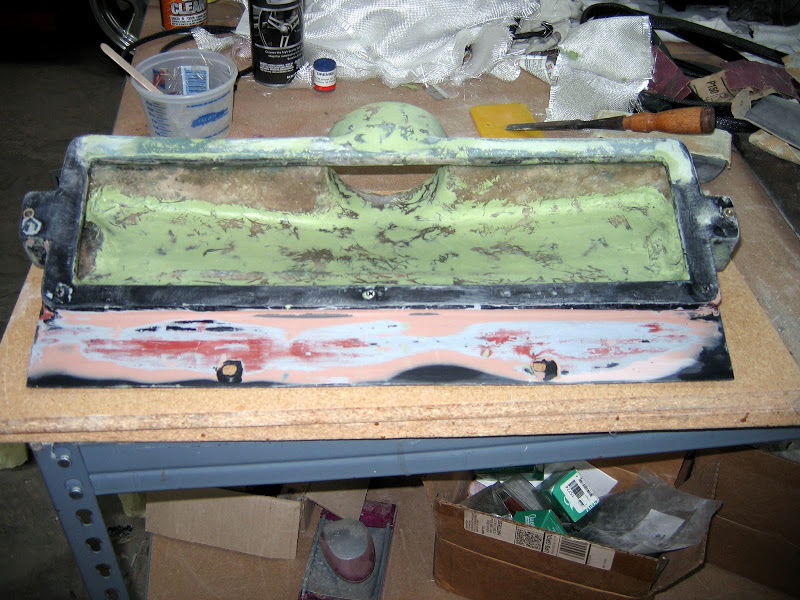
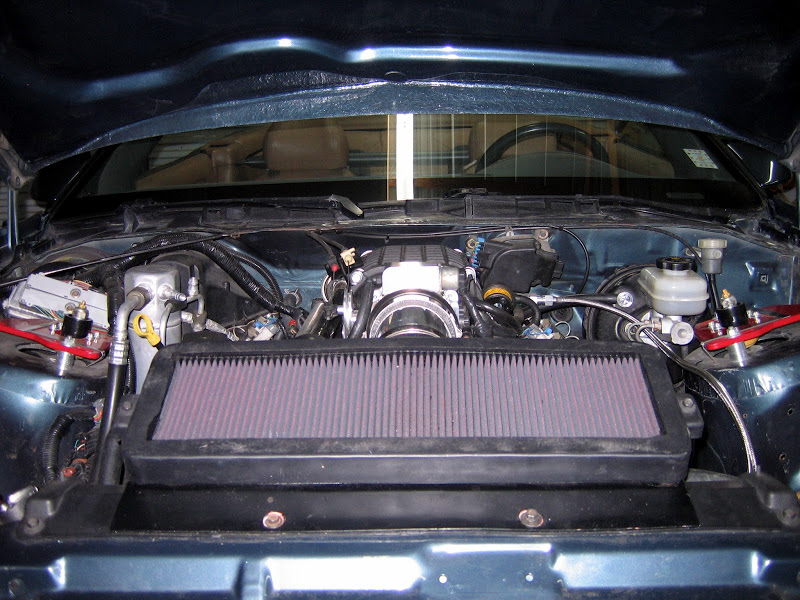
Well, my custom made air-box was designed for a MAF sensor and 78mm TB. Since I'm ditching both of those, I needed to redo it. Stripping it down I realized how much my fiberglass skills have improved since I first made it, and pretty much decided to take it down to just an outline and bottom plate.
The supercharger puts the TB a lot higher then stock. This is going to take a little bit to get lined up.
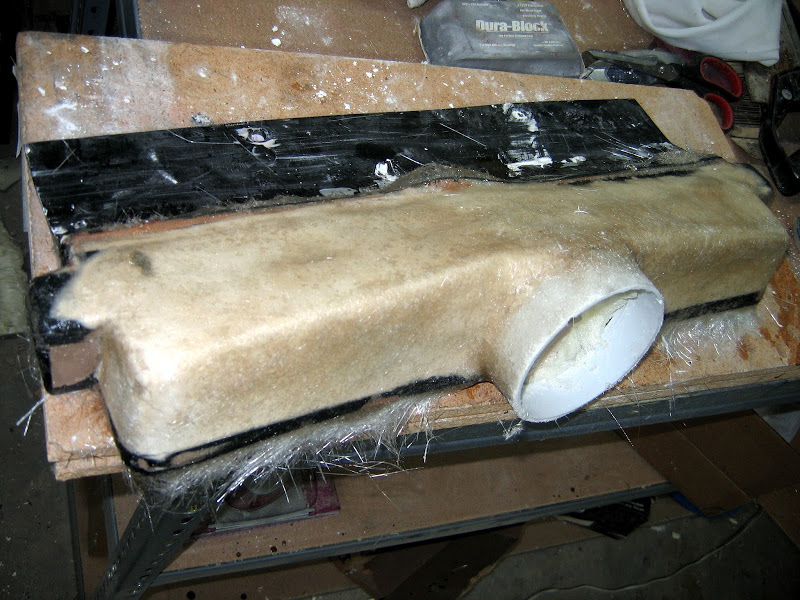
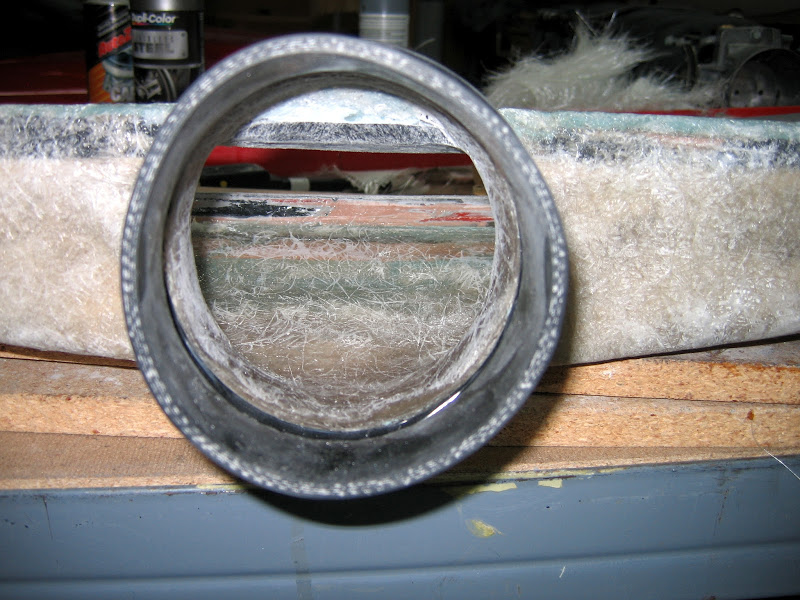
A dryer duct kit from the hardware store was the perfect template to lay it all out. I cut the plastic wall plate down to get a perfectly round outlet and used the thin metal tubing to get the lengths and alignment correct.
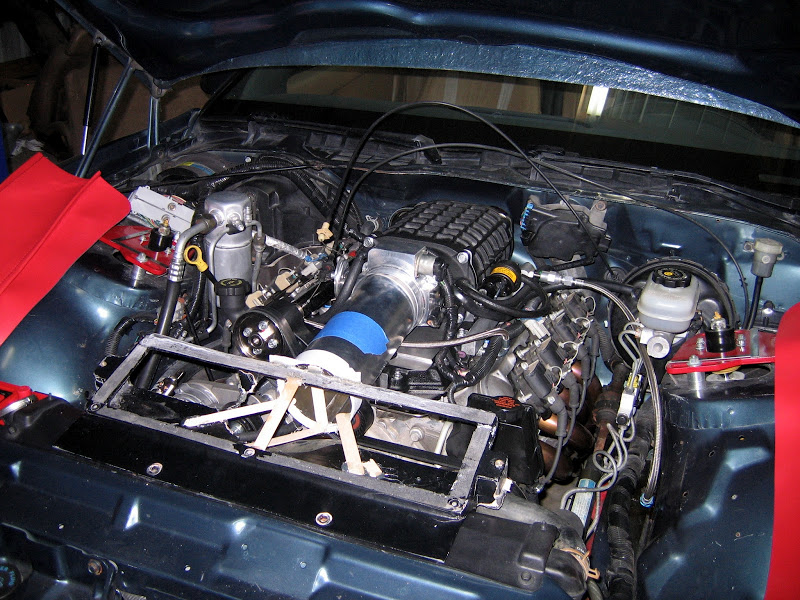
The angle down was a little too steep for a tilt coupler, and not steep enough for a 45 degree one. I wound up tilting the air box up a bit make the two ends closer to the same plain.
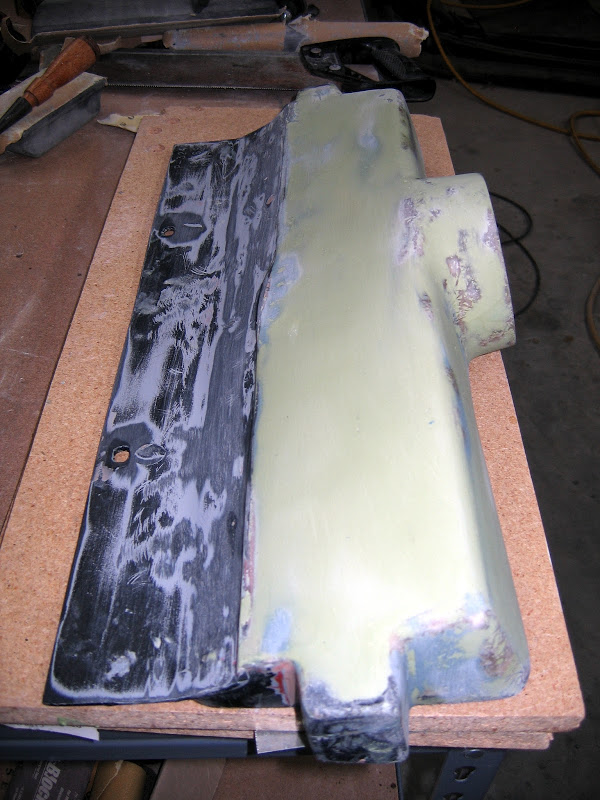
Once everything was in place with hot glue and tongue depressors, it was removed from the car and filled with foam.
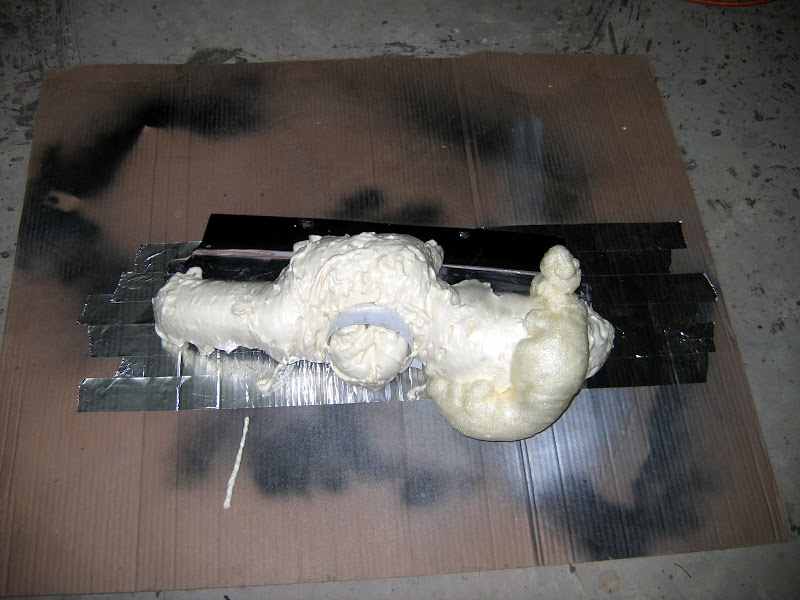
Next I started shaping the foam and getting the final look I wanted.
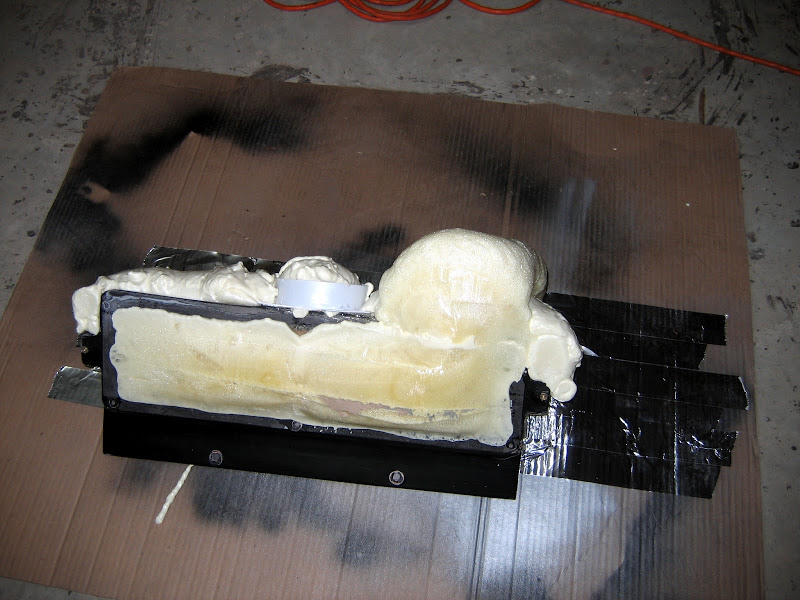
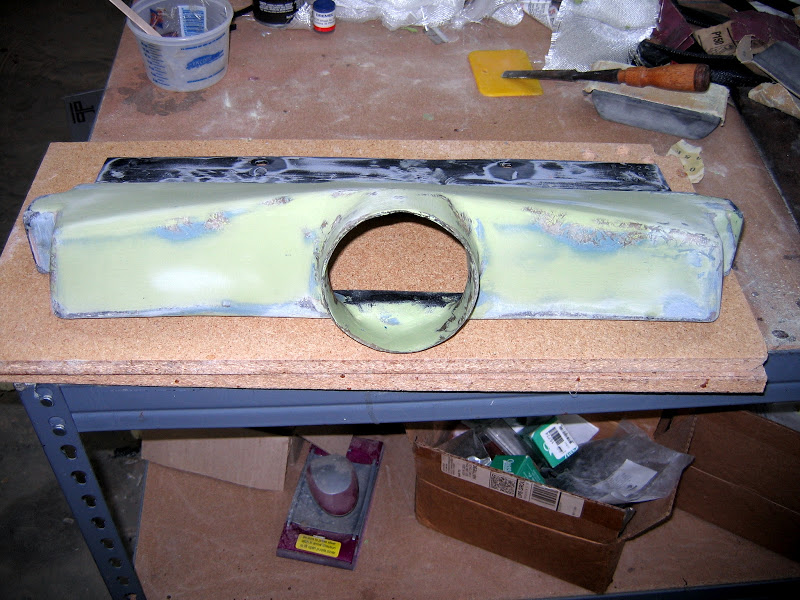
Fist layers of fiberglass are on.
Multiple layers with the dryer ducting removed.
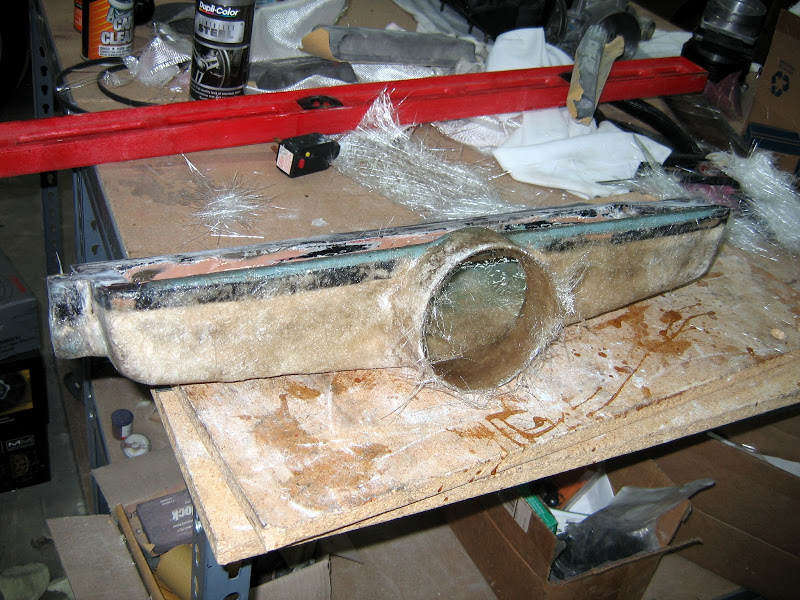
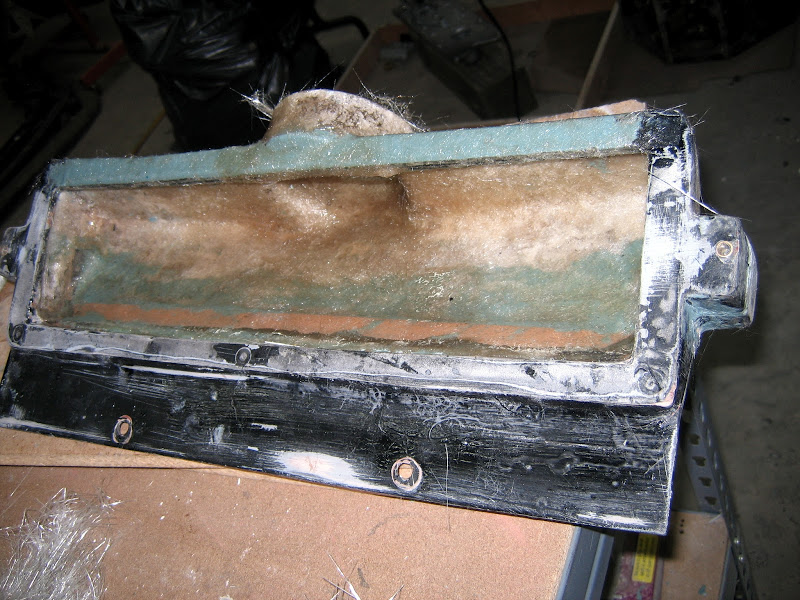
Fiberglass is done, test fitting the silicon coupler.
Smoothing and filling about done, almost ready for primer and paint.
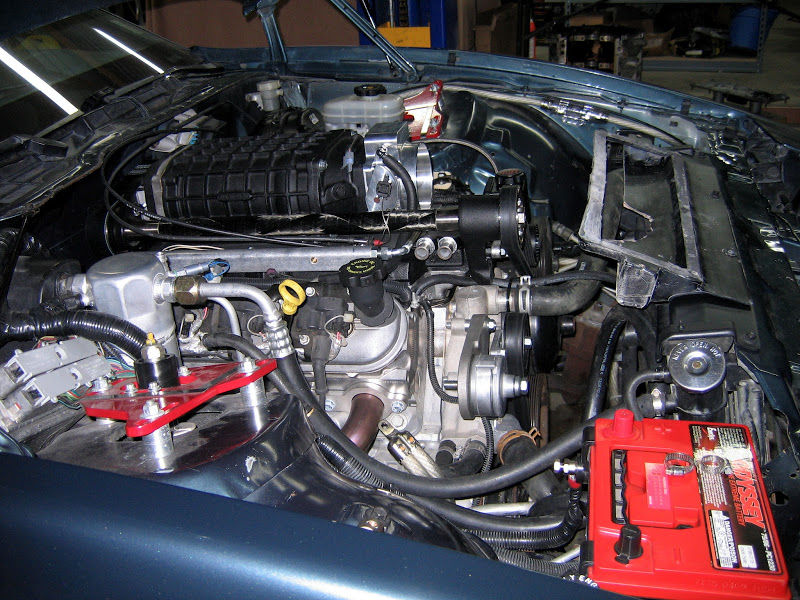
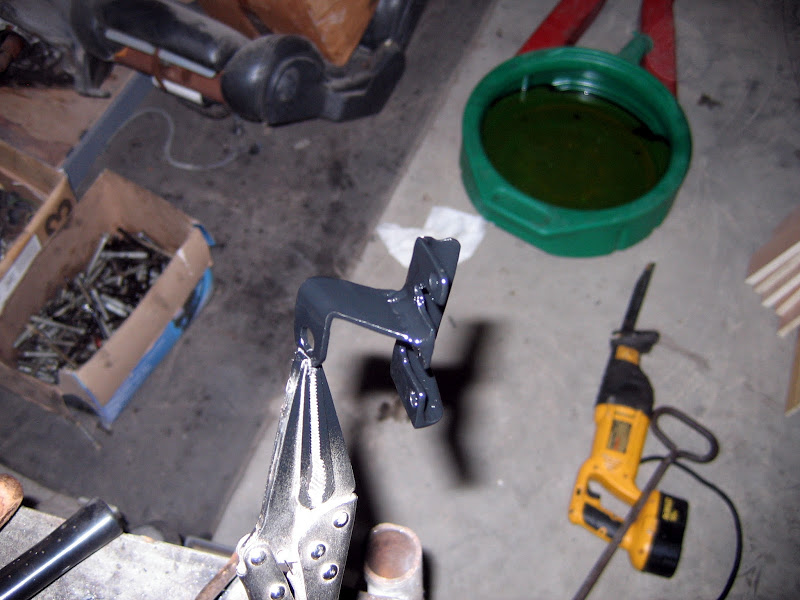
All GTO's came with traction control, which means no GTO came with a cruise cable connected to the TB. Therefore, the Magnacharger kit did not come with a cruise cable bracket. Some cutting of the stock bracket, some cutting of the SC bracket, and a little welding later, I had a new double bracket.
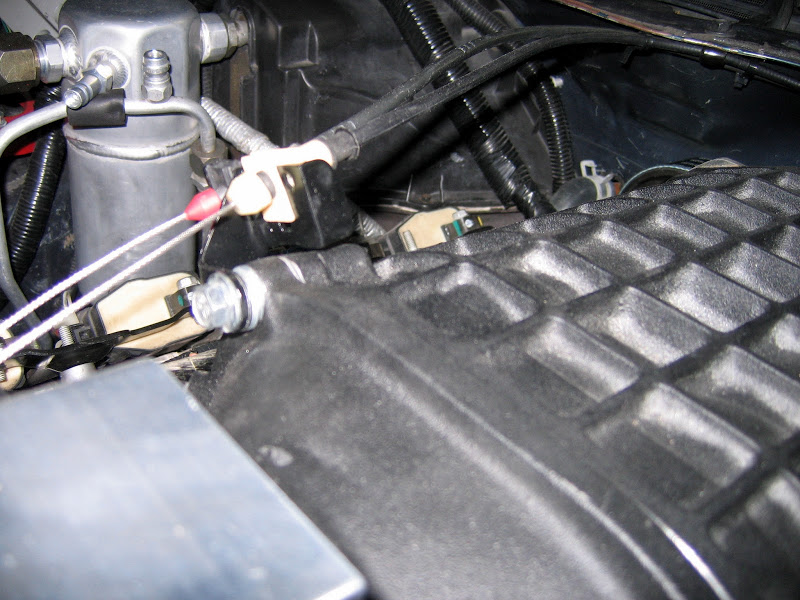
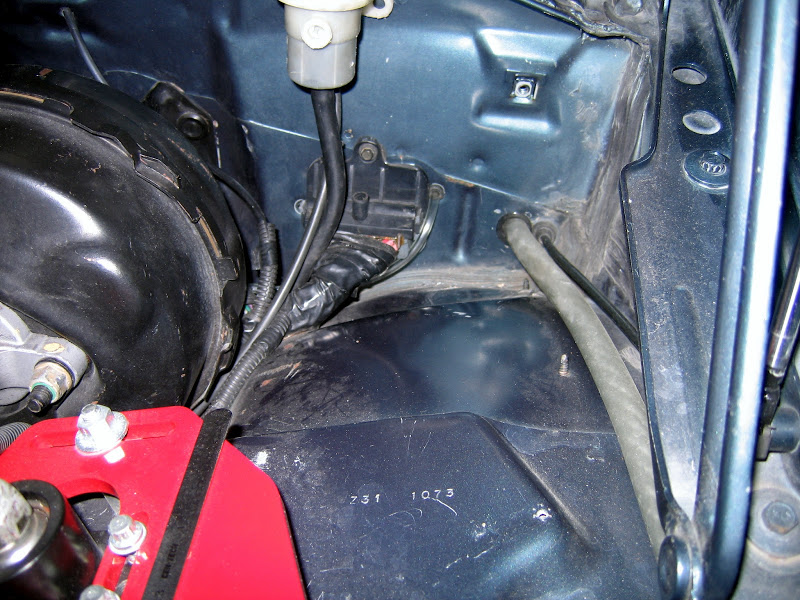
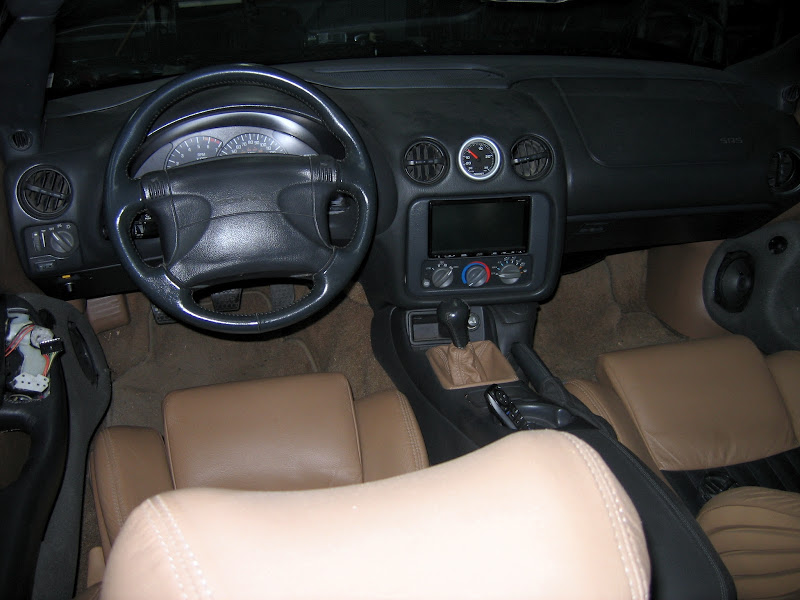
Next up was the obligatory boost gauge. I should probably have a A/F and fuel pressure gauge as well, but trying to keep a subdued stock look doesn't quite jive with that. Here's The vac/boost line discretely ran through the firewall.
I wound up removing the center of the three AC vents and installing the gauge there. I did wind up painting the gauge surround to match the dash, so now it doesn't even draw attention. Luckily since there was three vents, it's symmetrical a looks stock.
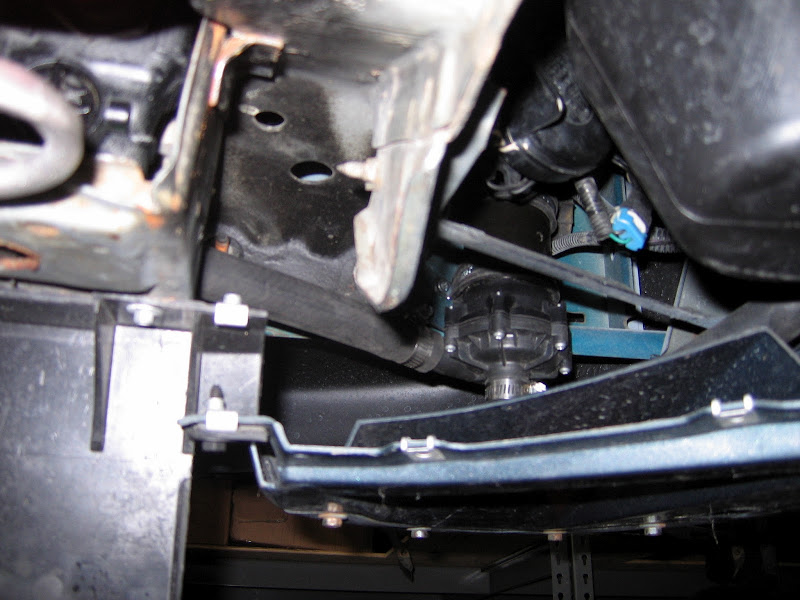
One of the hardest parts of the install was trying to get all the GTO kit heat exchanger parts to fit. I could not find a good place to put the oddly shaped GTO reservoir, so I wound up purchasing a unit that comes with the 2010+ Camaro kits. It doesn't hold as much coolant as the GTO kit, but the increased line lengths I needed made up for it.
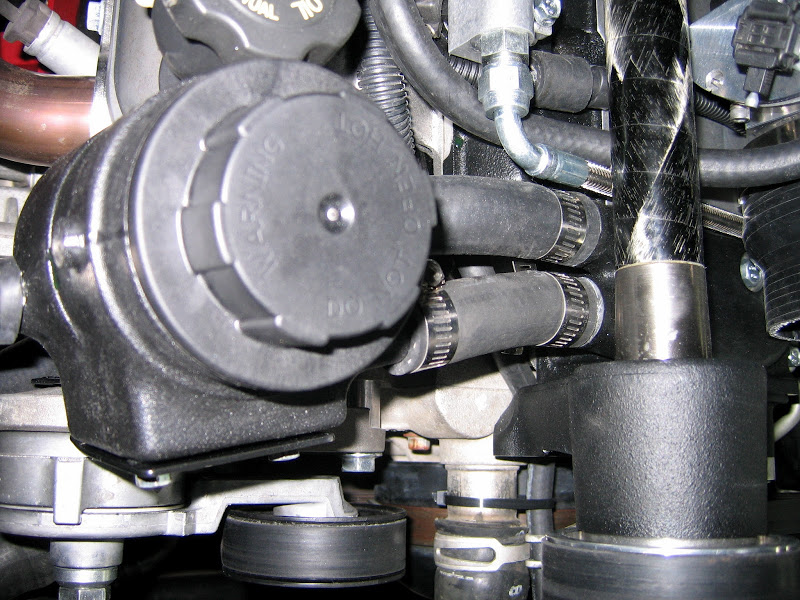
I needed to get some long coolant hoses with 90 degree bends on the end to tuck everything in tight, but it worked out perfect.
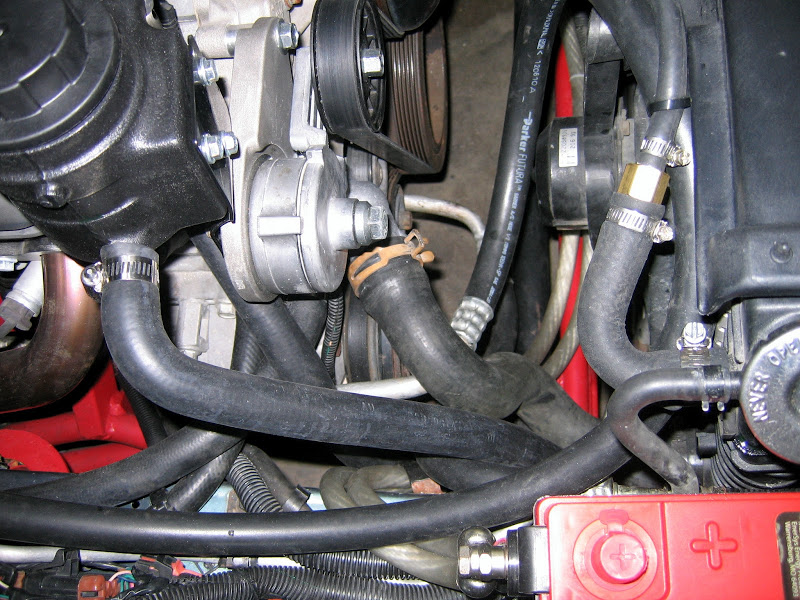
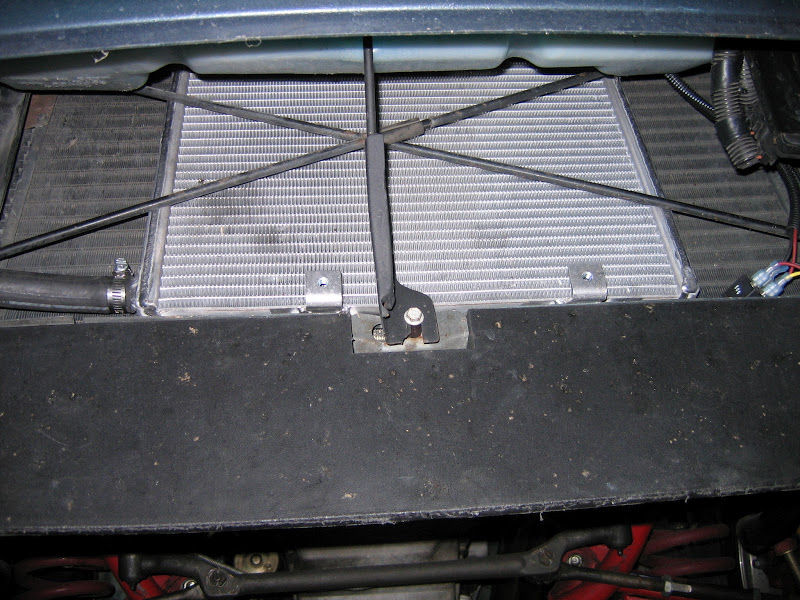
Luckily the air to water cooler fit nicely between the condenser and cross support braces. I'll eventually get a double-pass cobra unit or something angled more into the air path, but to get everything working it looks good.
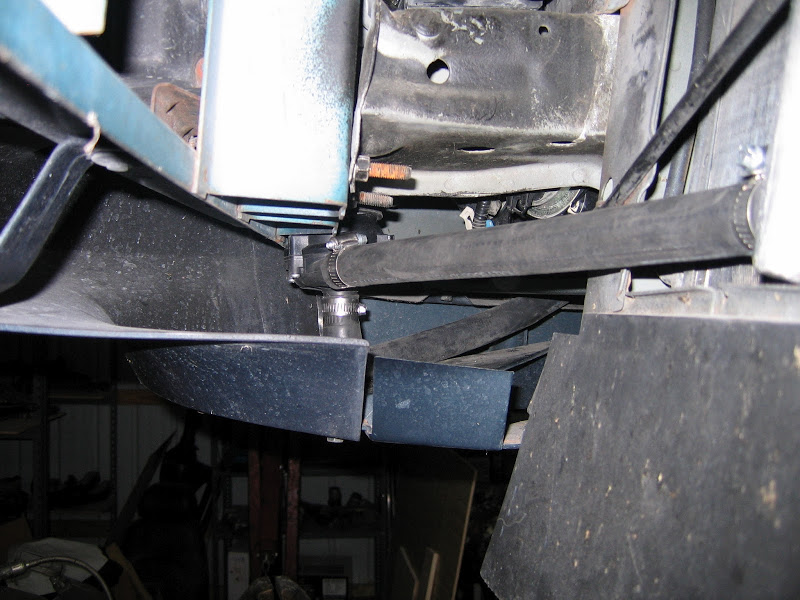
Found a good place to mount the coolant pump under the front bumper.
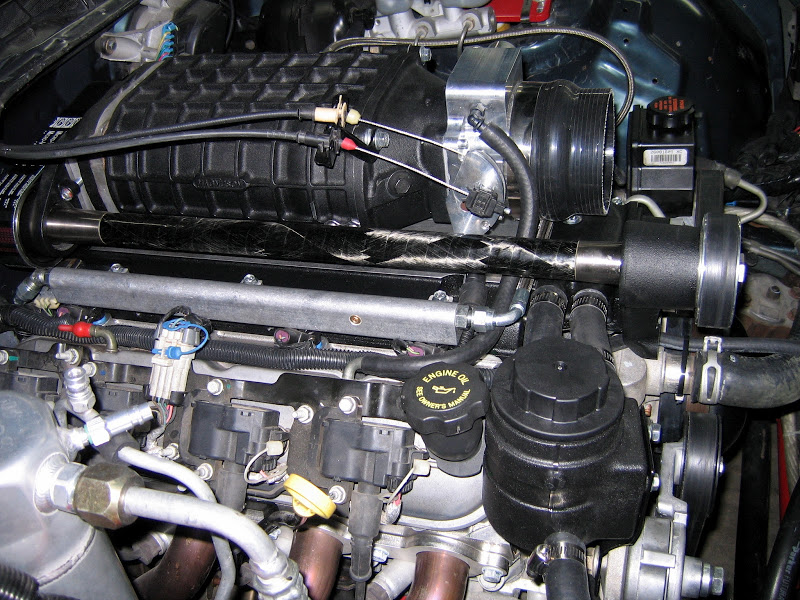
After a little bit of wiring, here it is finished up! (albeit dirty)
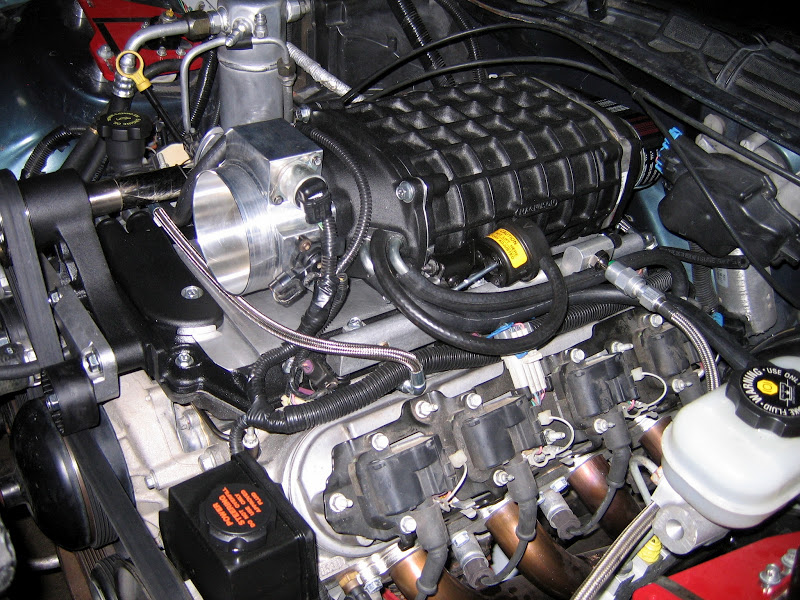
A keen eye might notice the slightly smaller front pulley I put on the SC kit. It's a 3.05" versus the 3.2" stock. Should be good for a few more pounds of boost.
The mean look...
So then I had the agonizing 2 month wait for my tuner to come back to town. With the 60# injectors in the kit, I didn't want to risk even cranking it.