A chronological history of my:
Jade Green / Gray 1992 Trans Am Convertible
Page 5
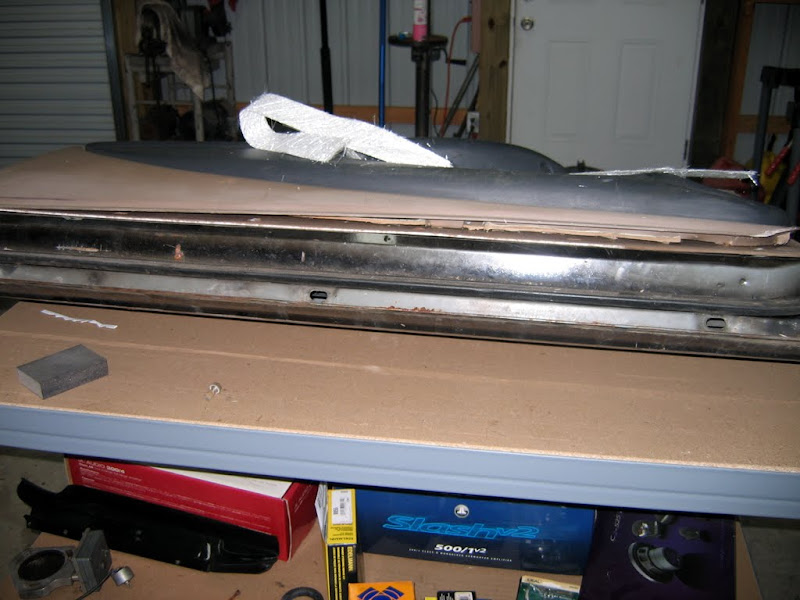
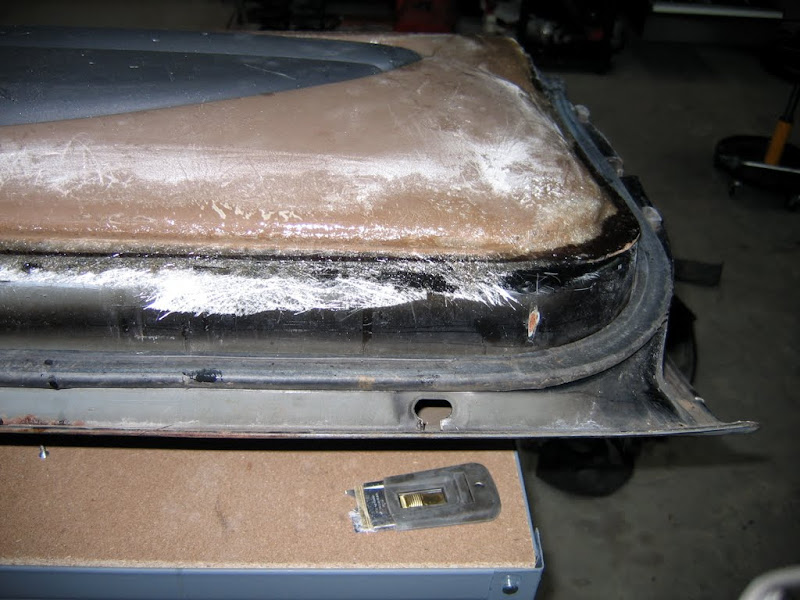
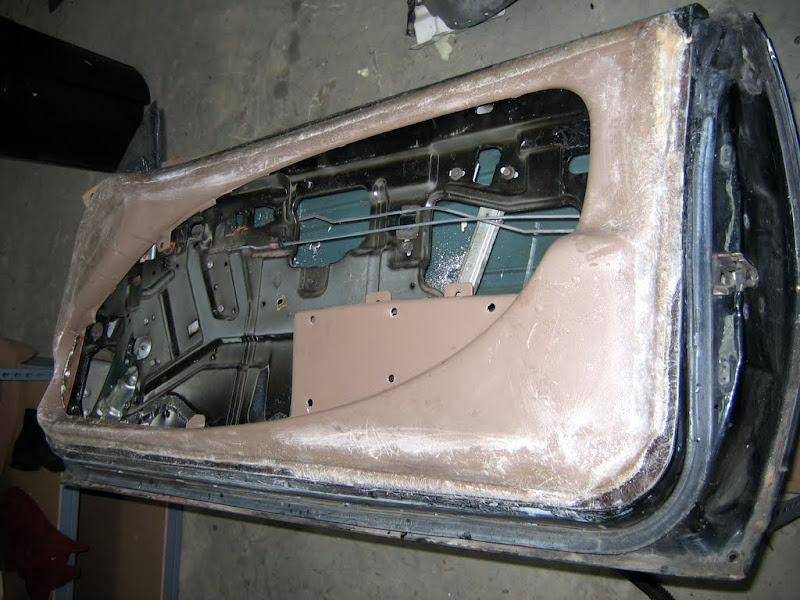
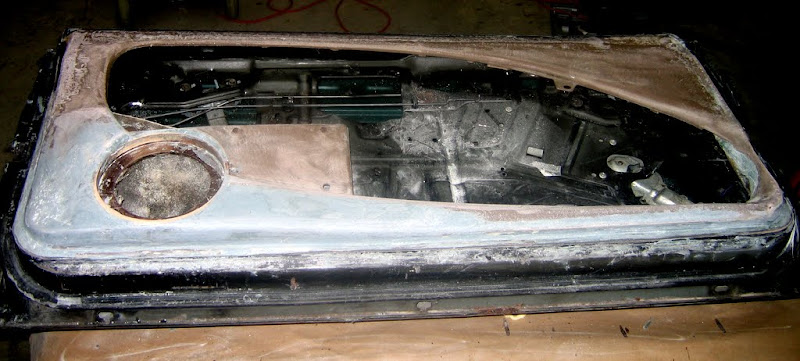
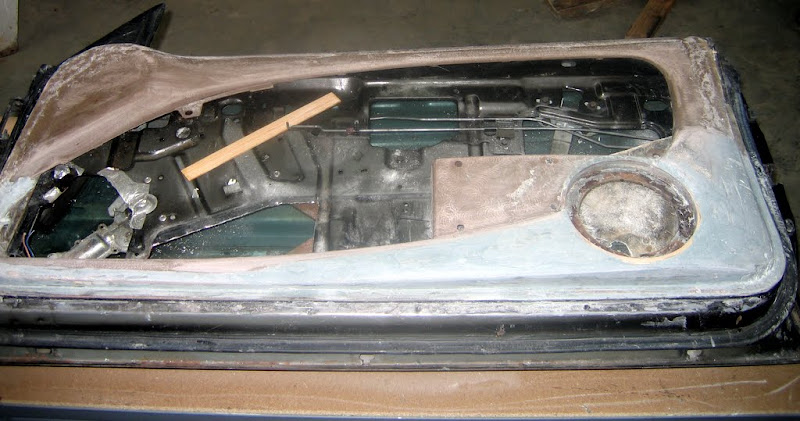
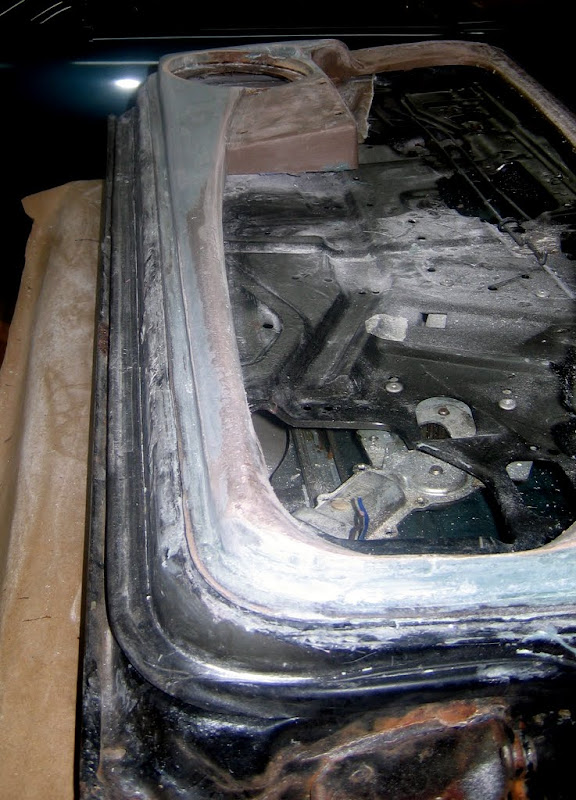
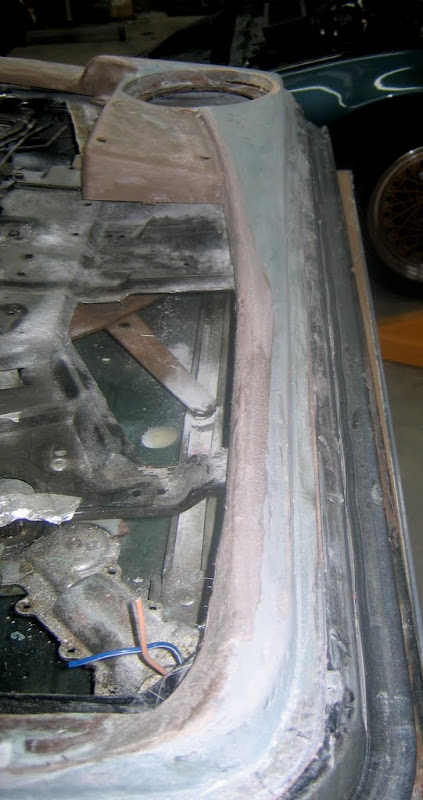
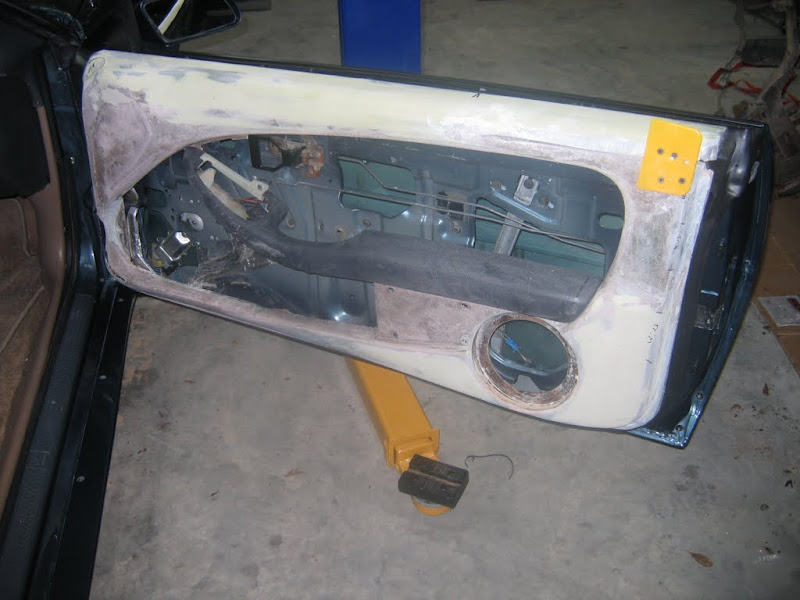
With various parts cars around the shop, I was
able to pull doors from another car and set them up. This lets me not have to
glass on the car, and will keep everything lined up while the resin cures. In
the next two pictures you can see where the problems areas are when trying to
make these fit the door.
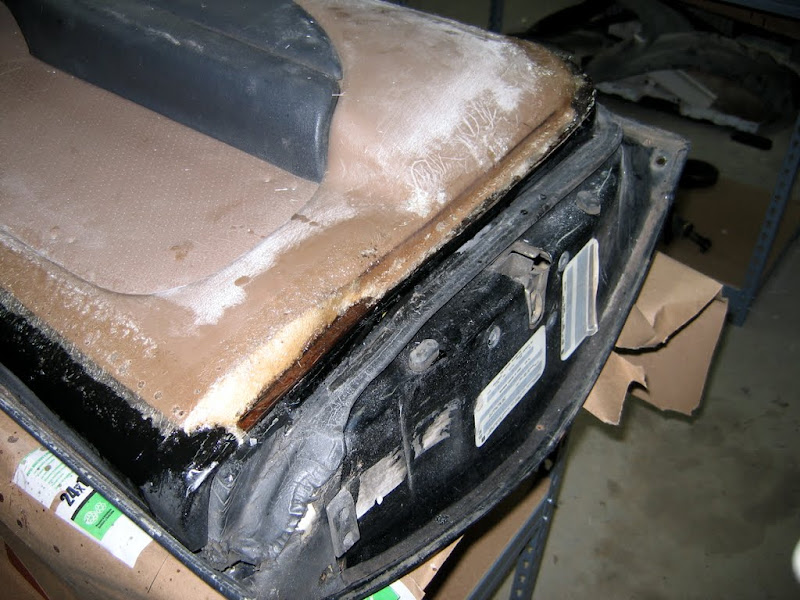
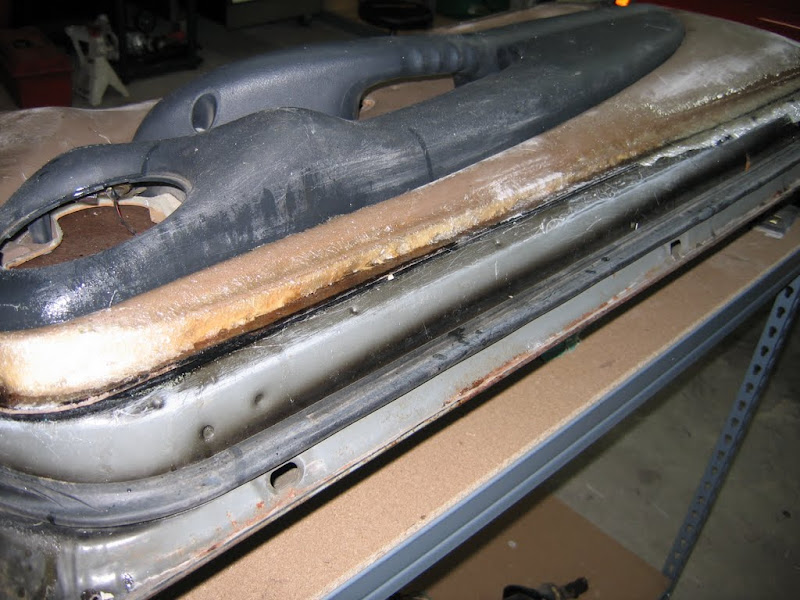
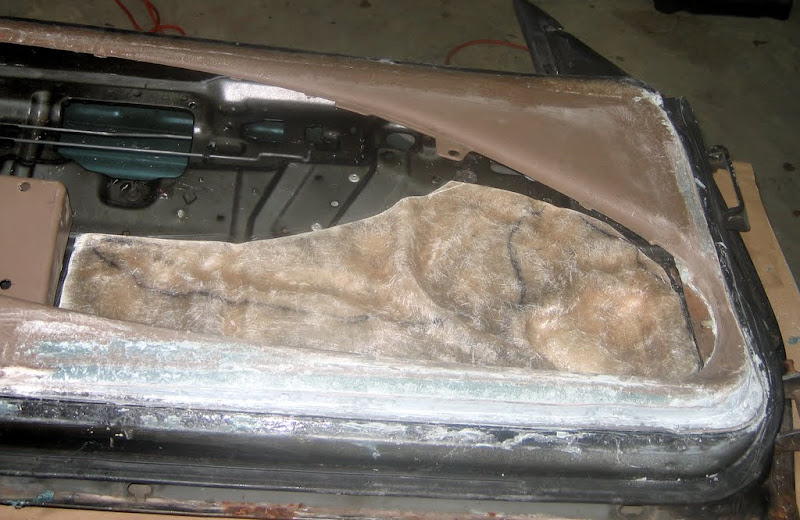
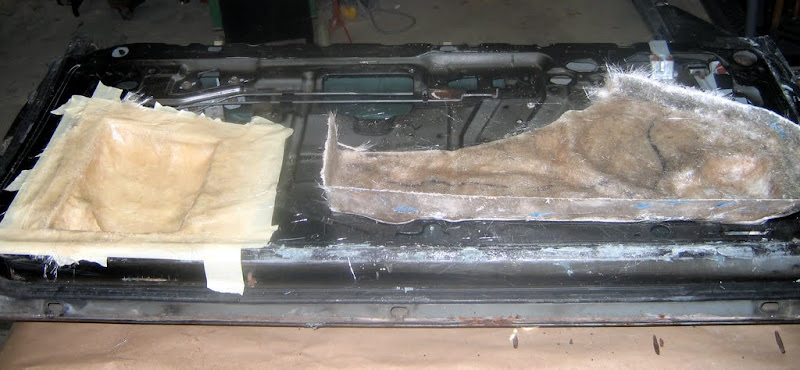
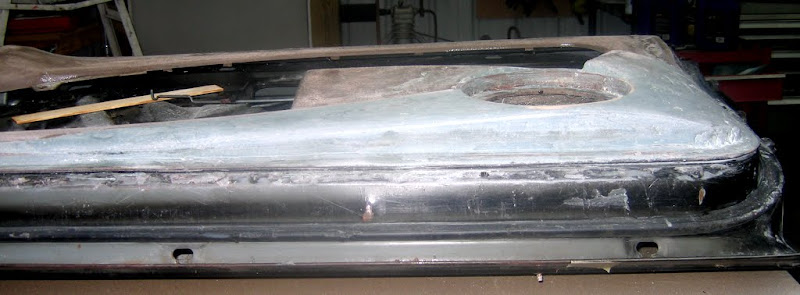
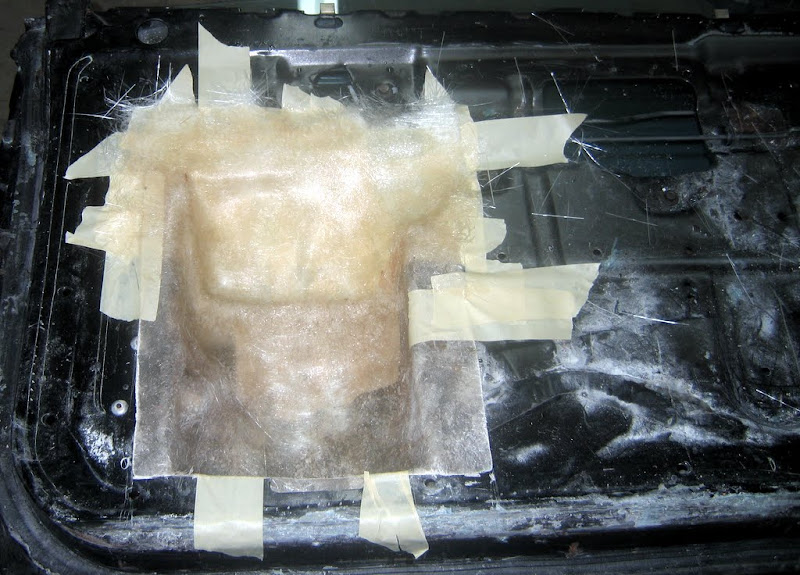
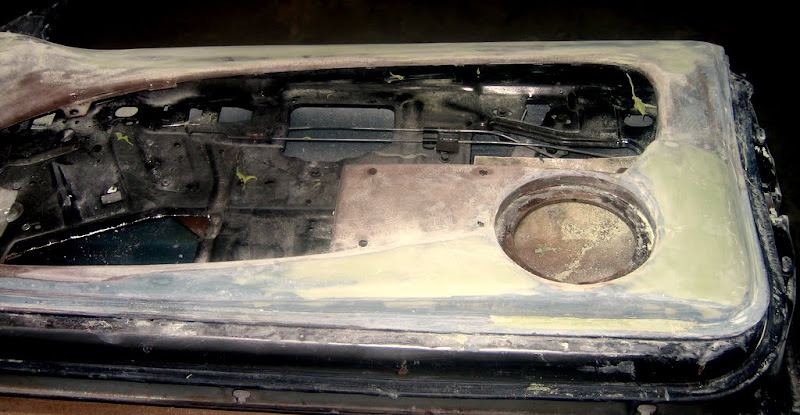
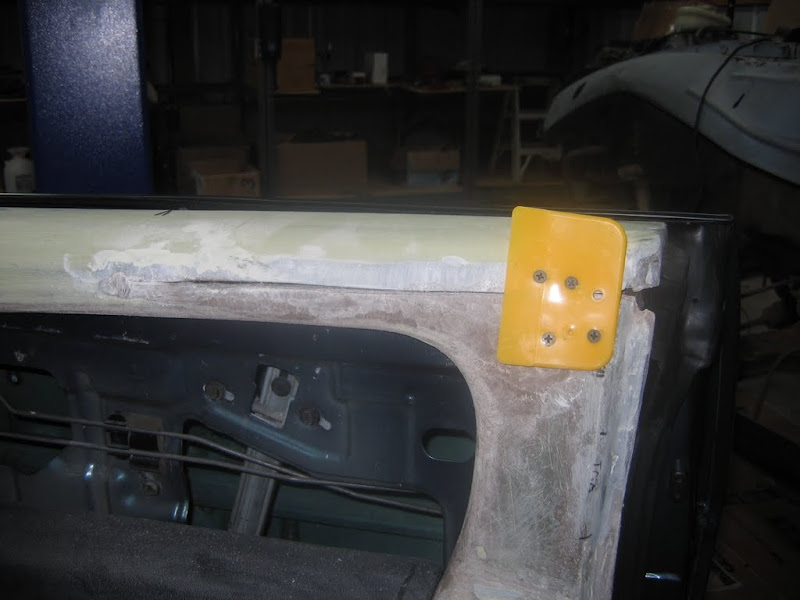
I put a small piece of mat across the top to attach the new panel to the old top
piece. Both pieces were sanded well and drilled about every quarter inch.
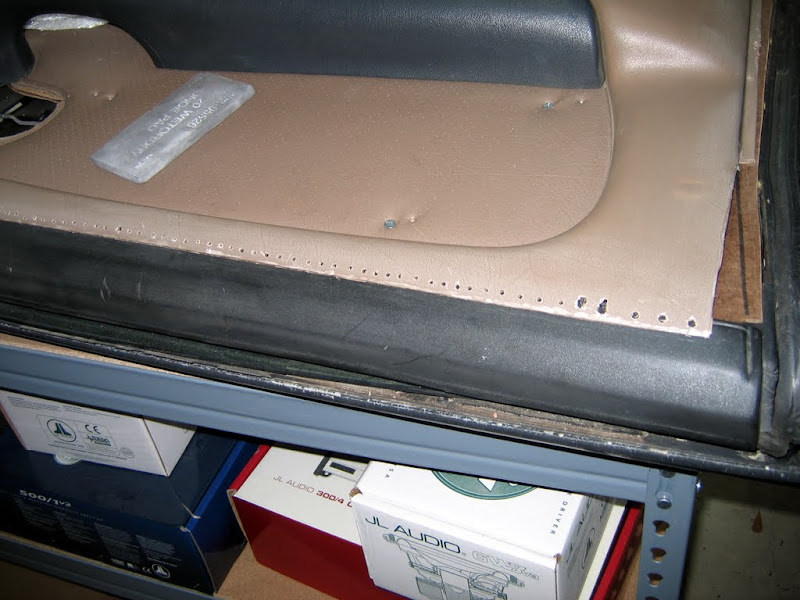
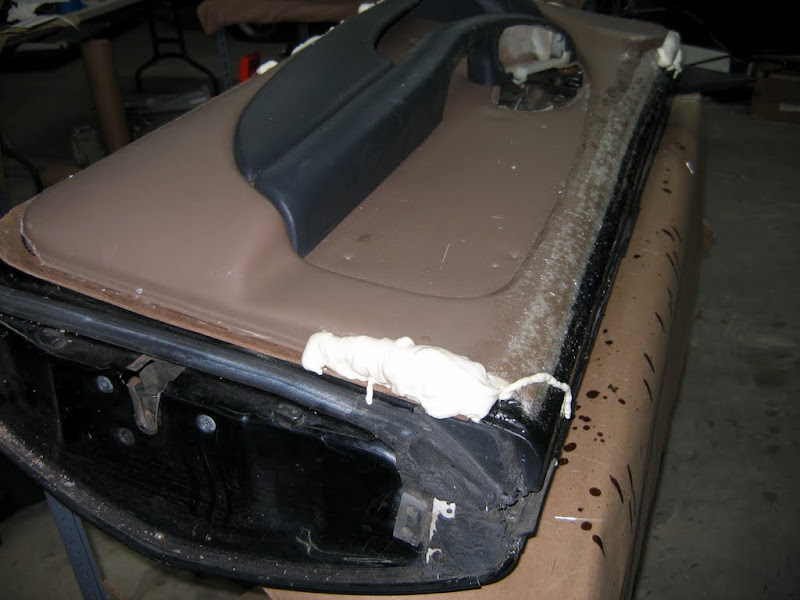
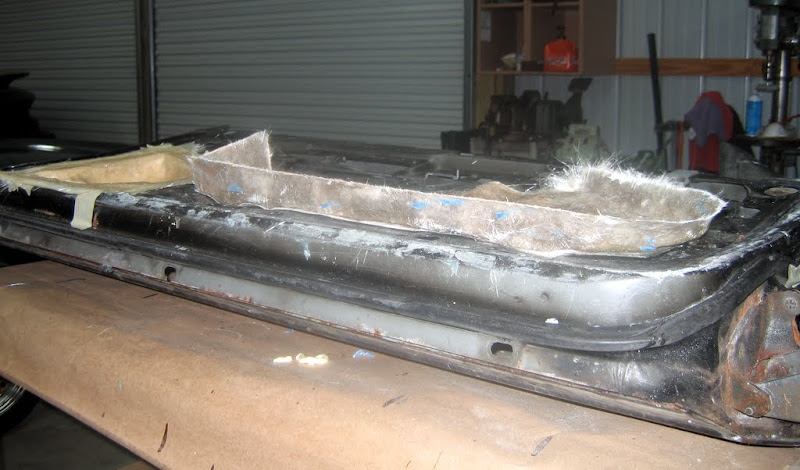
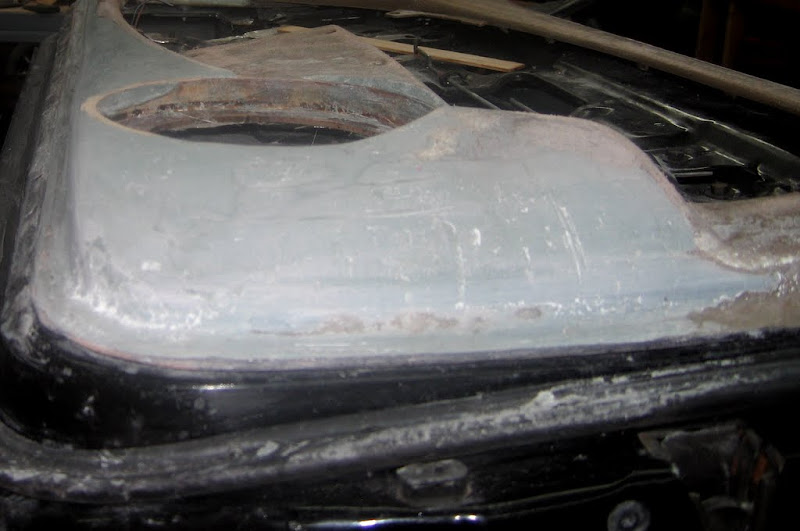
With the top fixed, I put a few key screws around some of the edges to keep them
in place and then foamed up the large gaps.
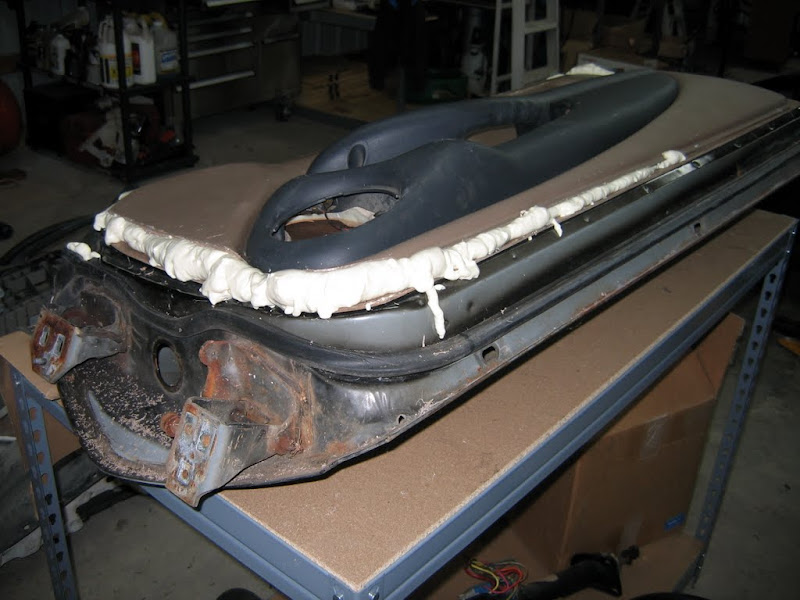
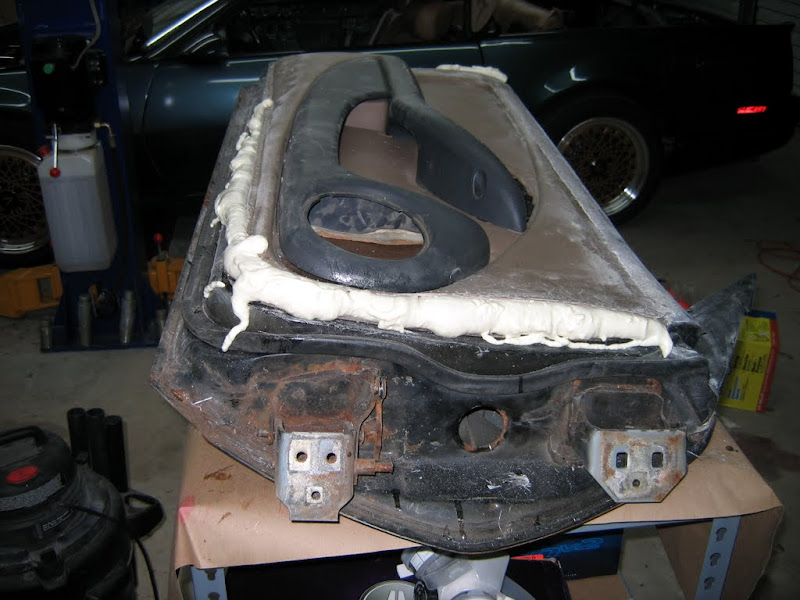
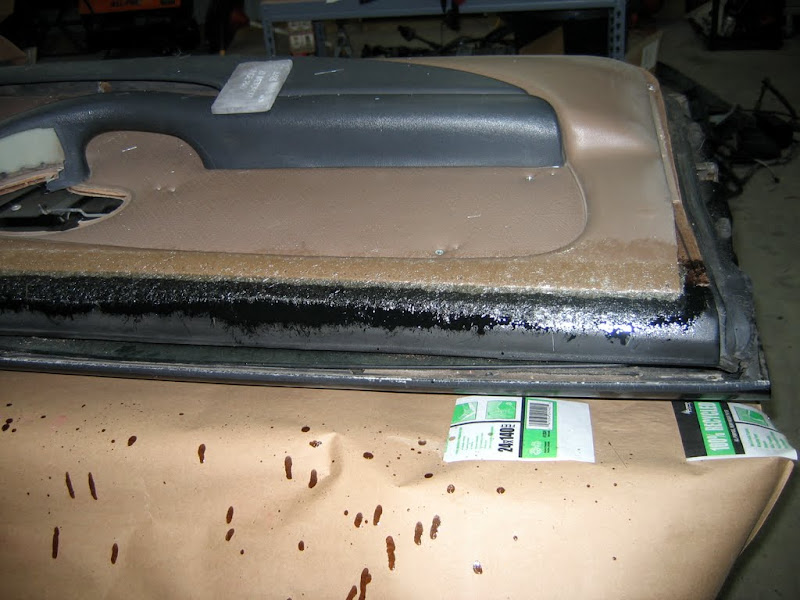
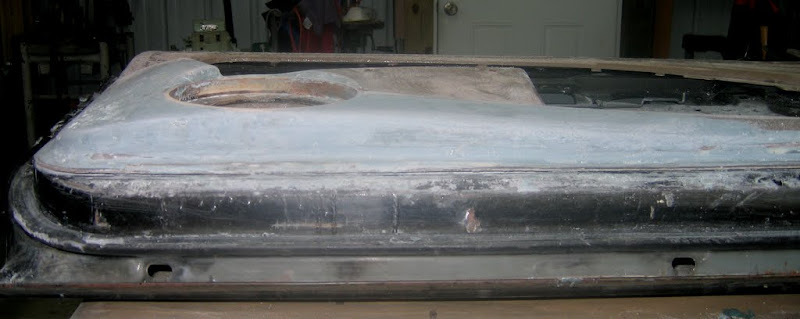
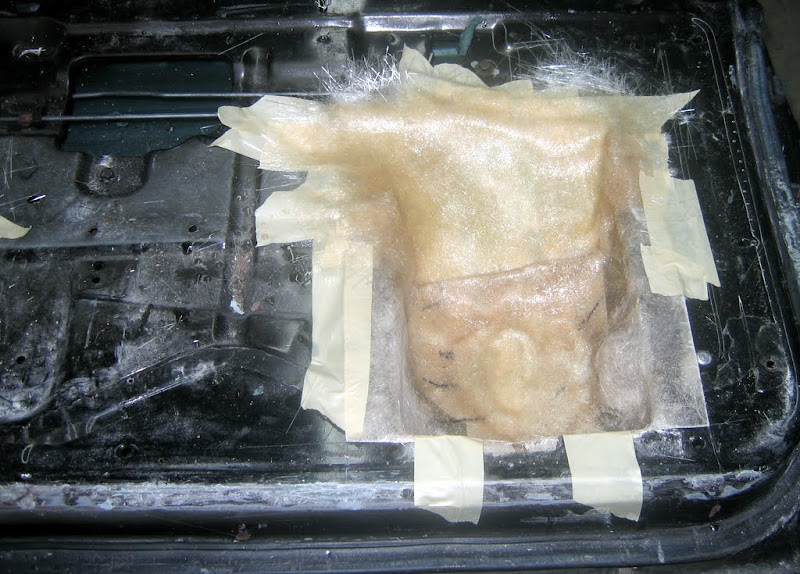
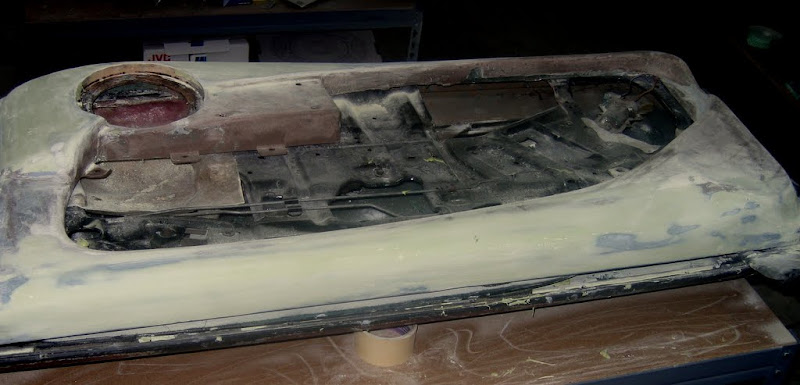
Shaped the foam out, drilled the plastic, and then started laying up glass over
the top.
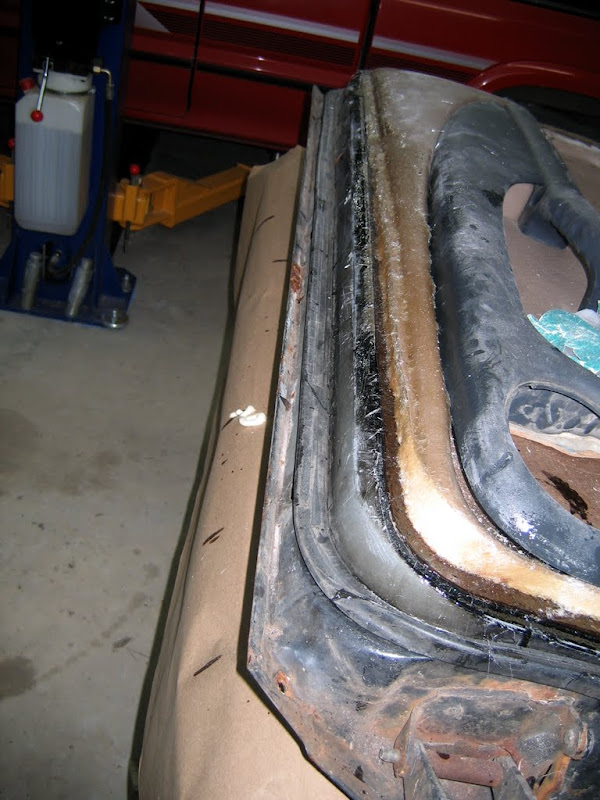
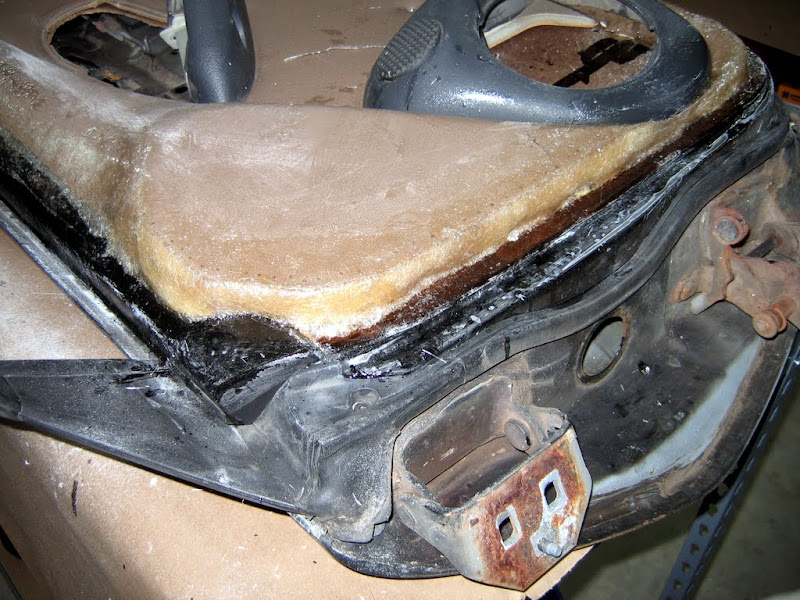
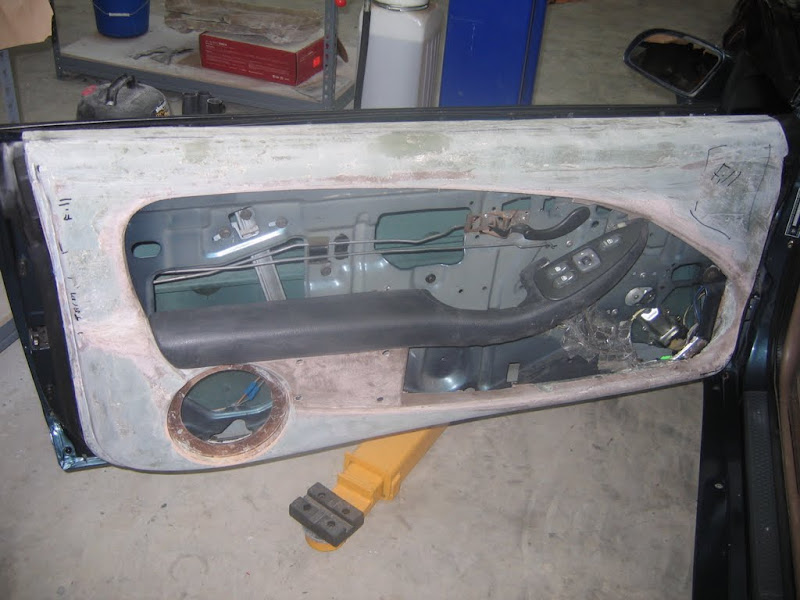
Once cured I now had a solid door panel to work with.
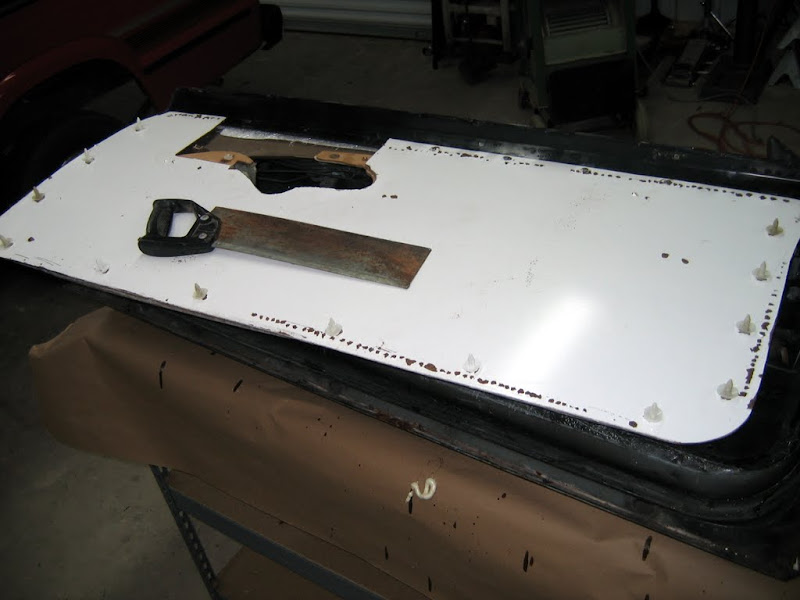
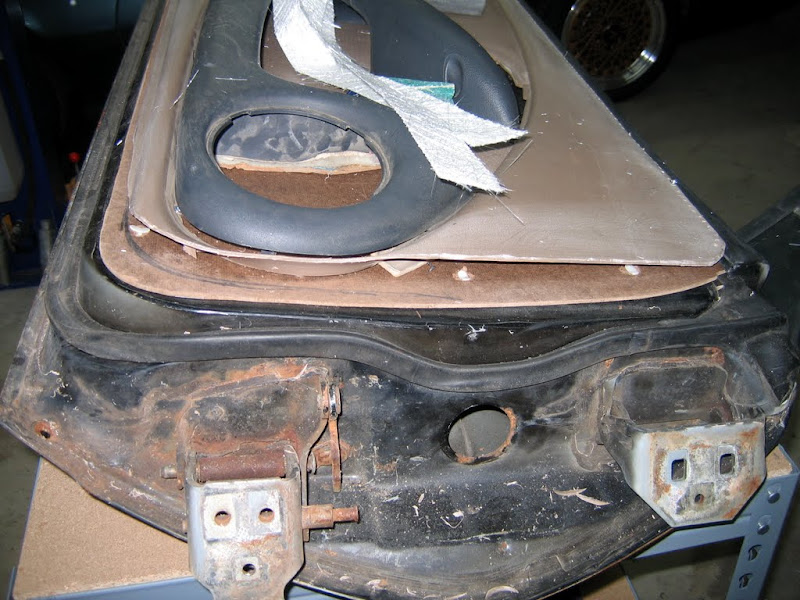
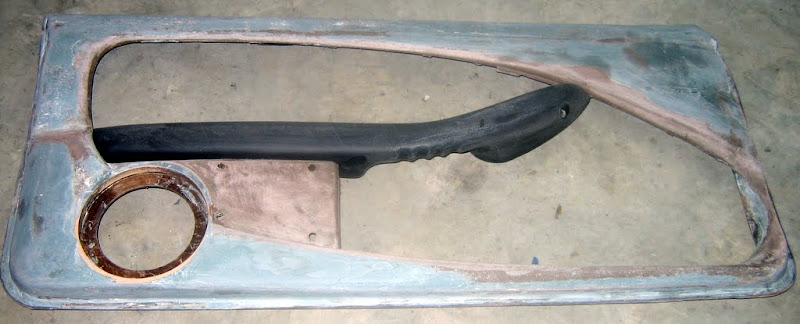
I then cut out the wall board along the inside of the mounting clips.
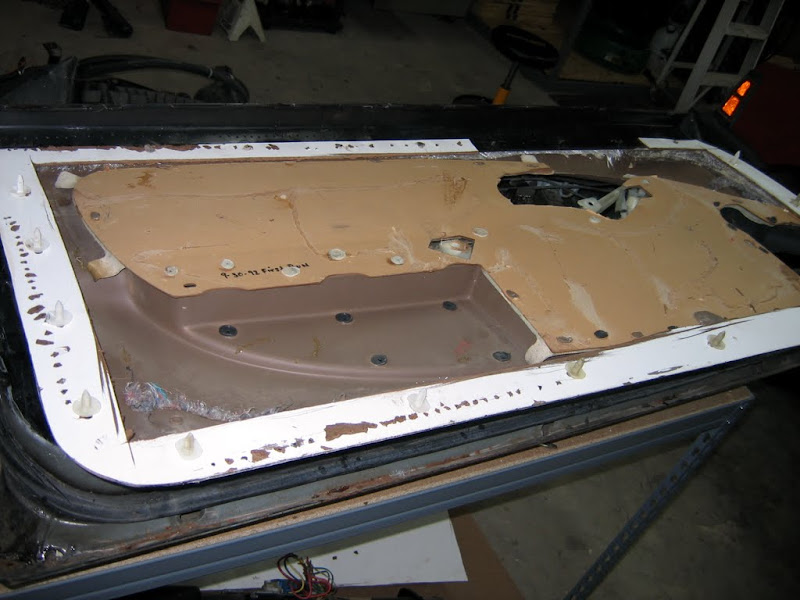
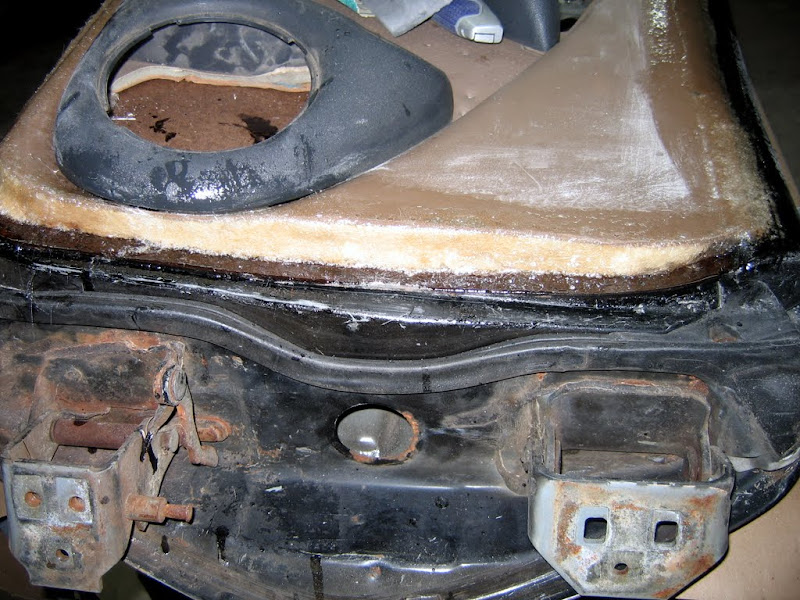
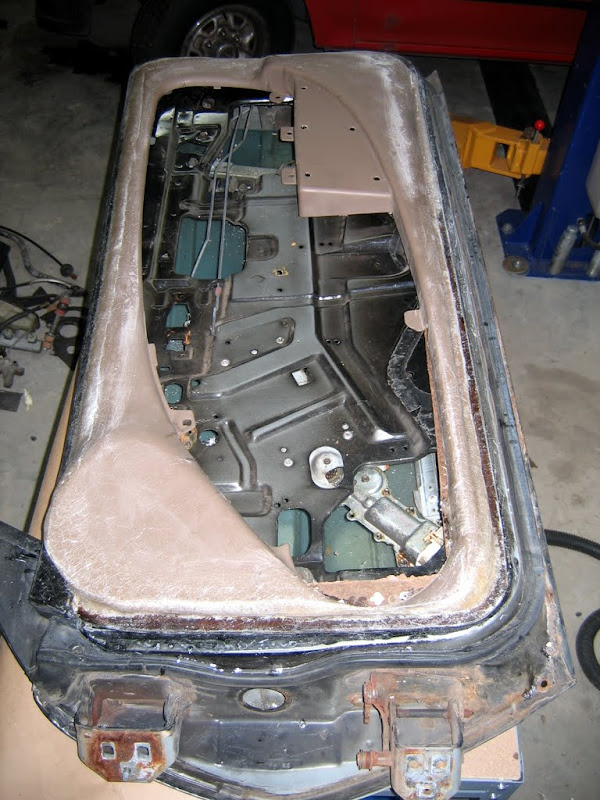
I then took out all the guts: arm rests, speaker pod, & leather insert. Panels
still attach to the doors no problem.
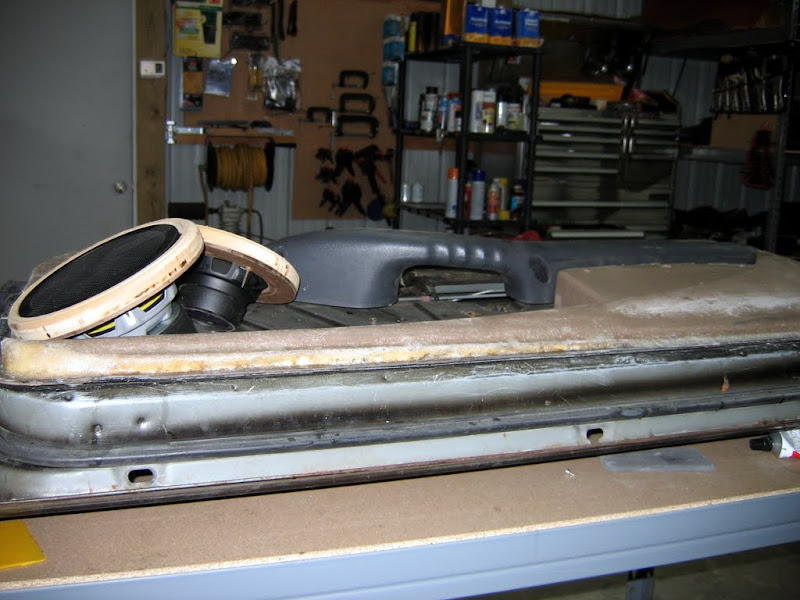
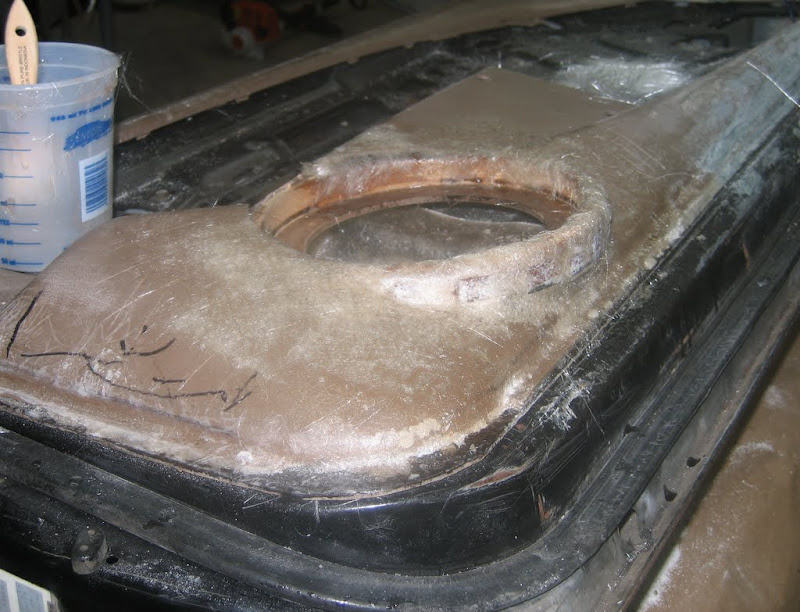
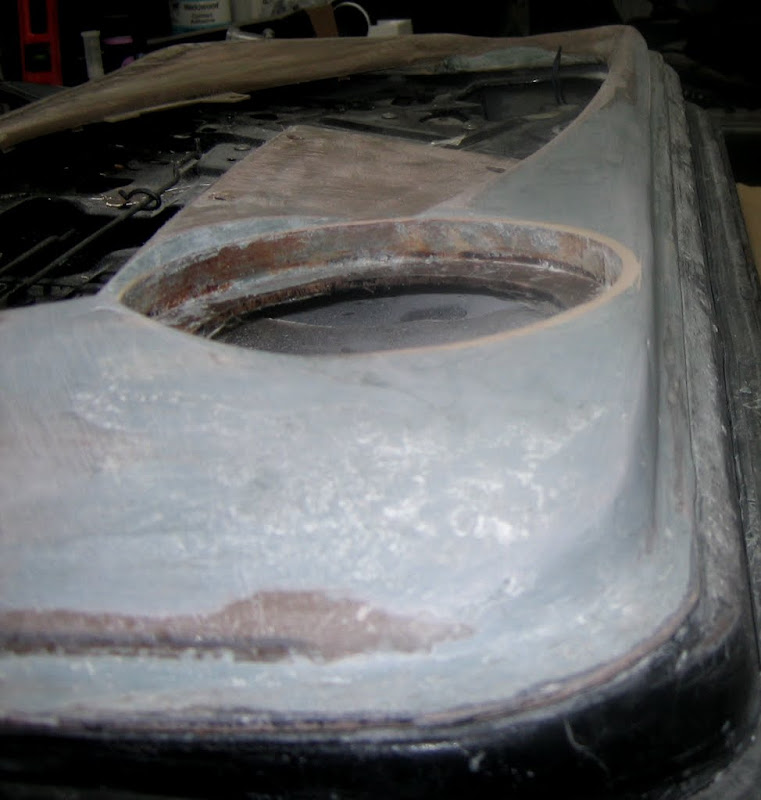
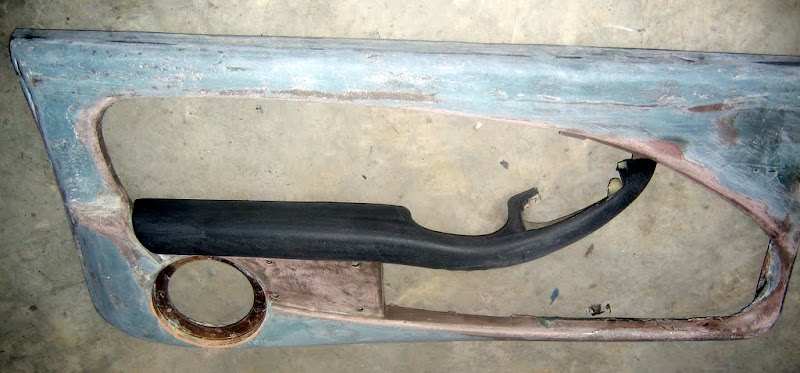
I ordered some grills from PE, got ED the measurements (leaving
enough room to let the grills press fit when all the foam, vinyl, & grill cloth
is attached) and had my rings in about a week. The 6.5" ring wound up being
huge, but I don't want to surface mount them and I need a grill to keep the
'could be stock' look I'm going for.
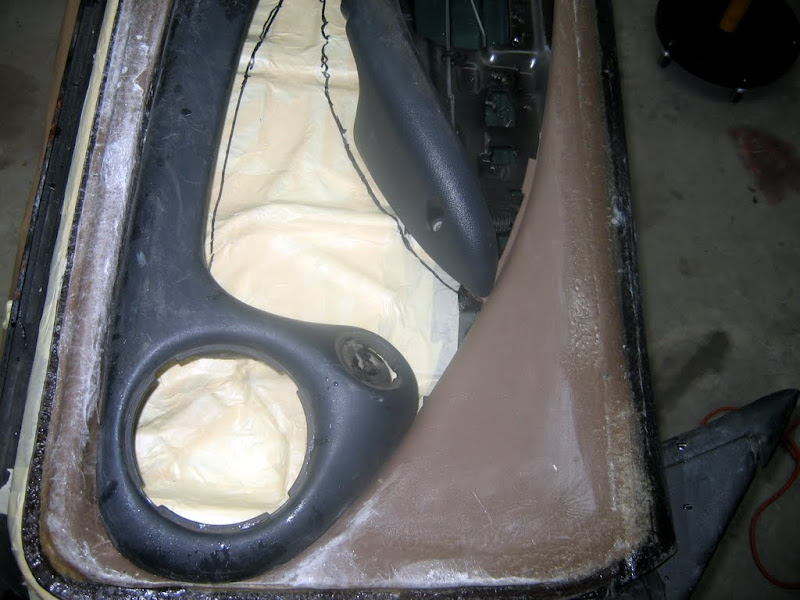
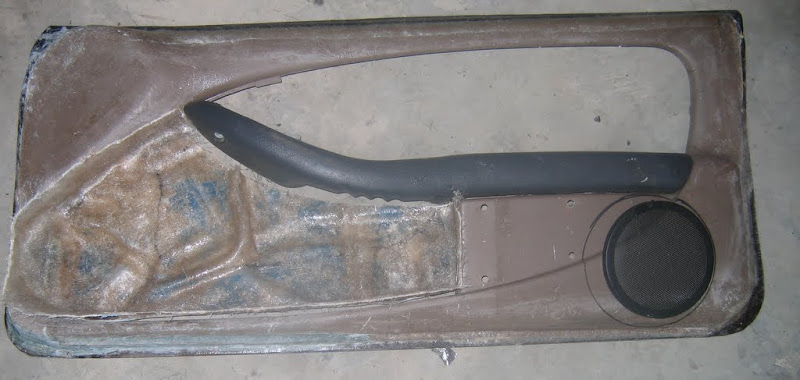
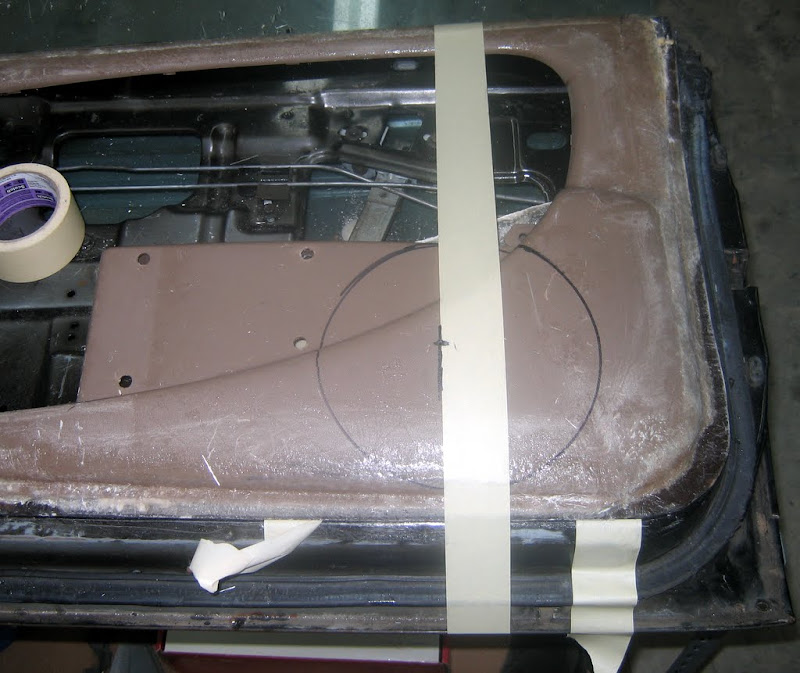
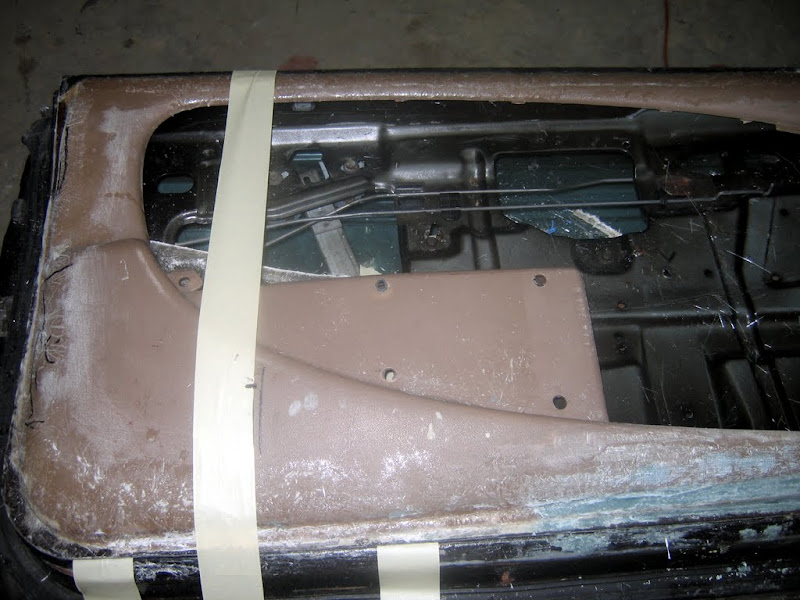
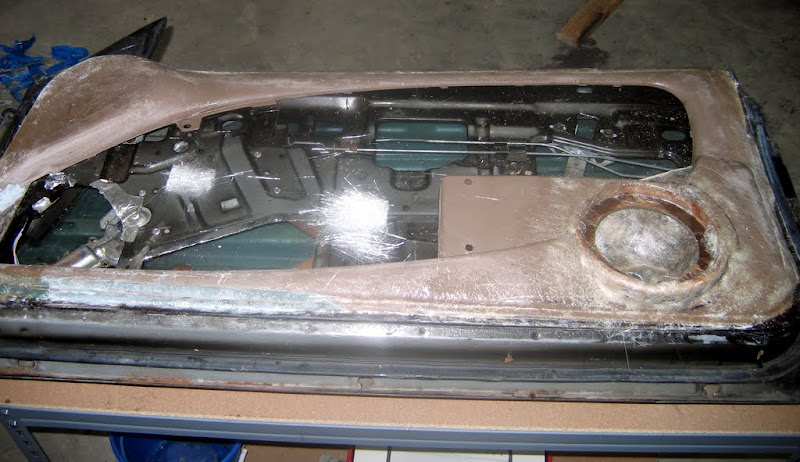
Here's the best placement I could come up with.
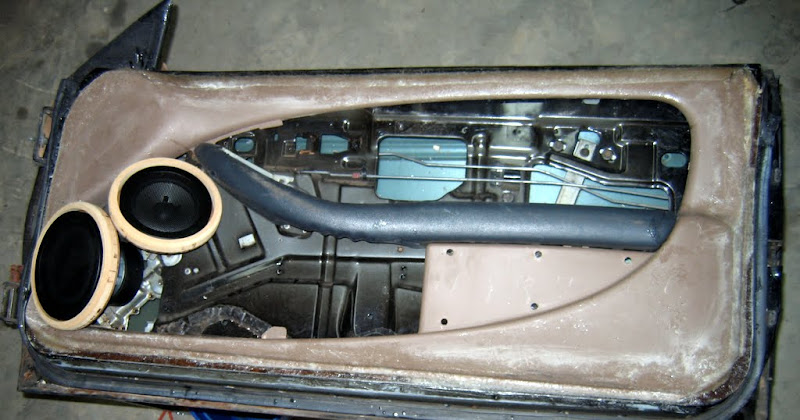
Woofer is angled towards the front and down while the mid is
angled towards where a dome light would be. Final mid placement will be done in
the car while listening to it.
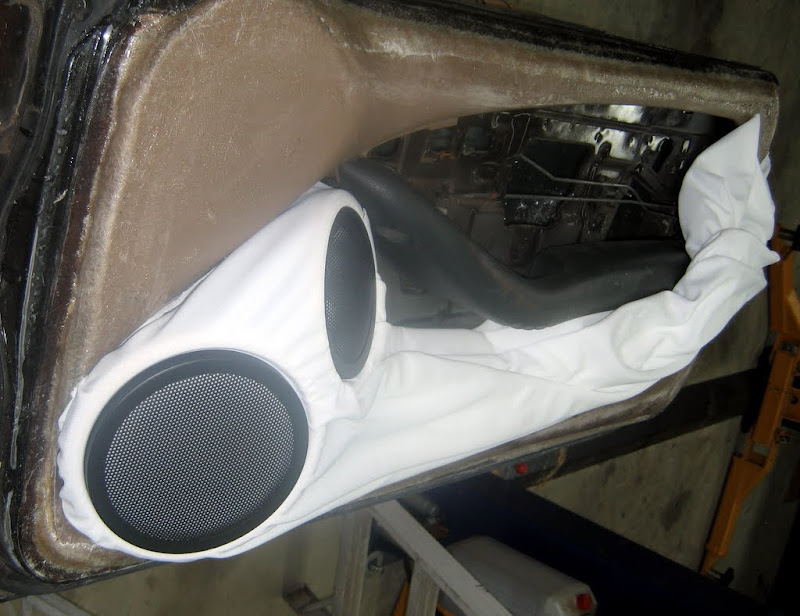
The angling helps in several areas. It lets me fit everything without going into
leg territory, keeps the mid low enough to have a defined 'handle/arm rest',
plus I think it looks better then having a huge parallel growth on the bottom
corner.
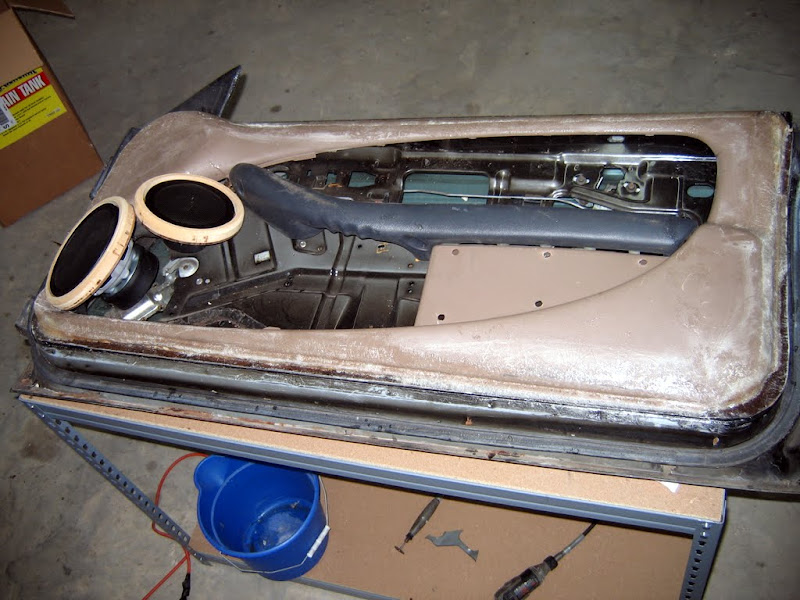
It actually takes up less space then laying the woofer flat since I don't have
to space it up to clear the back of the magnet.
I'll probably bevel the inner edge of one part of each ring in
order to get the rings a little closer together.
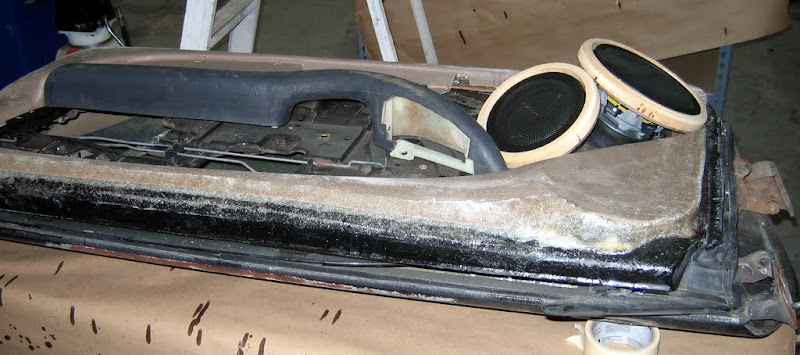
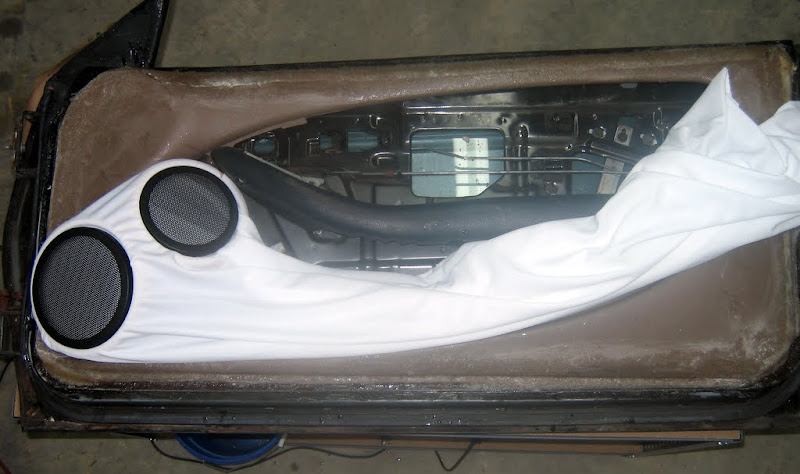
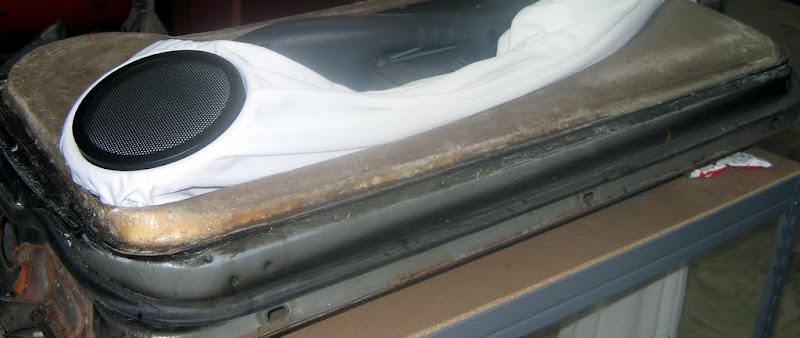
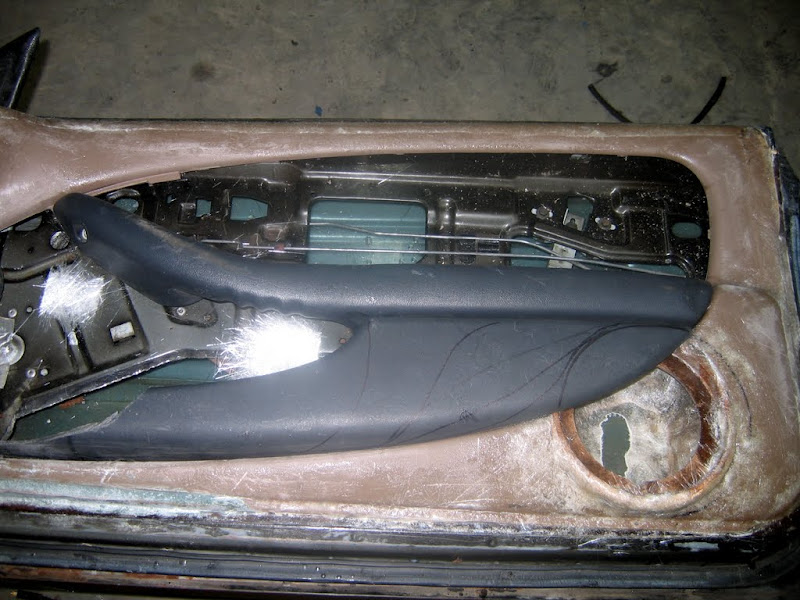
Here's some test shots of what the finished pod would look like. Wrapped around
the front and sweeping up the panel on the bottom like the stock piece. Straight
edge along the arm rest and then a short step down like the stock piece. Then
swooping up to the mid range following the arc of the door handle.
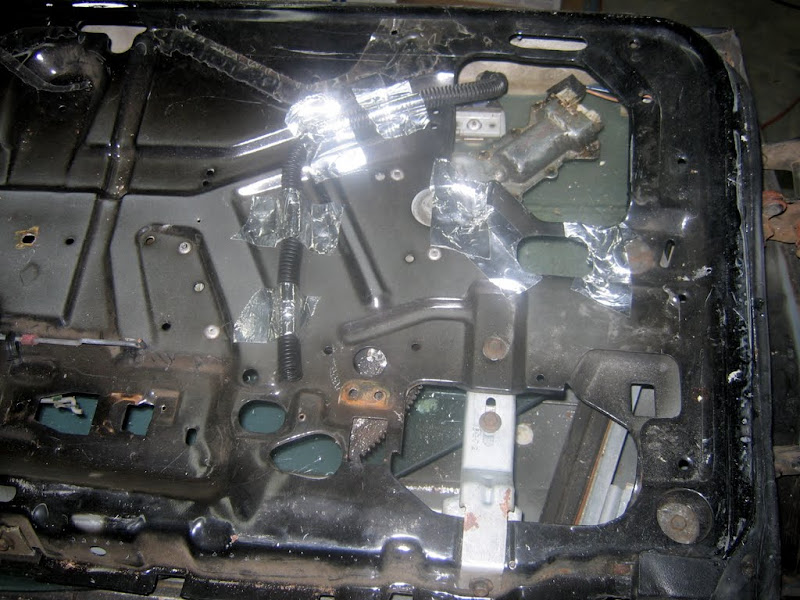
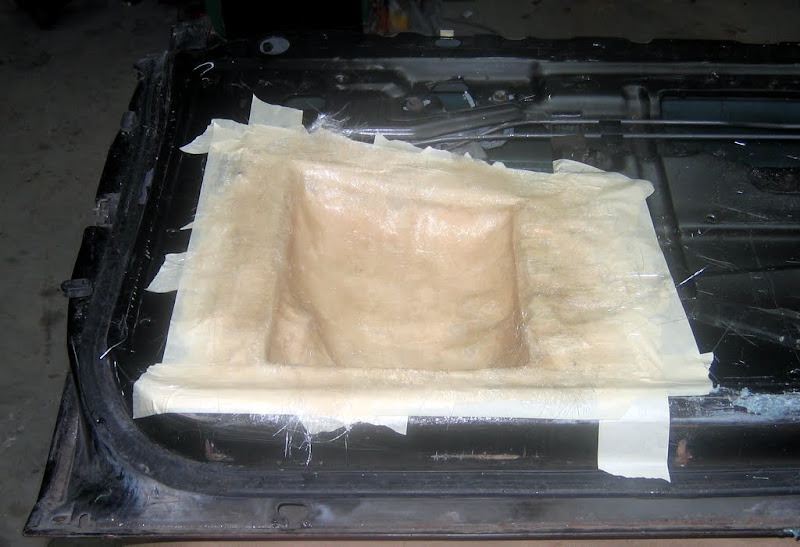
Well time to start on the back of the pods.
Taped a piece of loom to represent the wiring for the switches.
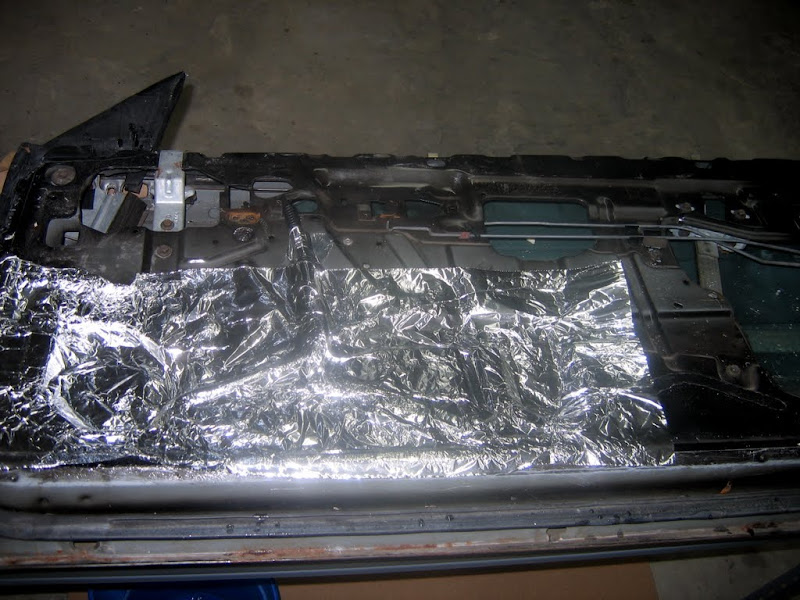
Layout some foil.
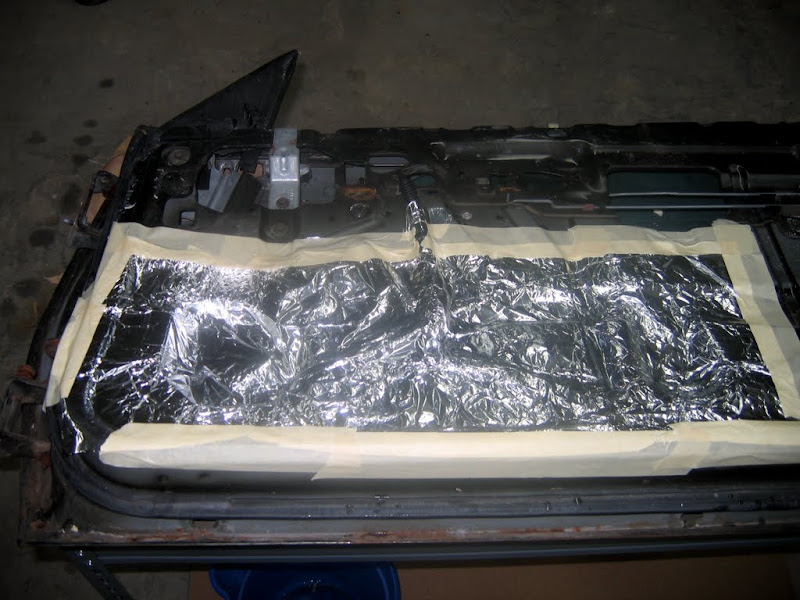
Tape the edges.
Tape up the rest.
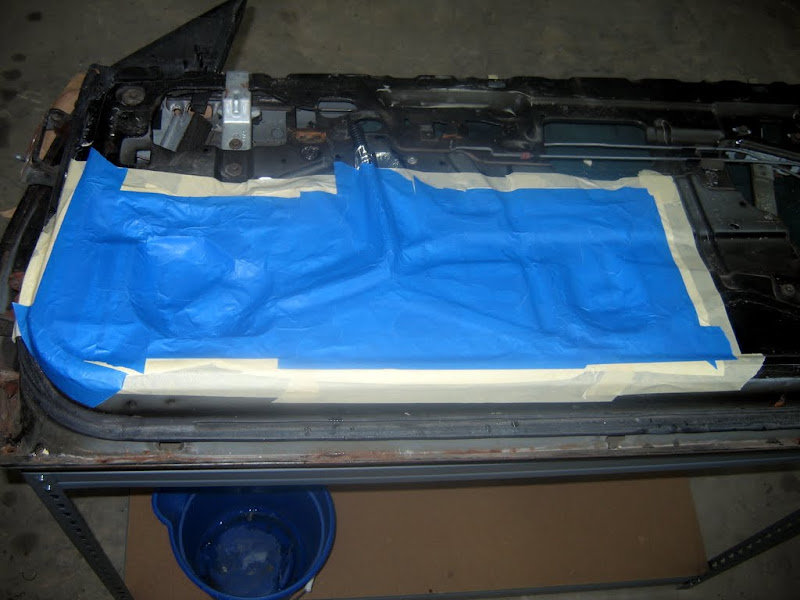
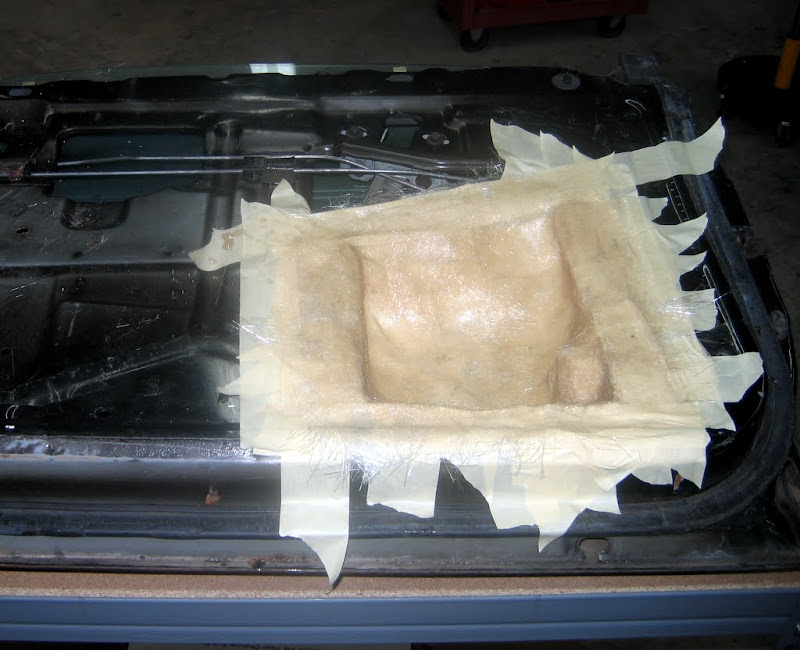
Layout the lines from the stock pieces.
Lay on the glass.

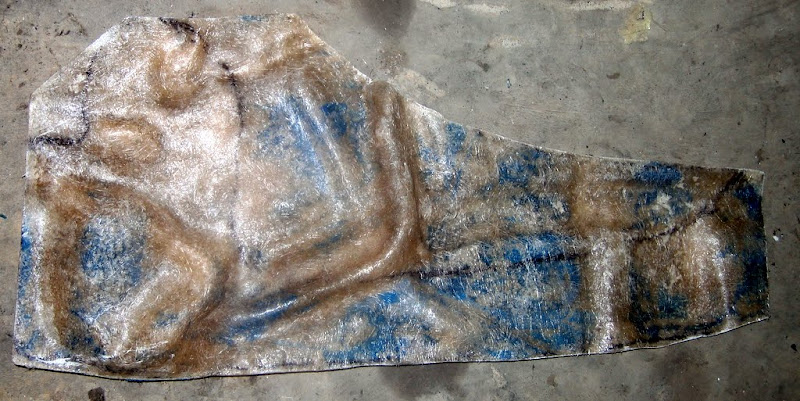
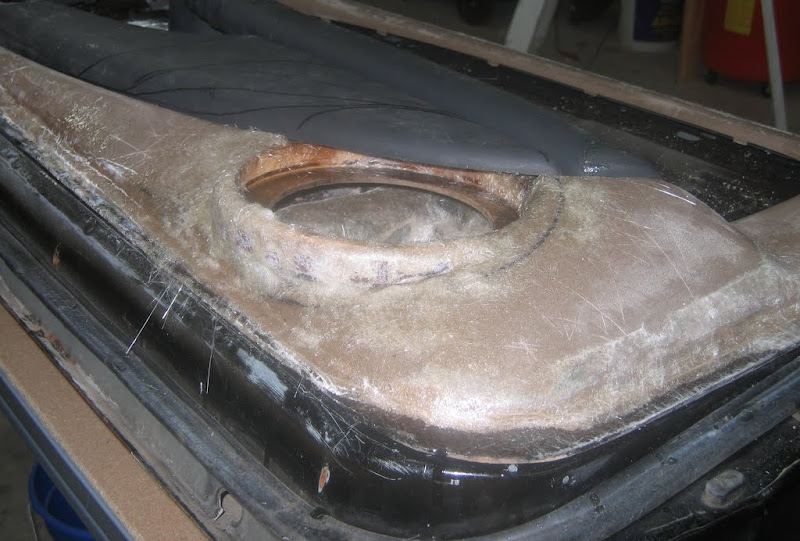
So here it is cleaned up and popped off the
door with a few more layers:
Working on smoothing out the transition to the back board:
So at this point I started testing the panels in the car. With just the subs in
the front it would be annoying. Your leg would rest right up against the cone.
With the 5.25" mid with it I would have to angle the sub out. This would be
unacceptable, having the ring push your leg over. I could just have the subs in
the doors, but I don't have enough room for the component set in the kick panels
(clutch).
Bottom line, the subs are not going to work in the front of the doors. Not
enough depth to make it work.
So I start looking around to see if I can squeeze these any where else. Ruled
out steel boxes under the car. Ruled out extended center console between the
rear seats. Best thing I could come up with is mounting them in the rear of the
doors. Plenty of depth and still contained within the doors.
So I started on rear enclosures:
Added sides to the front pods and started planning what the subs would look
like:
Laying out where to cut the panel for the rings. Trying to keep both sides
symmetrical is becoming a pain!!
I was originally going to go flush into the existing panel, but with so many
curves and the edge of the door panel, it was going to push the ring too deep
and high. So ring is level with the door and will be smoothed out into the
panel.
I'm keeping the curved inserts the same. The door panel flows so well with them.
So the insert will actually cover about a quarter of the sub. Sub will be
covered with a grill covered in tan grill cloth. If I can match the cloth to the
vinyl, it should blend without being that noticeable.
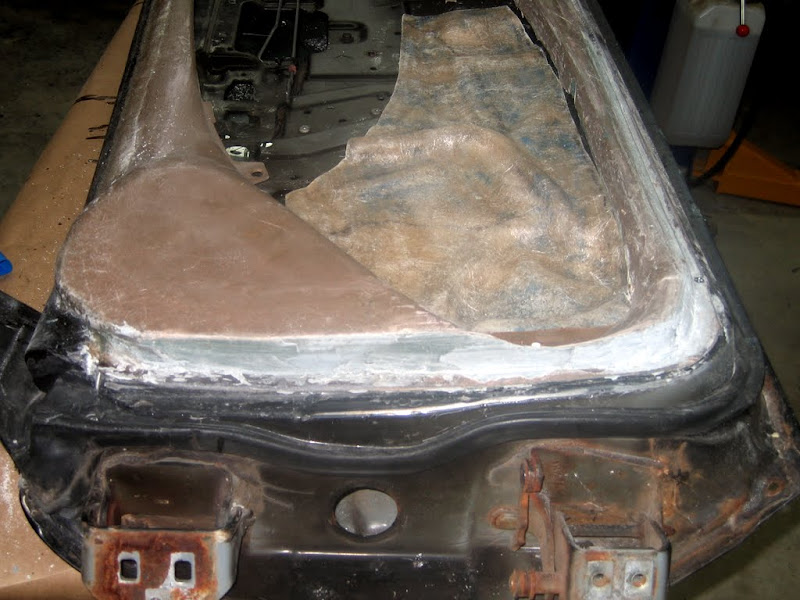
Got the rear rings smoothed out into the panel.
Still a little work around the back corners and some overall smoothing.
I tried to make it flow like it should be there and also create a straight line
on the bottom (panel is shorter in the front).
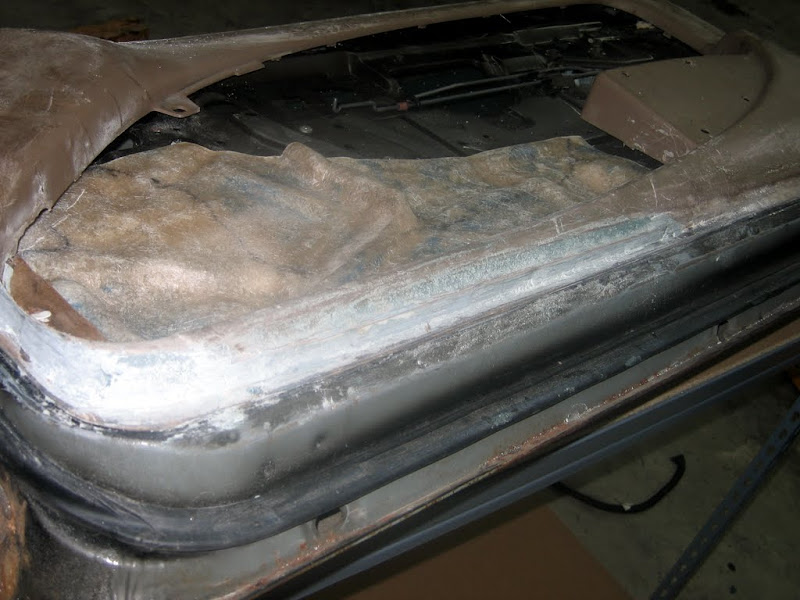
Ok, not enough airspace for the 6.5" subs. I
cut some out and extended them higher up the door:
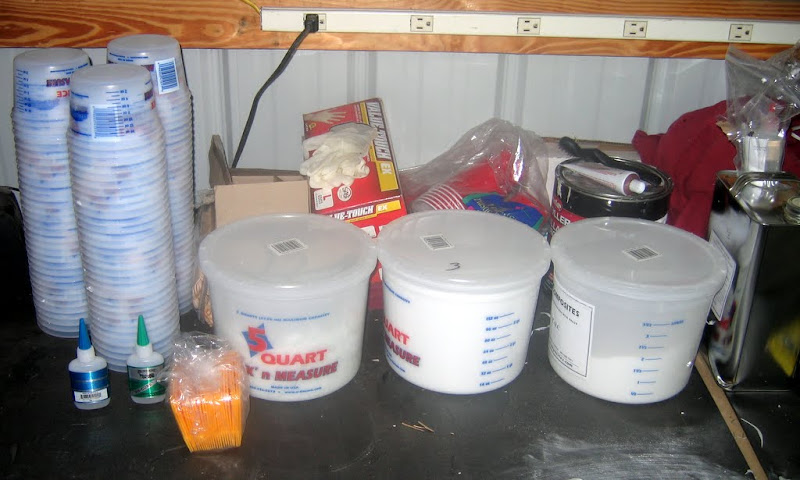
Got my third USC order in. Getting more comfortable and trying some new things
out. Talc, chopped mat, glass bubbles, more resin, smaller mixing cups, more
gloves, smaller sticks, and more spreaders. *disregard the can of bondo, old can
and only used for milkshakes**
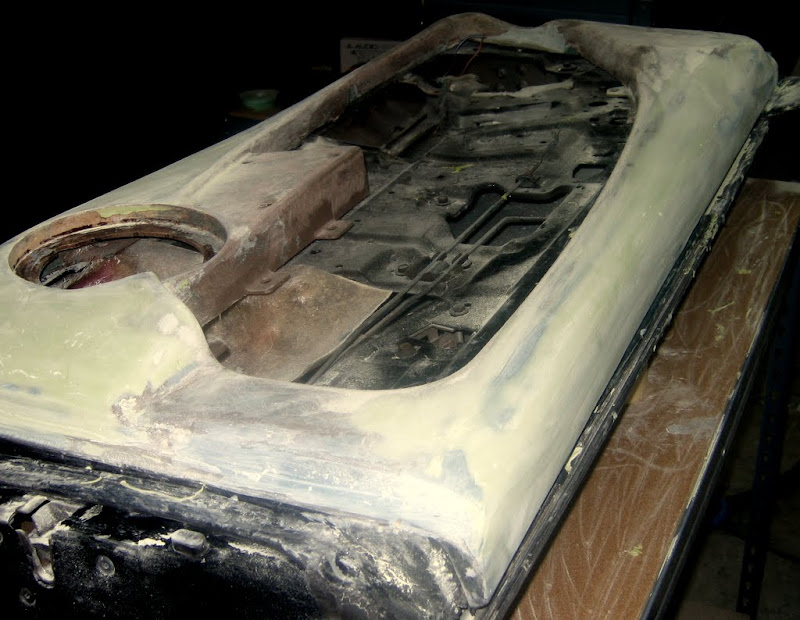
Made some nice bubble filled mix with some chopped resin to fill in the concave
areas of the rear pods to fill in the complex curves.
Rage came in. Went to work smoothing out the passenger panel. First time using
it, this stuff is awesome. Still figuring out the work time.
Driver's side is getting close to needing Rage.
Threw them on for a car show and discovered a few issues. Front lower curves are
at too short of a radius and hit the kick panels a tiny bit. Major issue is the
passenger rear of the top plate must have moved since the last test fit (and
before all the duraglass and rage) or it warped during curing. Top rear of the
panel is about 1/2" too high. Had to cut a V cut into it and re-glass it pulled
down.
Half inch high on the end.. Cut a V-shape slot in it and pulled it down.
No issues on the other side. Marked up to help me get everything lined up to the
other trim.
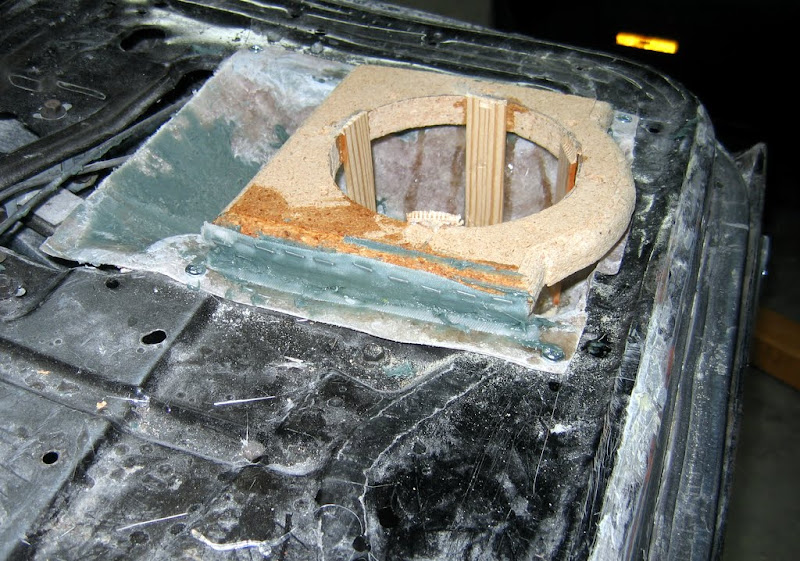
Mounting rings spaced and suspended. I wasn't cutting a full sheet of MDF to get
two pieces that will be mostly covered in glass.
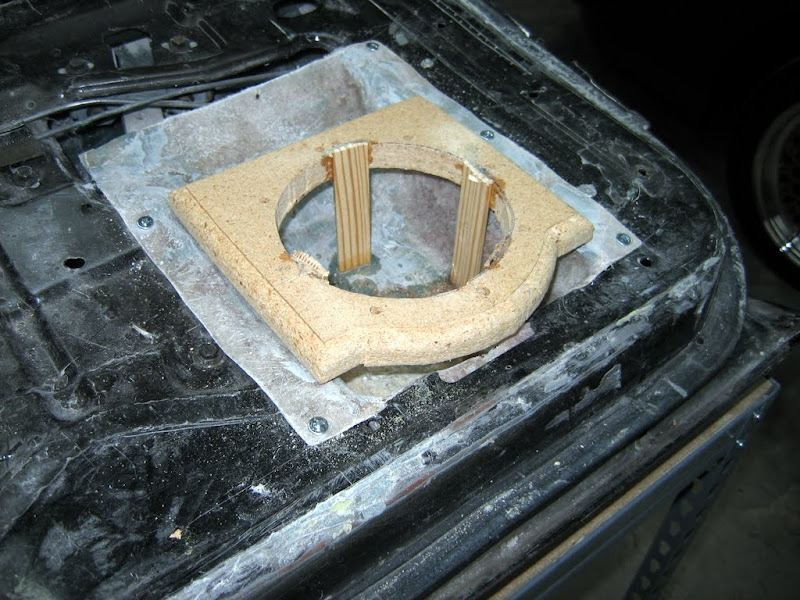
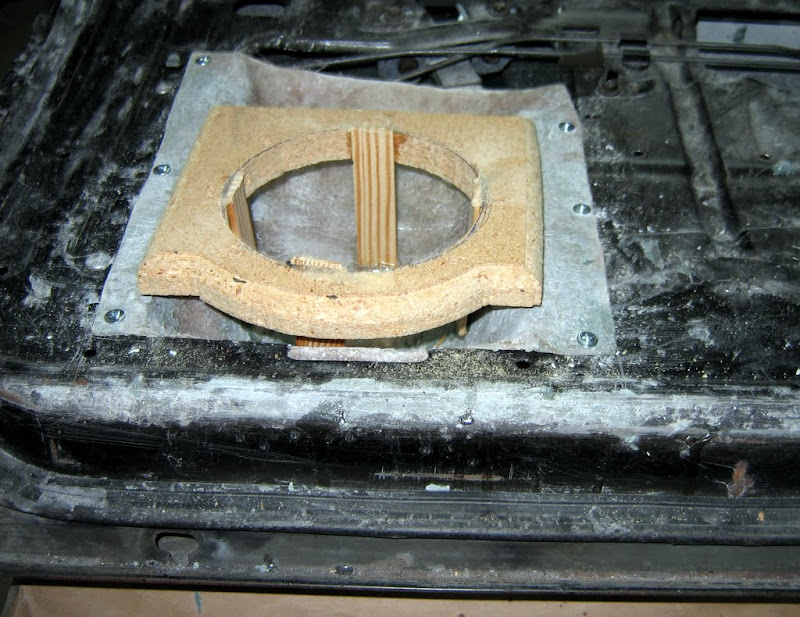
The speakers will mount through the ED rings on the panels, to the inner mounts.
Hard to see, but the inner mounts do have t-nuts installed. So the pods will
mount to the door, door panel goes on, speaker sandwiches panel to pod.
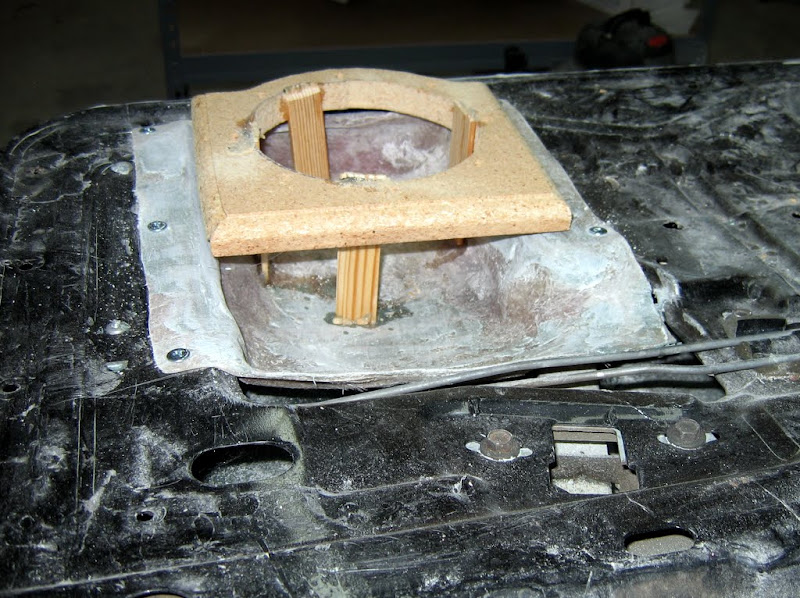
The shape of the panel is making me glass to the outside of the sides, but the
insides of the top and bottom. I should have done the roundover on the otherside
for the top and bottom. Oh well.
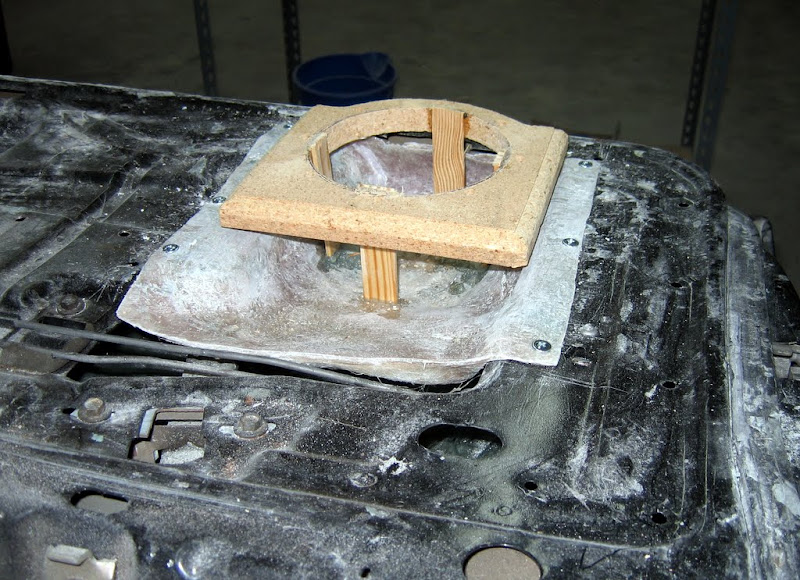
Glassing the sides while on the door. I'll be able to remove the temp supports
after that and glass the top and bottom off the door.
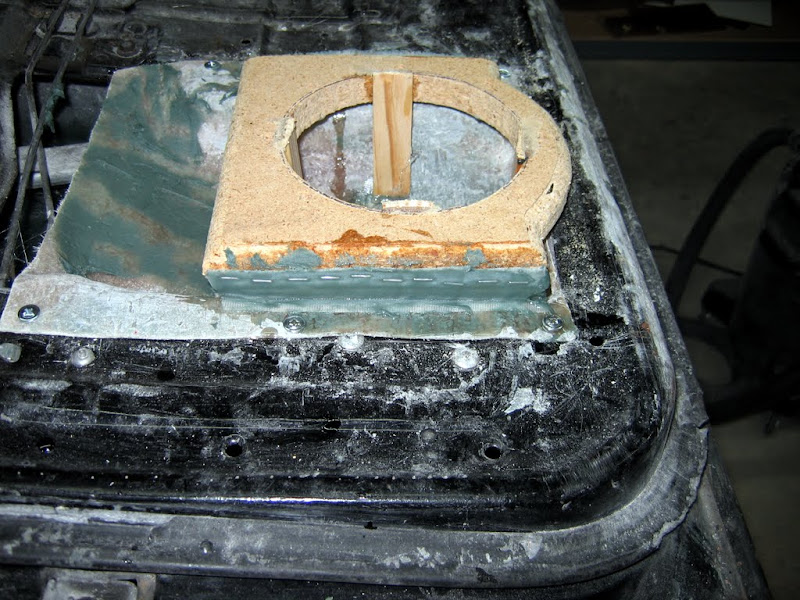
Got some resined ponte on the sides and filled the small gap with duraglass.
In other news, got my 1/0 in and the rest of my power stuff. Doing the Big 3 as
well.
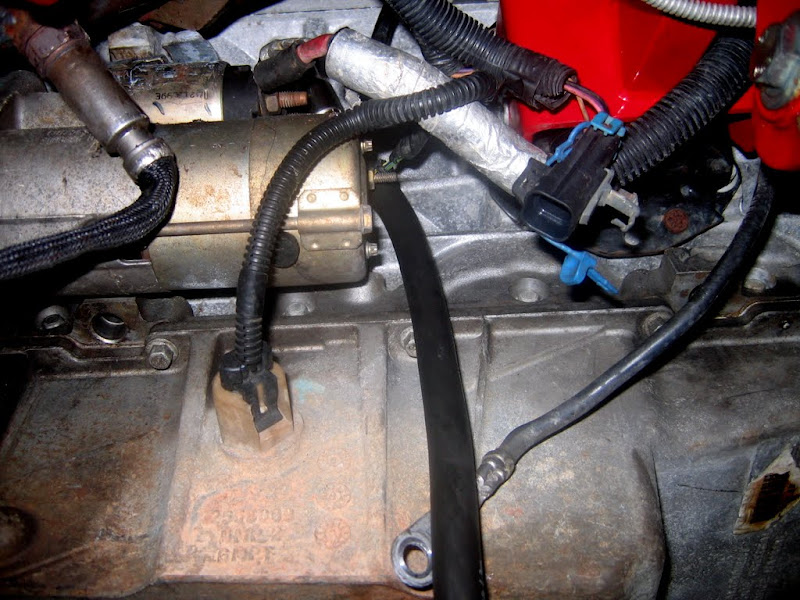
New block ground on, old line visible:
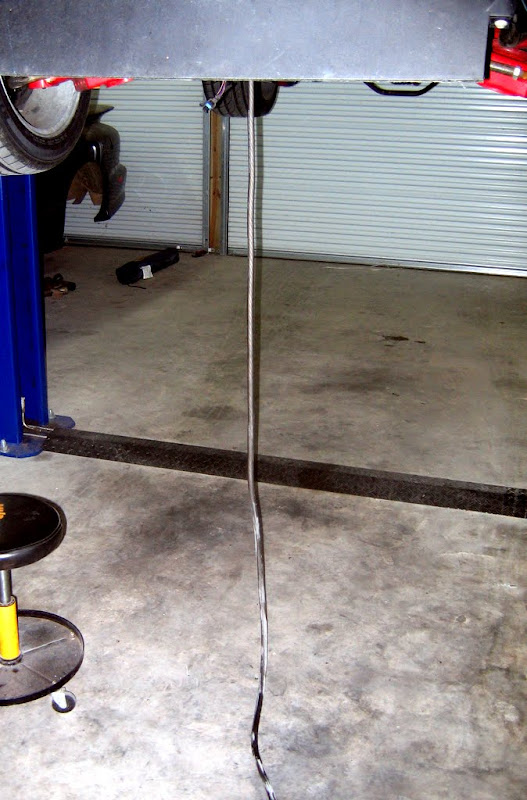
10' of ground getting ready to snake back up to the battery:
Grounds finished. Body ground was a mount for the old coolant tank. I taped
around what the ring terminal didn't cover and then sanded off all the paint
where it did.
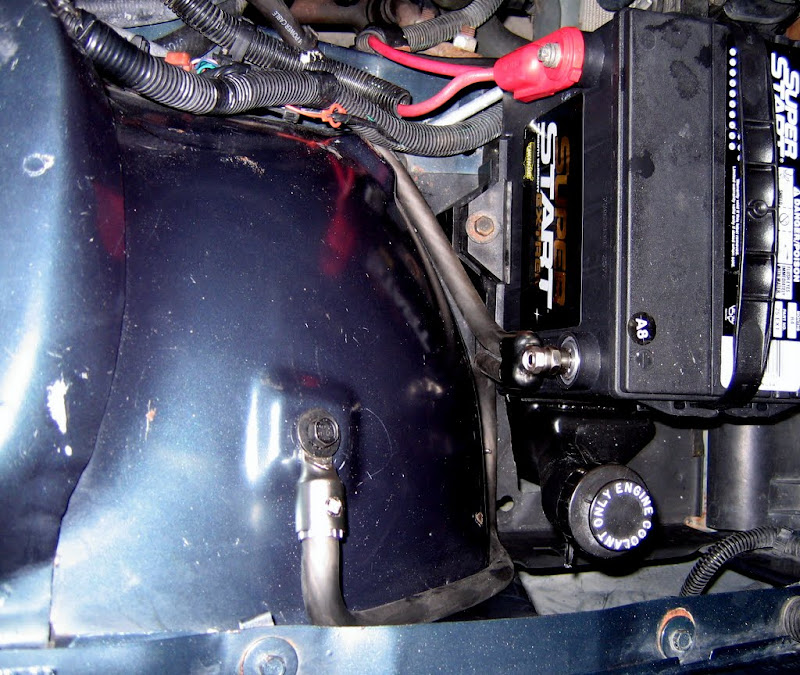
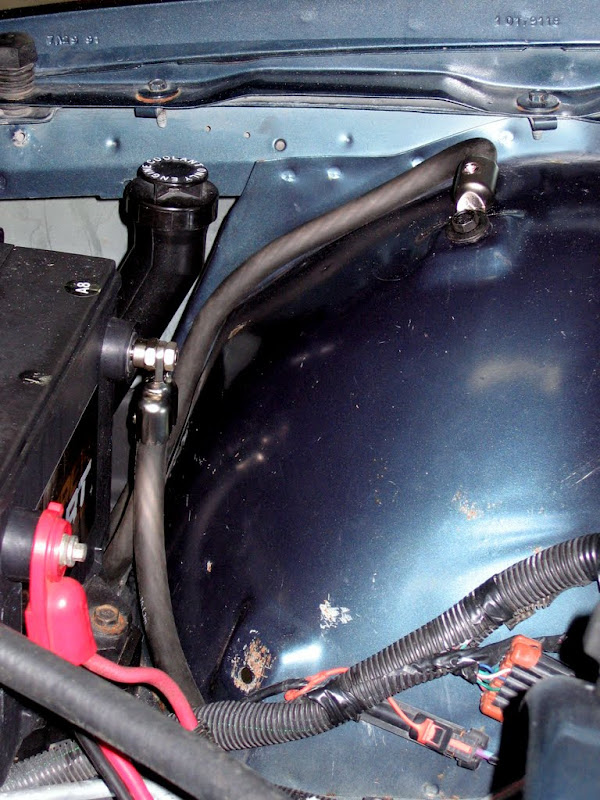
Got phase one of the positive lead done.

This goes all the way to the back. Nice ring terminal on the factory positive
post.
Phase 2 is to get a matching cable and ring terminal to go from the post over to
the battery and a matching cable going from the battery over to the alternator.
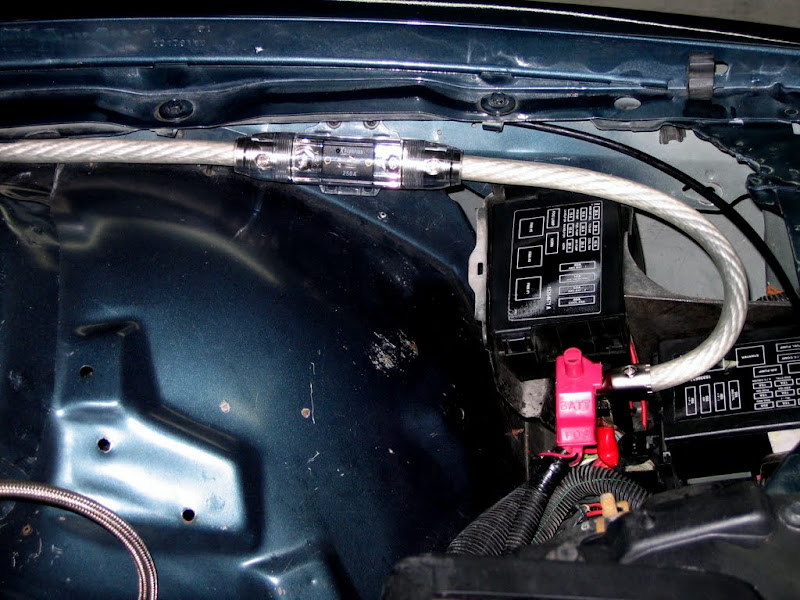
I know the fuse should be closer to the battery, but there was really no good
place to put it on that side without making a stupid looking figure 8 trying to
get the wire back to the other side of the car.
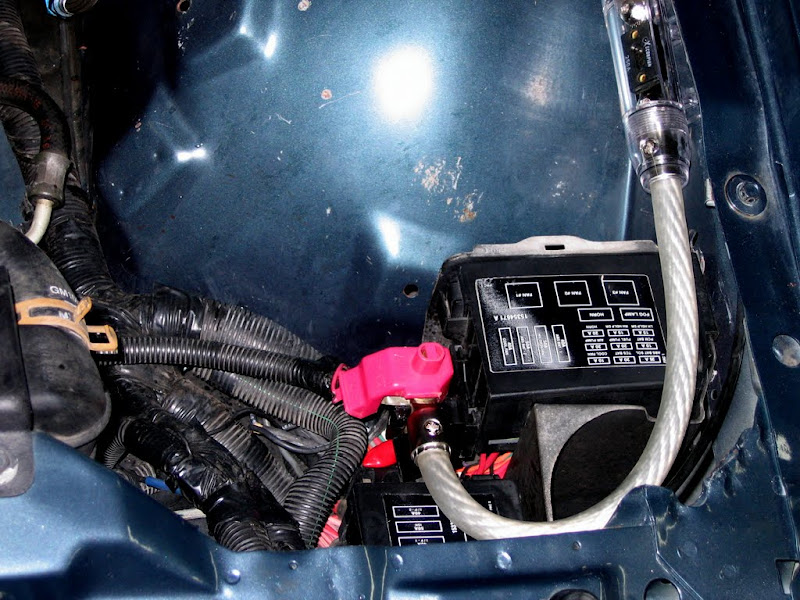
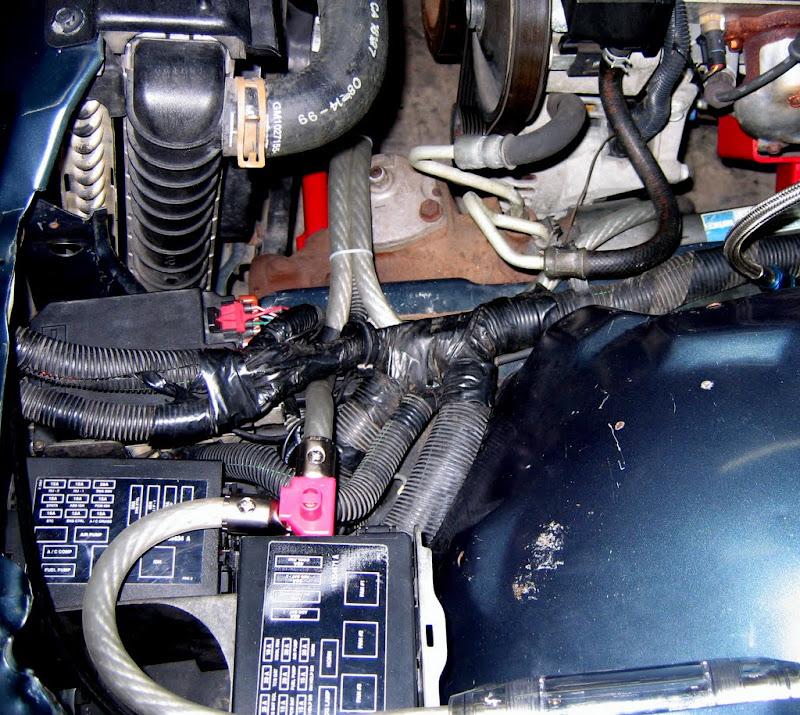
Using the fuse box post is going to work out really well. Tapping the entire
electrical system off of the single 1/0 will let me keep the same clean and
simple dual ring terminal post on the positive battery side. I am having to
slide the starter cable under it, but it should hardly be seen.
Dual 1/0's in the same style terminal as
ground. Starter cable under them.
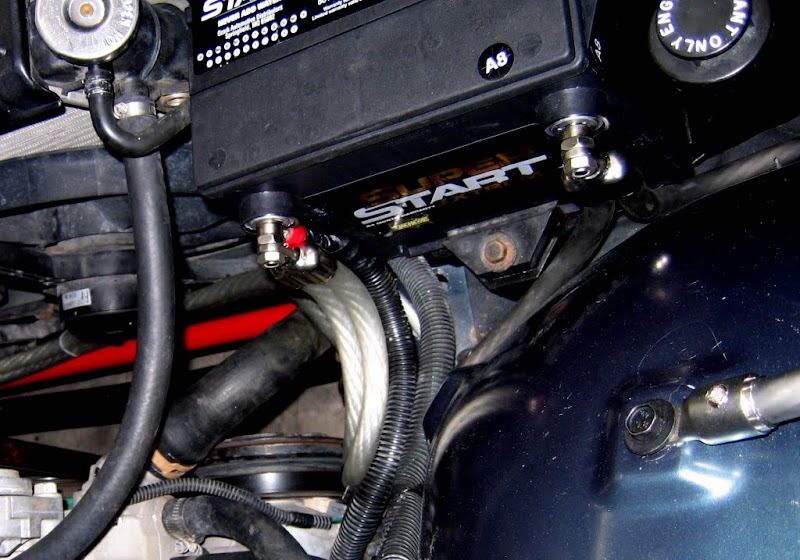
Both run across the front of the car, with one turning and going to the
alternator. Second one going to the car's main positive lug.
Click to go to Page 6 --->